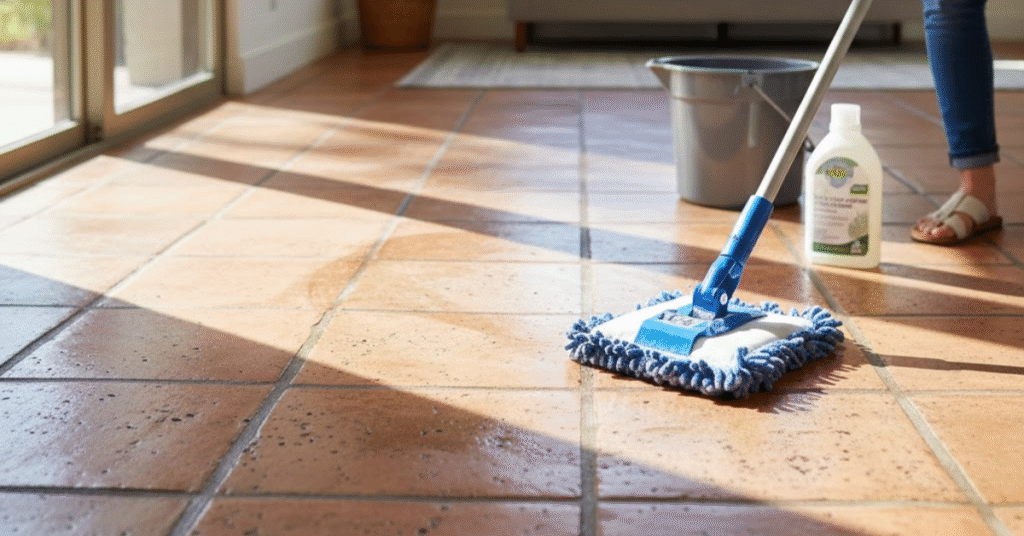
Saltillo tile brings a warmth and rustic charm to a home that few other flooring materials can match. Those distinctive terracotta hues transform a simple room into a cozy, Spanish-style haven. But if you own these beautiful floors, you already know the struggle—they attract dirt like a magnet and can be tricky to clean without causing damage.
If your once-vibrant tiles are looking a bit dull or dingy, don’t worry. Bringing them back to life is entirely possible with the right approach. This guide walks you through exactly how to deep clean Saltillo tile floors safely and effectively, so you can enjoy that warm glow for years to come.
What Are Saltillo Tiles?
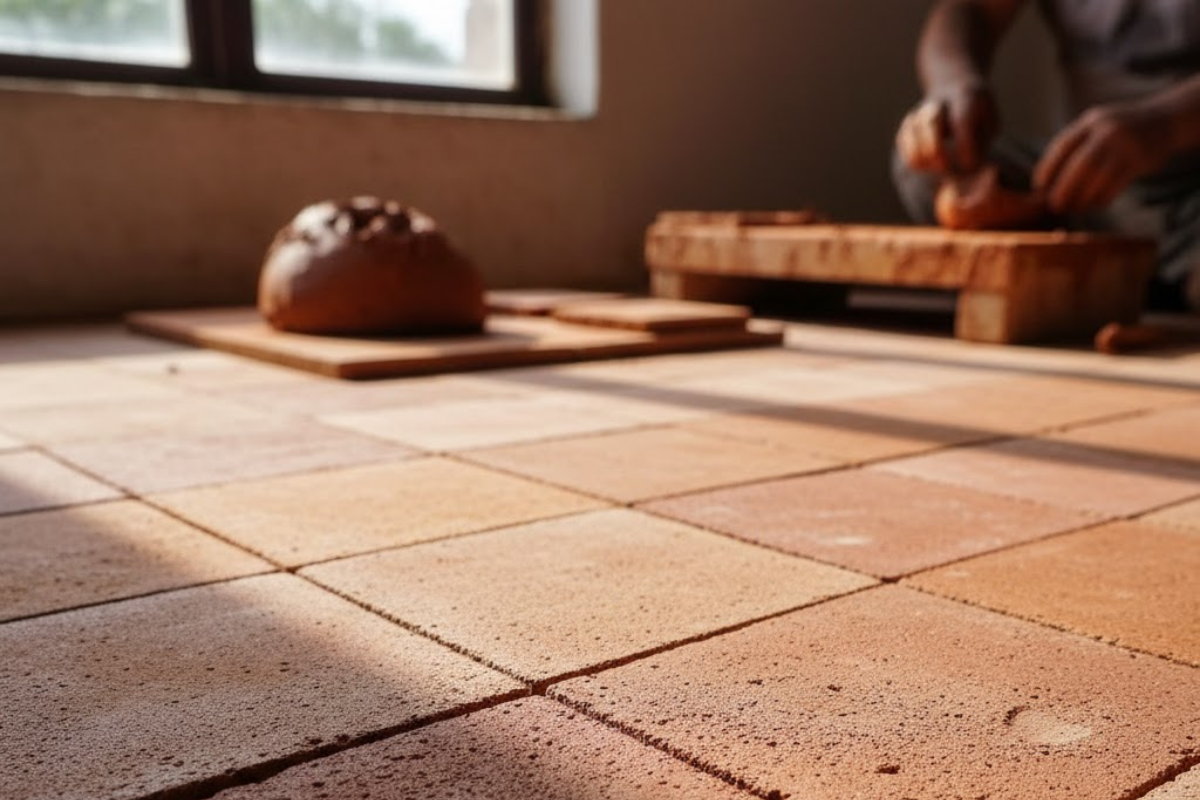
Before we grab the mop, it helps to understand what we are working with. Saltillo tile is a type of terracotta tile that originates from Saltillo, Coahuila, in Mexico. Unlike standard ceramic tiles you buy at a big-box store, Saltillo tiles are handmade from natural clay.
Because they are sun-dried and fired at relatively low temperatures, they are incredibly porous. They lack the hard, glassy glaze found on most modern tiles. This natural porosity is what gives them their soft, velvety look, but it’s also why they stain easily and soak up grime if not properly sealed. Treating them like standard porcelain tile is a recipe for disaster, so gentle, specific care is essential.
Why Saltillo Needs Special Care
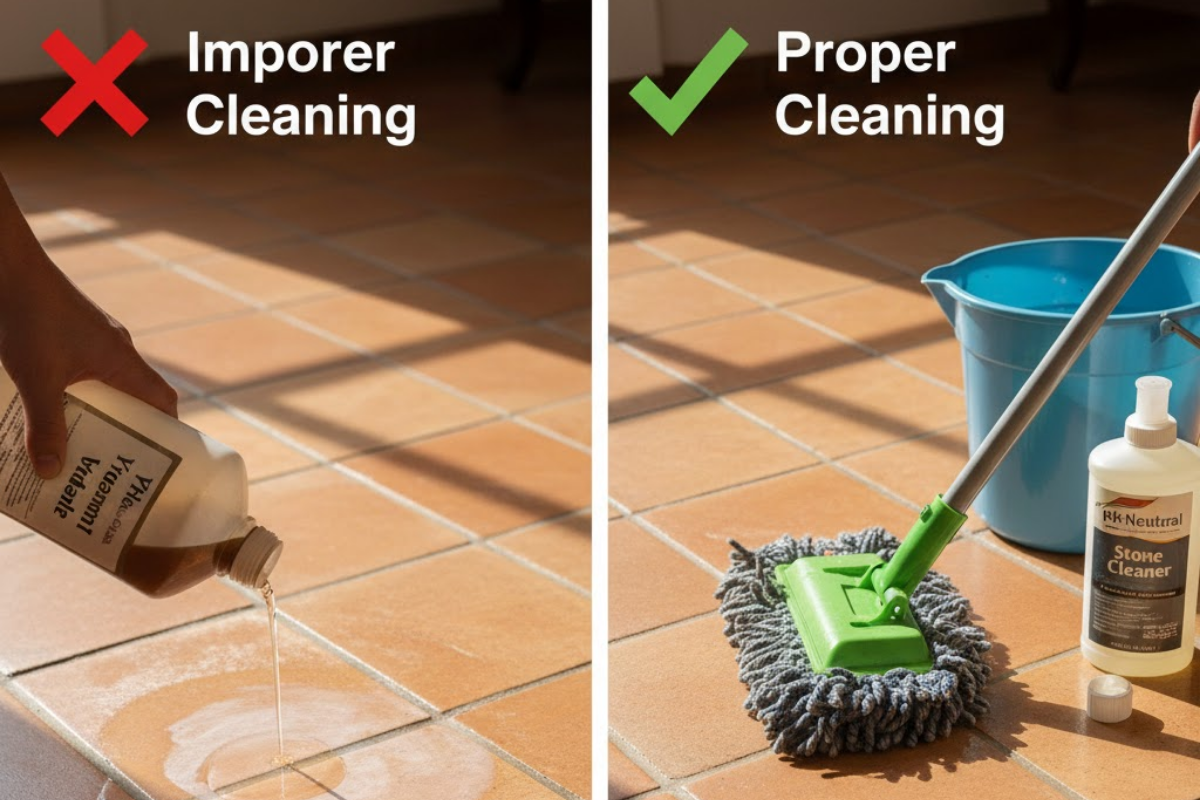
You can’t just throw harsh chemicals on Saltillo and hope for the best. Because the clay is so absorbent, using the wrong cleaner can actually drive dirt deeper into the tile or strip away the protective sealer.
Acidic cleaners (like vinegar or ammonia) can eat away at the sealant and even damage the clay itself. Too much water can saturate the tile, leading to efflorescence—that white, powdery residue that sometimes bubbles up to the surface. The goal of deep cleaning is to lift the dirt off the sealant without breaking down the protective barrier that keeps your floor safe.
Tools and Materials You Will Need
Getting your supplies ready beforehand makes the process much smoother. You don’t need expensive machinery, but you do need the right chemistry.
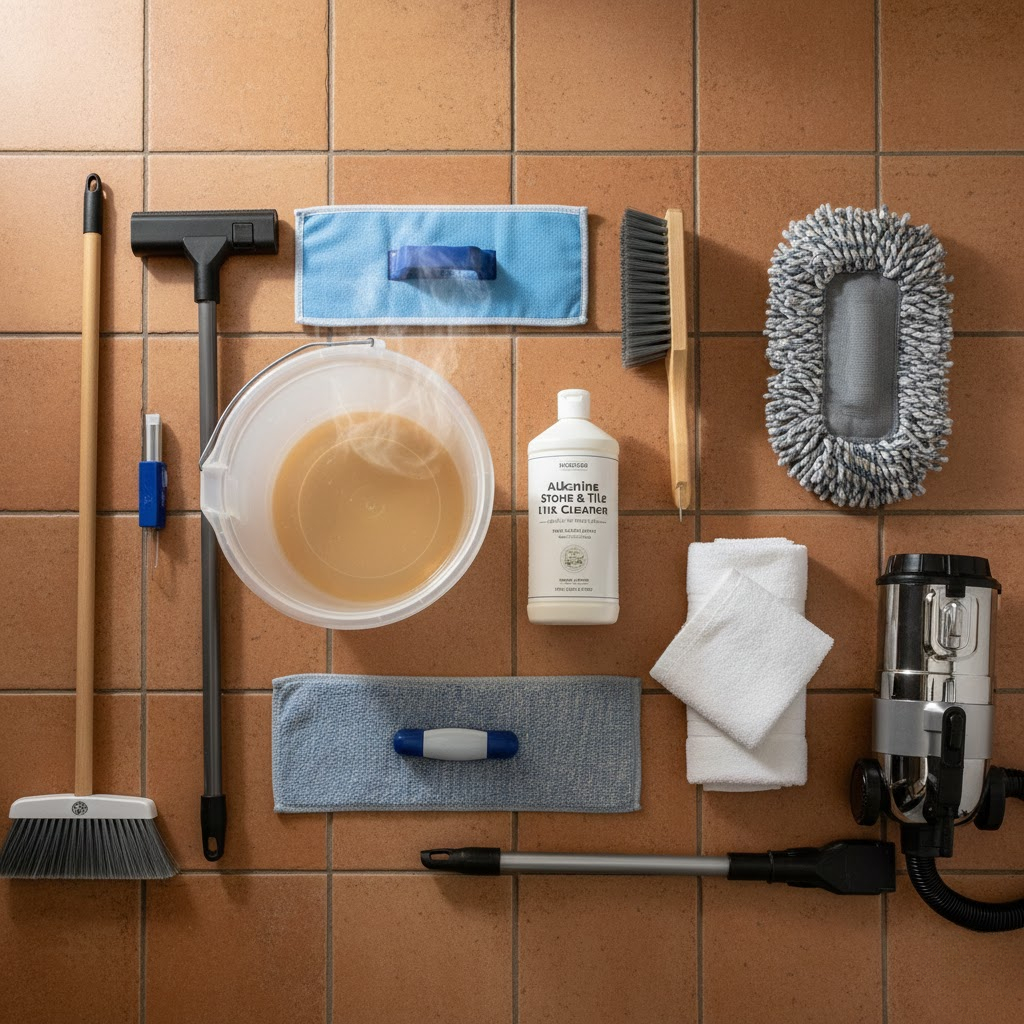
The Essentials:
- Broom and vacuum: Use a vacuum with a hard floor setting (turn off the beater bar) to remove loose debris.
- Alkaline cleaner: Look for a heavy-duty stone and tile cleaner. Avoid acidic cleaners at all costs. Products specifically labeled for “natural stone” or “terracotta” are best.
- Bucket: A standard 5-gallon bucket works well.
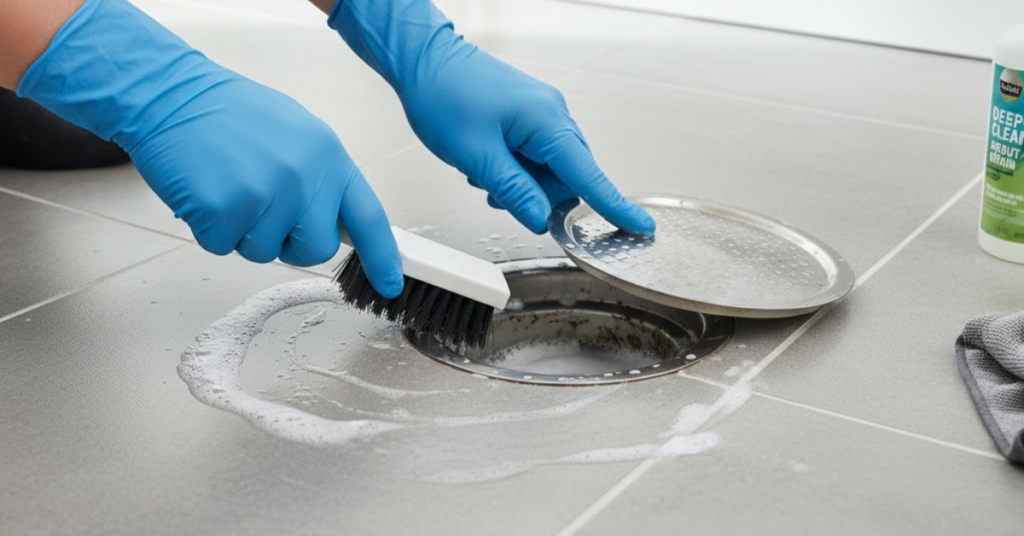
- Scrub brush: You need a deck brush with medium-stiff nylon bristles. Do not use wire brushes, as they will scratch the finish.
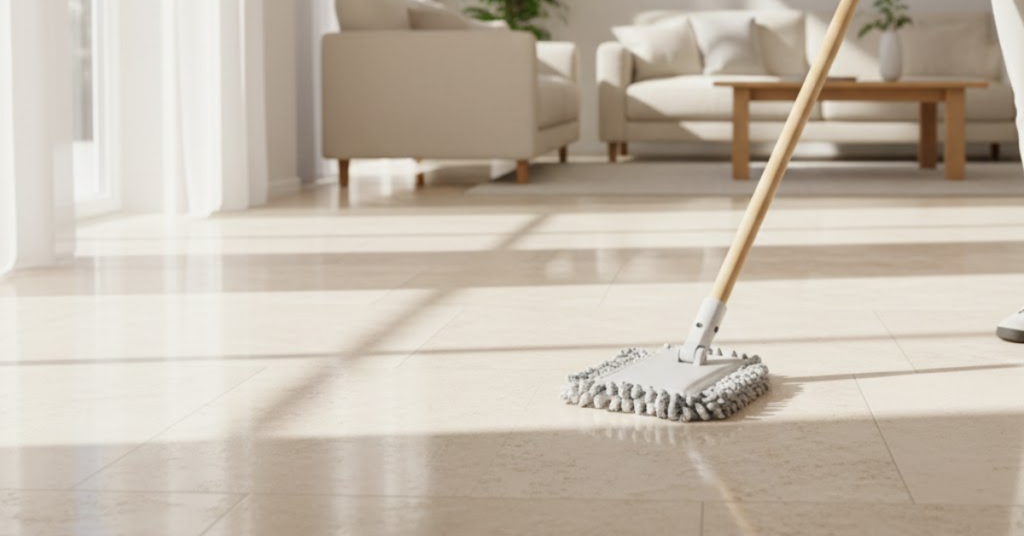
- Mop: A sponge mop or a microfiber mop is ideal.
- Towels or wet/dry vac: For soaking up the dirty water quickly.
- Warm water: Not boiling, just warm enough to help break down grease.
Step-by-Step: How to Deep Clean Saltillo Tile Floors
Ready to see those tiles shine again? Follow these steps carefully.
1. Clear the Debris
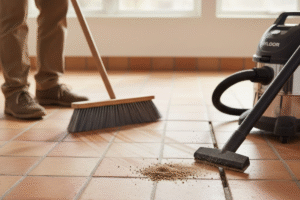
Start by removing as much dry dirt as possible. Dust and grit act like sandpaper on your sealer. Sweep the floor thoroughly, getting into the corners. Follow up with a vacuum to pull dust out of the wide grout lines that Saltillo floors are famous for.
2. Prepare Your Cleaning Solution
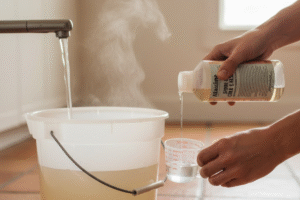
Fill your bucket with warm water. Add your alkaline stone cleaner according to the manufacturer’s instructions. Usually, a dilution ratio of 1 part cleaner to 4 parts water works well for deep cleaning, but check the bottle to be sure.
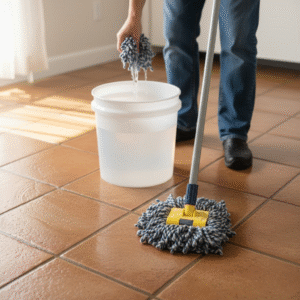
3. Apply the Solution
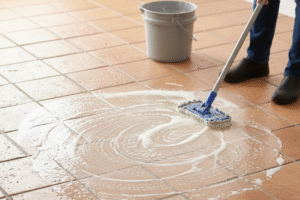
Dip your mop into the bucket and apply a generous amount of the solution to a small section of the floor (about 4×4 feet). You want the floor to be wet, but not a swimming pool. Let the solution sit on the tiles for about 5 to 10 minutes. This “dwell time” is crucial—it allows the cleaner to break down the oils and grime stuck to the surface.
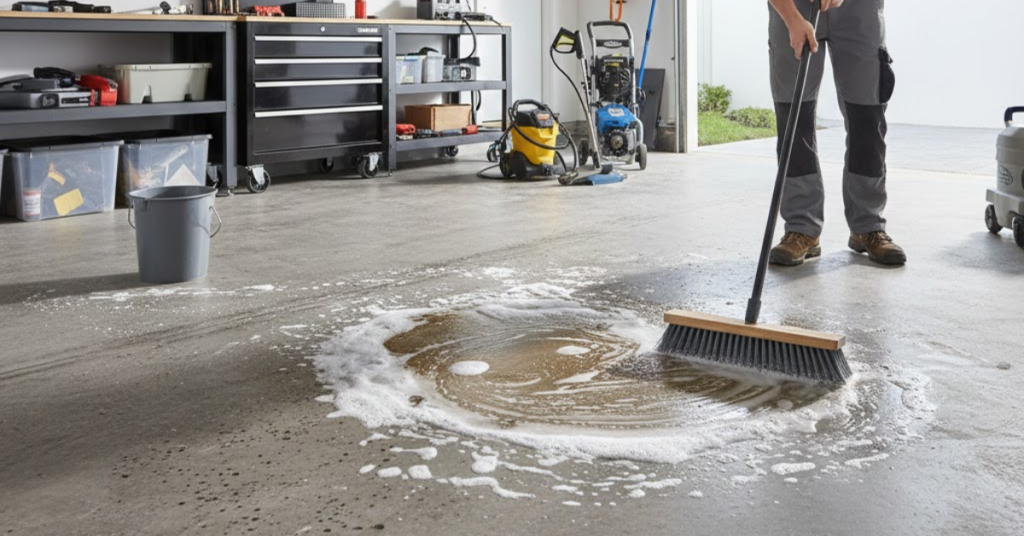
4. Scrub Gently
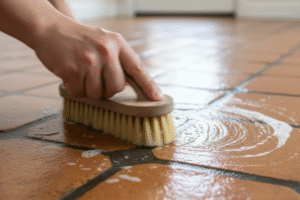
Once the cleaner has had time to work, take your scrub brush and agitate the surface. Focus on the grout lines, as this is where dirt accumulates the most. You don’t need to use excessive force; let the chemical do the heavy lifting. Scrub in circular motions.
5. Extract the Dirty Water
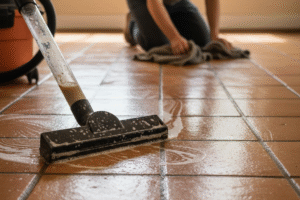
This is the most important step. If you let the dirty water dry on the floor, the dirt just settles right back into the pores. Use a wet/dry vac to suck up the slurry immediately. If you don’t have a wet vac, use old towels to sop up the liquid.
6. Rinse Thoroughly
Refill your bucket with fresh, clean water. Mop the area you just cleaned to remove any leftover soap residue. You might need to rinse your mop frequently. Residual soap attracts new dirt, so rinsing is key to keeping your floors cleaner for longer.
7. Dry
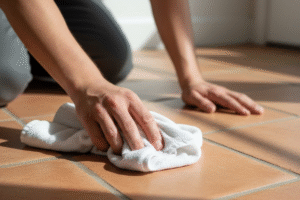
Use a clean, dry towel or microfiber cloth to dry the tiles. This prevents water spots and ensures no moisture sits on the clay longer than necessary.
Maintenance Tips for Long-Lasting Beauty
Now that your floors look amazing, you want to keep them that way.
- Use doormats: Place mats at every entrance to catch grit before it hits your delicate tiles.
- Sweep often: Daily sweeping prevents dirt from being ground into the sealer.
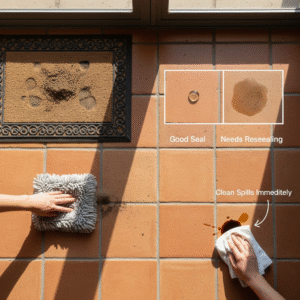
- Check your sealer: To test if your sealer is still working, drop a small amount of water on a tile. If it beads up, you are good. If it soaks in and darkens the tile, it’s time to reseal. Generally, Saltillo needs resealing every 1-3 years depending on traffic.
- Clean spills immediately: Because the tiles are porous, colored liquids like wine or coffee can leave permanent marks if left to sit.
Common Mistakes to Avoid
Even well-meaning homeowners damage their Saltillo floors by falling for common myths.
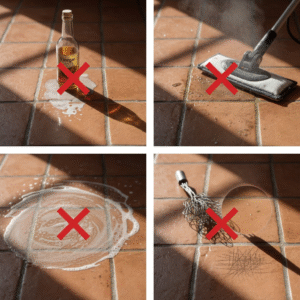
- Using Vinegar: We mentioned this before, but it bears repeating. Vinegar is acidic and will dull and damage your sealer. Stick to neutral or alkaline cleaners.
- Using Steam Mops: Steam forces moisture deep into the porous clay under high pressure. This can cause the sealer to peel or the clay to spall (flake off).
- Skipping the Rinse: Leaving cleaning solution on the floor creates a sticky film that attracts more dirt than you started with.
- Wire Brushes: Never use abrasive metal scrubbers. They will scratch the soft surface of the clay and ruin the finish.
Conclusion
Deep cleaning Saltillo tile floors doesn’t have to be a headache. It just requires understanding that you are caring for a natural, handmade product rather than a factory-made ceramic. By using the right tools, avoiding harsh acids, and taking the time to rinse thoroughly, you can restore the warm, inviting character of your Saltillo tiles.
Take a weekend to give your floors the attention they deserve. The result—a rich, glowing floor that anchors your home’s design is well worth the effort.