
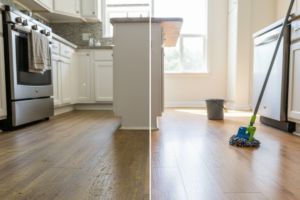
Vinyl flooring is a fantastic choice for many homes. It’s durable, budget-friendly, and comes in countless styles. But what happens when your once-bright vinyl starts to look dull and yellow? Don’t worry, you don’t have to live with it or start planning a costly replacement. Restoring its original look is easier than you might think.
This guide will walk you through everything you need to know about how to clean yellowed vinyl flooring. We’ll explore why it happens, provide step-by-step cleaning methods, and share tips to keep your floors looking fresh for years to come.
Why Does Vinyl Flooring Turn Yellow?
Understanding the cause of the yellowing can help you choose the right cleaning method and prevent it from happening again. Several factors can contribute to this discoloration.
Sunlight Exposure
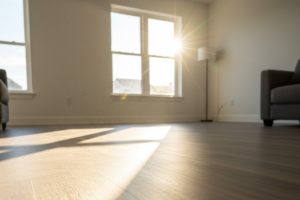
Just like sunlight can fade fabrics and photos, it can also affect your flooring. The UV rays in direct sunlight can break down the chemical compounds in the vinyl, leading to a yellowish tint over time, especially on older floors.
Rubber Backing on Rugs
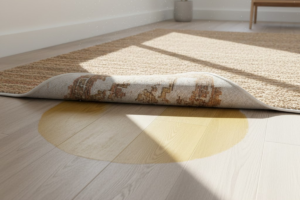
This is a very common culprit. The chemical reaction between the rubber or latex backing on many rugs and the vinyl’s top layer can cause a distinct yellow stain. This process, called plasticizer migration, can be difficult to reverse, making prevention key.
Old Wax or Polish Buildup
Using the wrong type of floor polish or applying too many layers without stripping the old ones can lead to a waxy buildup. Over time, this buildup traps dirt and grime, which oxidizes and turns yellow, hiding the true color of your floor beneath.
Dirt and Grime
An accumulation of everyday dirt, soap residue, and grease can also give your floors a dingy, yellow appearance. This is especially common in high-traffic areas like kitchens and entryways.
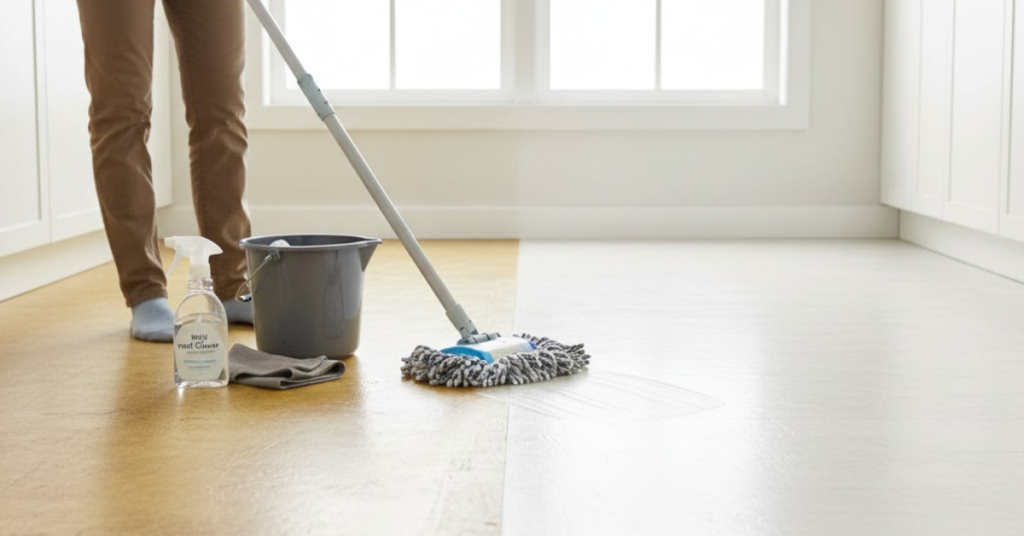
How to Clean Yellowed Vinyl Flooring: Step-by-Step Methods
Ready to get your floors back to their former glory? Here are a few effective methods, starting with the gentlest approach. Always test any cleaning solution on a small, inconspicuous area first.
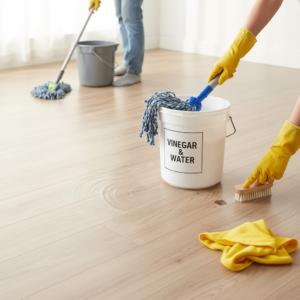
Method 1: The Basic Vinegar and Water Cleanse
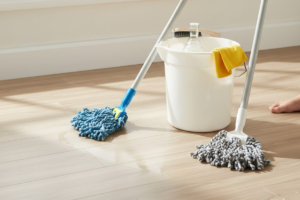
This is a great starting point for general dirt and mild yellowing. Apple cider vinegar and white vinegar are mild acids that are excellent for cutting through grime without damaging the vinyl.
What You’ll Need:
- A bucket
- Warm water
- White or apple cider vinegar
- Two mops or microfiber cloths (one for cleaning, one for rinsing)
- A soft-bristle brush
Instructions:
- Prep the Floor: Start by sweeping or vacuuming the floor thoroughly to remove all loose dirt, dust, and debris.
- Mix Your Solution: In the bucket, mix one cup of vinegar with one gallon of warm water.
- Mop the Floor: Dip your mop or cloth into the vinegar solution, wringing it out well so it’s damp, not soaking wet. Mop the floor in sections, applying gentle pressure.
- Scrub Stubborn Spots: For tougher spots, use a soft-bristle brush dipped in the solution to gently scrub the area. Avoid using abrasive brushes or steel wool, as they can scratch the vinyl.
- Rinse Thoroughly: Once you’ve cleaned the entire floor, empty your bucket and refill it with clean, cool water. Use your second mop or cloth to rinse the floor, removing any lingering vinegar solution. This step is crucial to prevent a dull film from forming.
- Dry the Floor: Allow the floor to air dry completely, or use a dry microfiber cloth to speed up the process.
Method 2: Tackling Tough Stains with Baking Soda
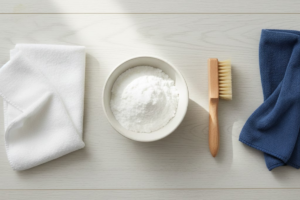
If vinegar alone doesn’t do the trick, a baking soda paste can provide a bit more cleaning power for more stubborn stains.
What You’ll Need:
- Baking soda
- Water
- A soft cloth or sponge
- A soft-bristle brush
Instructions:
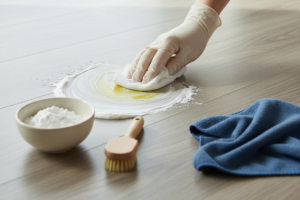
- Create a Paste: In a small bowl, mix baking soda with a small amount of water to form a thick paste, similar in consistency to toothpaste.
- Apply the Paste: Spread the paste directly onto the yellowed areas of the floor.
- Let It Sit: Allow the paste to sit on the stain for 10-15 minutes. This gives the baking soda time to work on breaking down the discoloration.
- Scrub Gently: Use a soft cloth or a soft-bristle brush to gently scrub the area in a circular motion.
- Wipe and Rinse: Wipe away the paste with a clean, damp cloth. Rinse the area thoroughly with plain water to remove any residue and let it dry.
Method 3: Stripping Old Wax Buildup
If your yellowing is caused by old floor polish, you’ll need to strip it away. You can find commercial floor stripping products specifically designed for vinyl at most hardware stores.
Important: Always follow the manufacturer’s instructions carefully when using a commercial stripper.
General Steps:
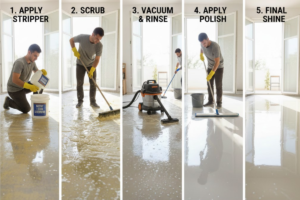
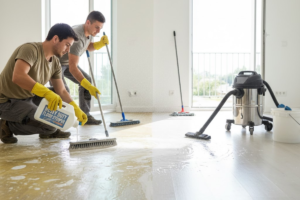
- Prepare the Area: Ensure the room is well-ventilated by opening windows and doors.
- Apply the Stripper: Following the product’s directions, apply the stripping solution to a section of the floor.
- Let It Work: Allow the solution to sit for the recommended amount of time to dissolve the old wax.
- Scrub and Remove: Use a floor scrubbing machine or a stiff-bristled brush to agitate the wax. A wet/dry vacuum is helpful for removing the slurry of old wax and stripper.
- Rinse and Neutralize: Mop the floor with clean water multiple times to remove all traces of the stripping product. Some products may require a specific neutralizer.
- Apply New Polish (Optional): Once the floor is completely clean and dry, you can apply a new coat of high-quality floor polish designed specifically for vinyl floors. This adds a protective layer and a beautiful shine.
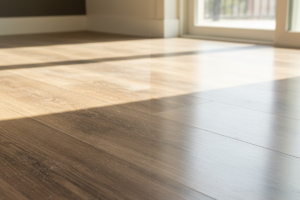
How to Prevent Vinyl Floors from Yellowing
Prevention is always easier than a cure. Follow these tips to keep your vinyl floors bright and clean.
- Use the Right Rugs: Opt for rugs with a non-staining backing made from woven materials, felt, or polypropylene. Avoid rubber-backed mats at all costs.
- Limit Sun Exposure: Use curtains, blinds, or UV-blocking window film to protect your floors from harsh, direct sunlight, especially during peak hours.
- Clean Spills Immediately: Wipe up spills as soon as they happen to prevent them from setting in and staining the floor.
- Regular Cleaning Routine: Sweep or vacuum your floors daily to remove abrasive dirt. Mop weekly with a pH-neutral cleaner or the simple vinegar and water solution mentioned above.
- Avoid Harsh Chemicals: Never use ammonia-based cleaners, abrasive powders, or strong detergents on your vinyl flooring, as they can damage the surface and cause discoloration.
Frequently Asked Questions (FAQs)
Q: Can bleach be used to clean yellowed vinyl flooring?
A: It is generally not recommended to use bleach on vinyl flooring. While it might seem like a good idea for whitening, bleach is a harsh chemical that can strip the protective top layer of the vinyl, damage the material, and even cause it to turn yellow over time.
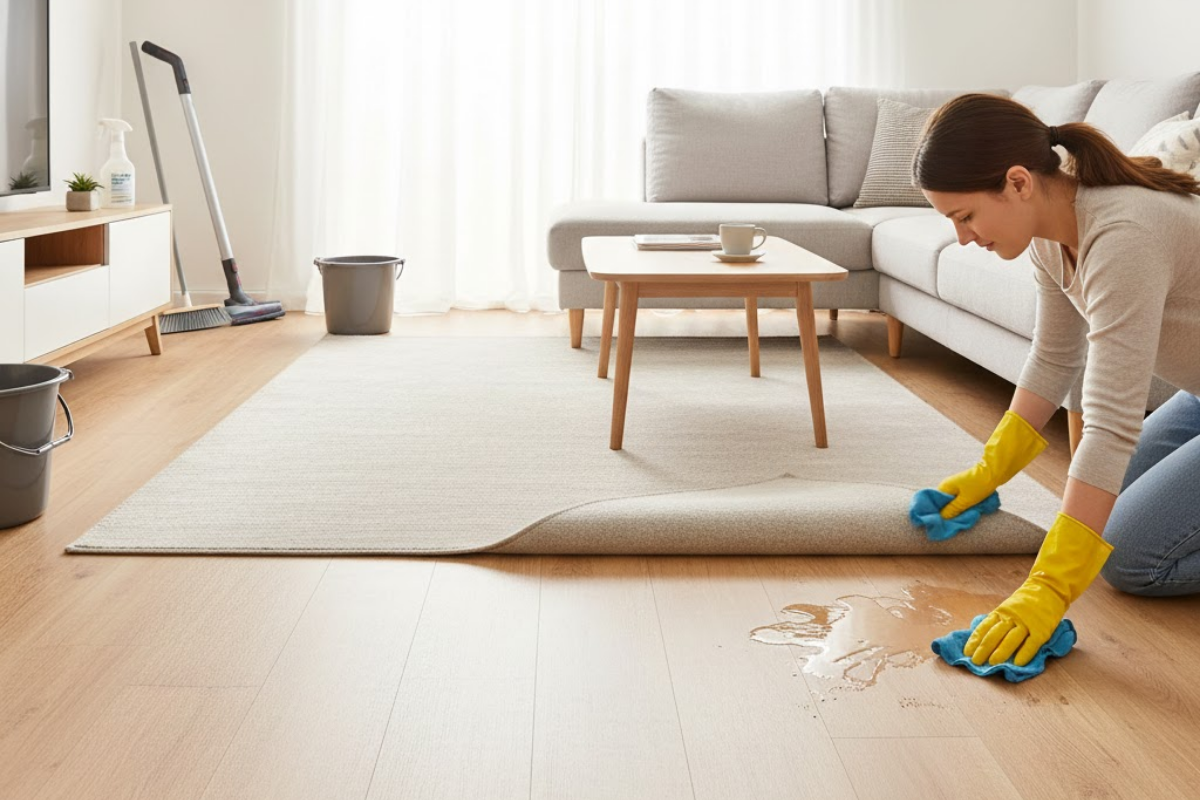
Q: How do I remove yellow stains from under a rug?
A: Yellow stains from a rubber-backed rug are notoriously difficult to remove because it’s a chemical reaction, not a surface stain. You can try the baking soda paste method or a commercial stripper, but success is not guaranteed. The best solution is prevention by using rugs with vinyl-safe backings.
Q: Can I paint over my yellowed vinyl floor?
A: Painting vinyl flooring is possible, but it requires extensive preparation, including deep cleaning, sanding, and priming. It’s often considered a temporary fix, as paint can chip and peel in high-traffic areas.
A Brighter Floor Awaits
Yellowed vinyl flooring can be a frustrating problem, but it’s one you can solve. With a little bit of knowledge and some elbow grease, you can lift away the years of dirt, grime, and discoloration. Start with gentle cleaning methods like vinegar and water, and only move on to stronger solutions if needed.
By following a regular cleaning routine and taking simple preventive measures, you can ensure your vinyl floors remain a beautiful and bright feature in your home for years to come.


1 thought on “How To Clean A Couch That Smells?”
Great post! It’s so important to make the switch to eco-friendly cleaning products. Thanks for sharing these recommendations; I’m definitely going to check some of them out.