
You’ve just finished sanding your wood floors. The surface is smooth, and you’re excited to move on to staining. But hold on for just a moment. Look around at that fine layer of dust covering everything. That dust is the biggest obstacle between you and a flawless, professional-looking finish.
Cleaning a wood floor after sanding is one of the most critical steps in the entire refinishing process. Skipping it or doing a rushed job can lead to a blotchy, uneven stain and a rough final texture. We’ll guide you through the exact process of how to clean your wood floor after sanding and before staining to ensure your hard work pays off with beautiful results.
Why Cleaning After Sanding is So Important
Sanding creates an enormous amount of fine wood dust. This dust settles into the wood grain, fills tiny pores, and covers the entire surface. If you apply stain over this layer of dust, you’re essentially mixing the dust into your finish.
This can cause several problems:
- Uneven Stain Absorption: Dust acts as a barrier, preventing the stain from soaking into the wood evenly. The result is a splotchy, unprofessional finish with light and dark patches.
- Poor Adhesion: The stain and subsequent topcoats won’t adhere properly to a dusty surface. This can lead to the finish peeling or flaking off over time.
- Rough Texture: Dust particles trapped in the stain will create a gritty, rough texture instead of the smooth surface you worked so hard to achieve.
Taking the time to clean thoroughly ensures the wood pores are open and ready to accept the stain uniformly, giving you that deep, rich color you want.
Tools and Materials You’ll Need
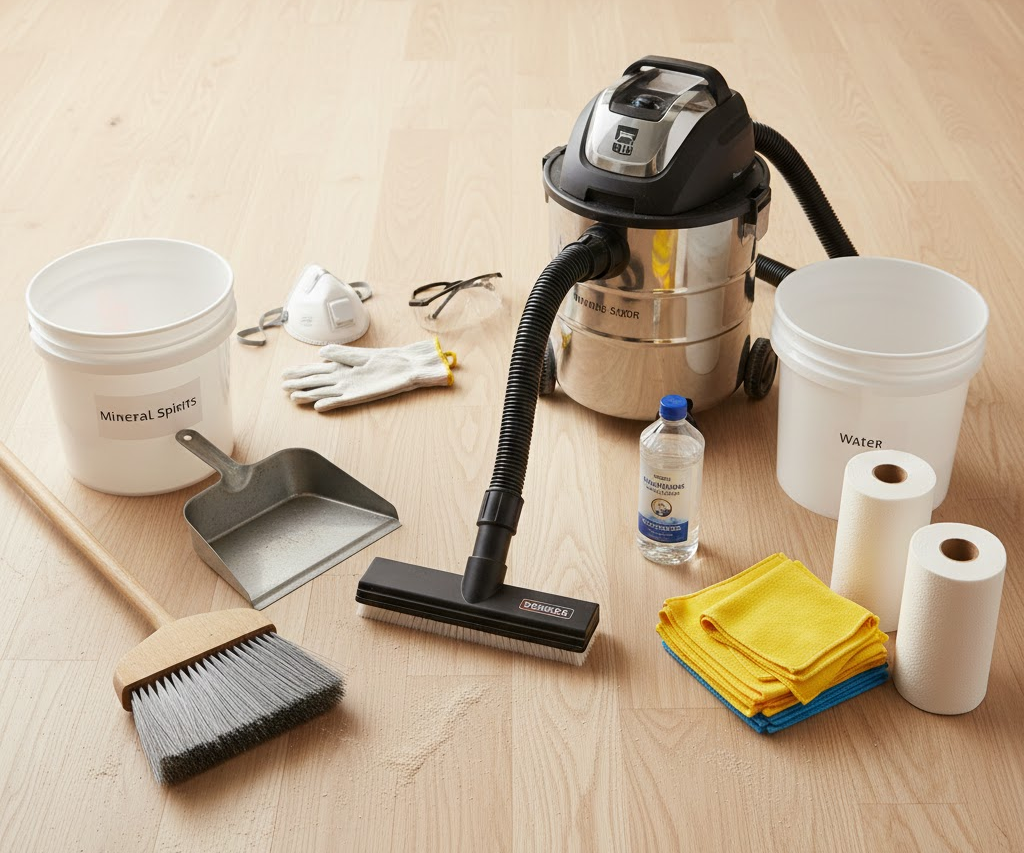
Before you start cleaning, gather the right tools for the job. Having everything on hand will make the process much smoother and more effective.
- Soft-bristled broom
- Dustpan
- Shop vacuum with a soft brush attachment and a fine dust filter
- Microfiber cloths or tack cloths
- Mineral spirits or a wood floor cleaner recommended for pre-stain cleaning
- Bucket
- Safety gear: Dust mask, safety glasses, and gloves
Step-by-Step Guide to Cleaning Your Sanded Floor
Follow these steps carefully to get your floor perfectly clean and ready for stain. The key is to be methodical and patient.
Step 1: The Initial Sweep
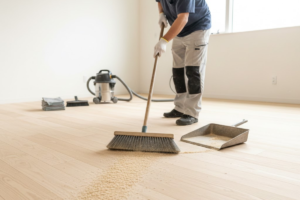
Your first pass at cleaning is all about removing the bulk of the dust and debris.
- Grab your soft-bristled broom and start sweeping.
- Work from the corners of the room inward, moving the dust into a central pile.
- Be gentle to avoid kicking too much dust back into the air.
- Carefully sweep the pile into your dustpan and dispose of it.
This initial sweep won’t get everything, but it removes the majority of the mess and makes the next steps more manageable.
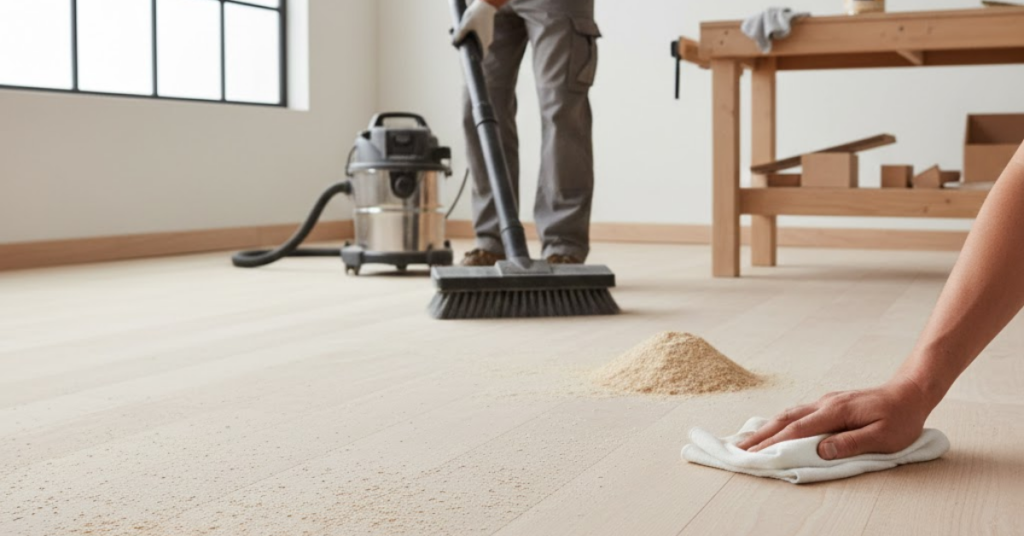
Step 2: Vacuum, Vacuum, and Vacuum Again

A shop vacuum is your best friend in this process. A standard household vacuum might get clogged or simply blow the fine dust back out.
- Attach the soft brush attachment to your shop vacuum’s hose. This prevents you from scratching the freshly sanded wood.
- Vacuum the entire floor thoroughly. Move slowly and work in overlapping lines, similar to how you would mow a lawn. Make sure to cover every inch of the floor.
- Pay extra attention to the edges and corners where dust loves to accumulate. Use a crevice tool if needed.
- Once you’ve finished, vacuum the floor a second time, this time going in the opposite direction. This helps pull up any dust that settled back down or was missed on the first pass.
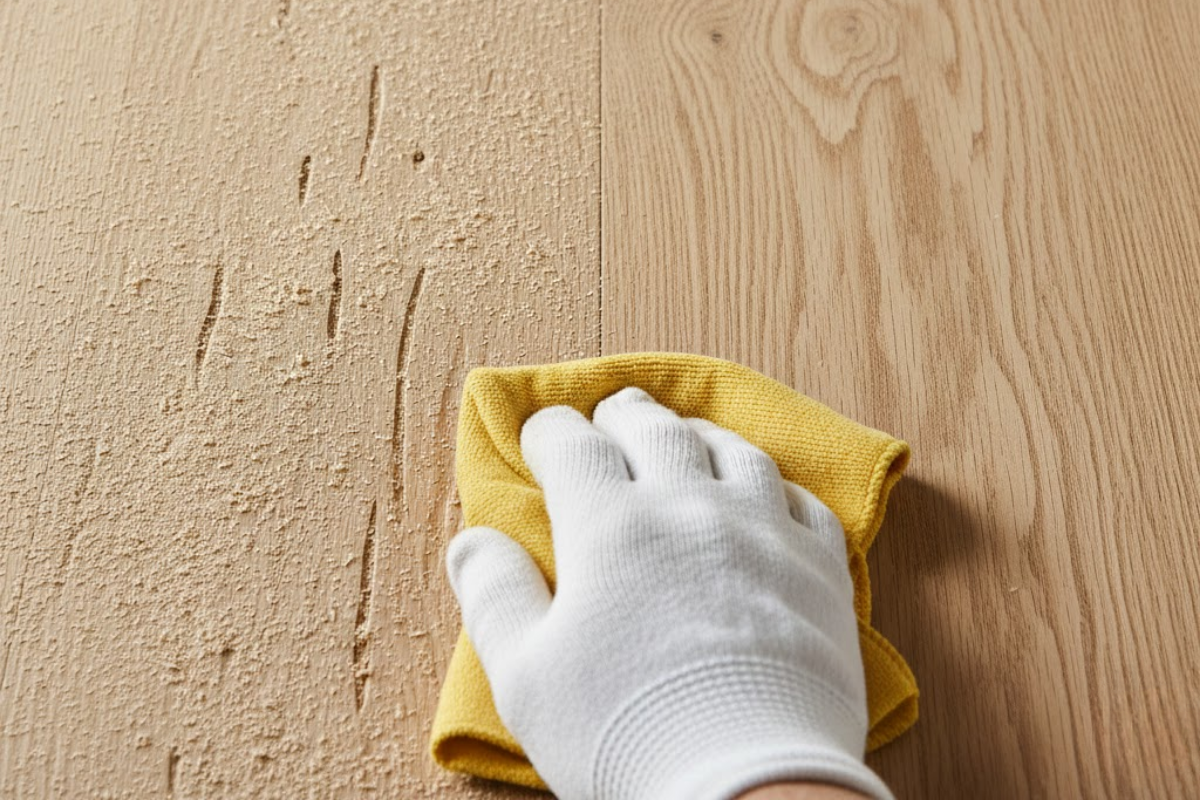
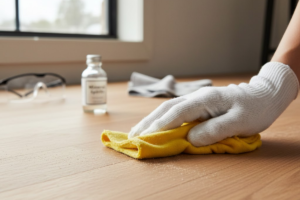
Step 3: The Tack Cloth or Microfiber Wipe-Down
Now that the visible dust is gone, it’s time to tackle the microscopic particles that are still clinging to the wood surface.
There are two excellent options for this step:
- Tack Cloths: These are sticky cheesecloths designed specifically to pick up fine dust without leaving residue. Gently wipe the entire surface of the floor with a tack cloth, refolding it often to expose a clean side.
- Microfiber Cloths and Mineral Spirits: This is a very effective method. Lightly dampen a clean microfiber cloth with mineral spirits. The mineral spirits will help “grab” the dust and will evaporate quickly without raising the wood grain. Wipe the entire floor, rinsing the cloth or switching to a new one frequently.
When wiping, always move in the direction of the wood grain. This helps clean out the tiny pores of the wood. After this step, your floor should look and feel completely dust-free.
Step 4: The Final Inspection
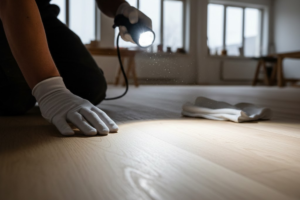
Before you open that can of stain, do one last check.
- Look at the floor from a low angle with a light source. This will help reveal any remaining dust or haze.
- Run your hand over the surface. It should feel perfectly smooth, with no grittiness.
- Wipe a clean, dry microfiber cloth over a small section. If it comes up clean, you are ready to go. If it picks up any dust, repeat Step 3 in that area.
Common Mistakes to Avoid
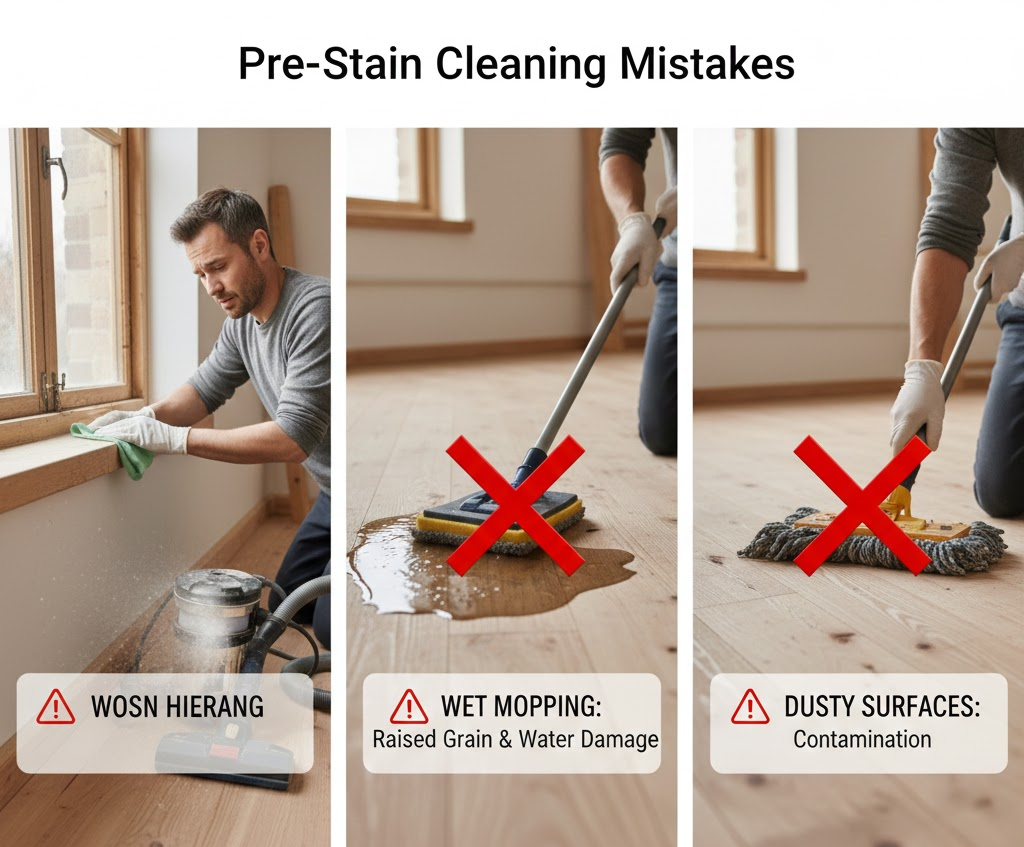
A few common errors can undermine your cleaning efforts. Be sure to avoid these pitfalls:
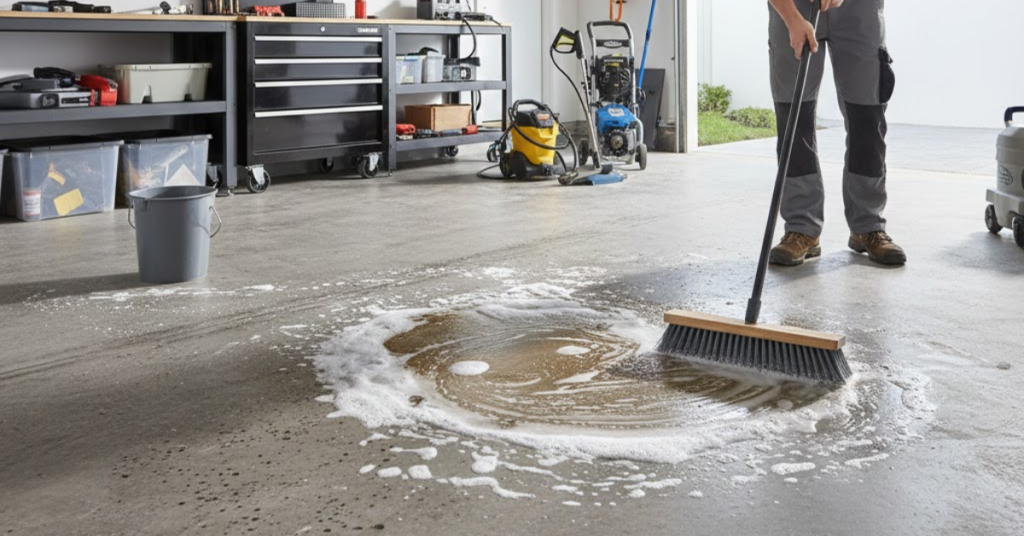
- Using a wet mop with water: Water can raise the grain of the freshly sanded wood, creating a rough texture and causing the wood to absorb the stain unevenly. Stick to mineral spirits or a designated pre-stain cleaner.
- Using a dirty vacuum filter: A clogged filter will just circulate dust back into the room. Ensure your shop vac has a clean, fine-dust filter installed.
- Rushing the process: The most common mistake is simply not being thorough enough. Take your time with each step. It’s better to spend an extra 30 minutes cleaning than to ruin your floor’s finish.
- Ignoring the walls and windowsills: Dust gets everywhere. Before your final wipe-down of the floor, quickly wipe down any nearby surfaces where dust may have settled. Otherwise, it could fall back onto your clean floor.
Frequently Asked Questions (FAQ)
Q: Can I just use a tack cloth instead of vacuuming?
A: It’s not recommended. A tack cloth is designed for the final, fine-dust removal. If you try to use it to clean up the bulk of the sanding dust, it will quickly become overloaded and ineffective. Always sweep and vacuum first.
Q: How long should I wait to stain after cleaning?
A: If you used mineral spirits, wait about 15-30 minutes for them to fully evaporate. If you only did a dry cleaning with a vacuum and tack cloth, you can begin staining immediately. The key is to stain while the floor is perfectly clean, before any new dust has a chance to settle.
Q: Is it okay to walk on the floor after cleaning but before staining?
A: Try to avoid it as much as possible. If you must walk on it, do so only in clean socks. Shoes can track in dirt and oils that will interfere with the stain.
Your Floor is Ready for Its New Look
Cleaning your wood floor after sanding is a non-negotiable step for a beautiful, long-lasting finish. By following a methodical process of sweeping, vacuuming, and performing a final wipe-down, you create the perfect canvas for your stain. Your patience and attention to detail during this crucial preparation phase will be rewarded with a stunning wood floor that you can be proud of for years to come.


1 thought on “How To Clean A Couch That Smells?”
Great post! It’s so important to make the switch to eco-friendly cleaning products. Thanks for sharing these recommendations; I’m definitely going to check some of them out.