Vinyl Composition Tile, or VCT, is a popular flooring choice for high-traffic areas like kitchens, hallways, and commercial spaces. It’s known for its durability and cost-effectiveness, but to keep it looking its best, it needs proper care. Learning how to clean VCT floor tiles the right way will protect your investment, prevent damage, and maintain a clean, professional appearance for years to come.
This guide will provide everything you need to know. We’ll cover daily cleaning routines, deep cleaning methods, and how to strip and wax your floors for a complete refresh.
Why Proper VCT Floor Cleaning is Important
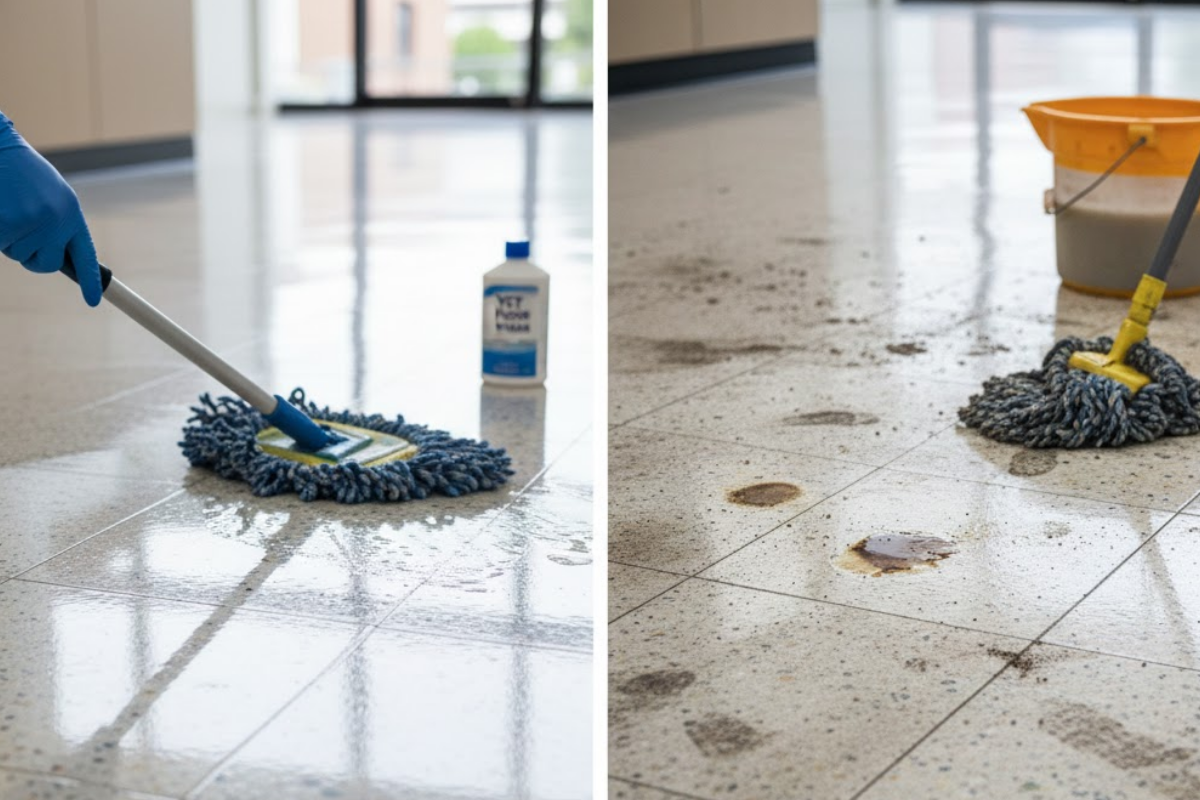
VCT flooring has a porous surface. This means that without a protective layer of wax or finish, it can easily absorb dirt, grime, and liquids, leading to stains and damage. Regular cleaning does more than just keep up appearances.
- Preserves the Protective Finish: The wax finish on VCT floors acts as a shield. Sweeping and mopping remove abrasive particles like sand and grit that can scratch and wear down this protective layer.
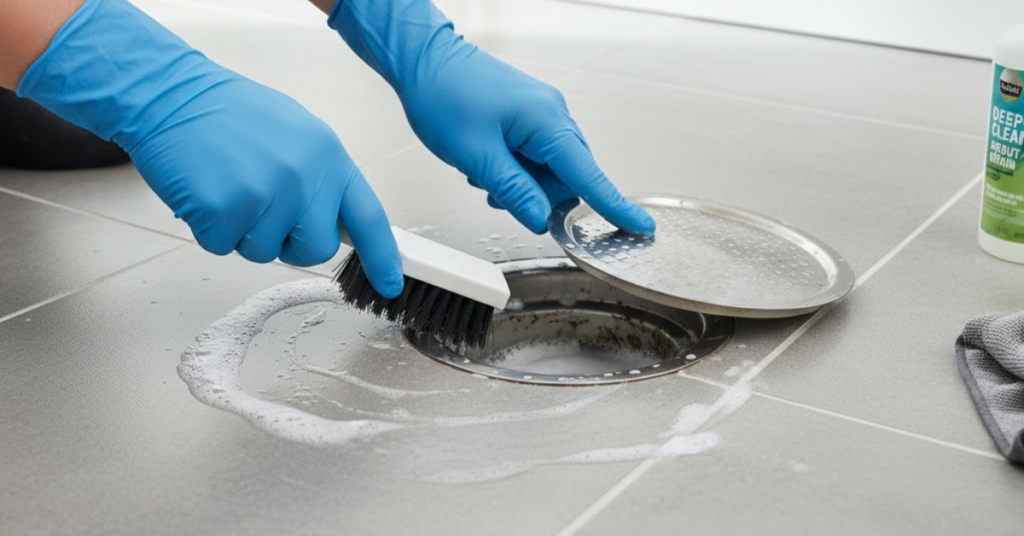
- Prevents Stains and Discoloration: Spills that are left to sit can seep into the tile’s pores, causing permanent stains. Prompt cleaning keeps your tiles looking vibrant and uniform.
- Enhances Safety: A buildup of dust or greasy residue can make floors slippery. Regular cleaning ensures a safe, non-slip surface.
- Improves Longevity: By maintaining the wax finish and preventing deep-set grime, you extend the life of your VCT flooring, saving you from costly repairs or replacement down the line.
Tools and Materials for Cleaning VCT
Having the right supplies on hand makes the cleaning process much more efficient. You’ll need slightly different tools for daily maintenance versus deep cleaning.
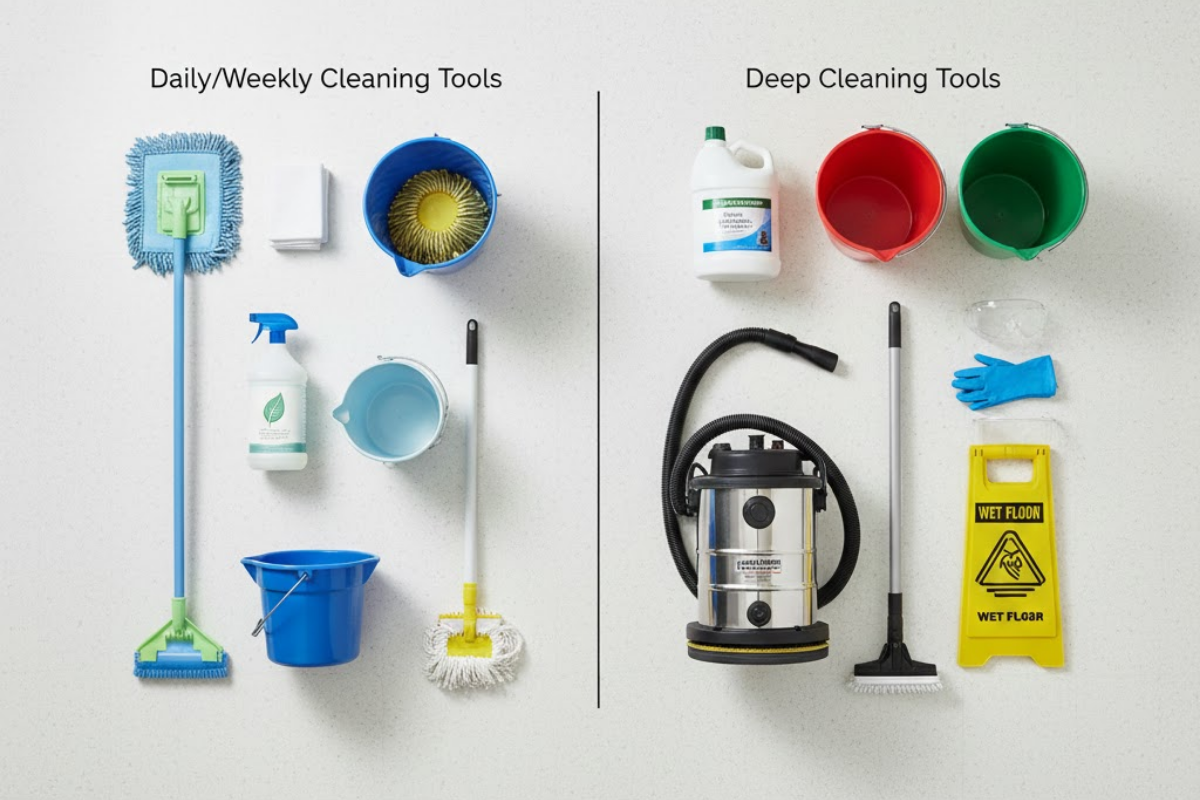
For Daily or Weekly Cleaning:
- A soft-bristle broom or dust mop
- A mop and bucket
- pH-neutral floor cleaner
- Clean water
- Soft cloths or a non-abrasive scrub pad
For Deep Cleaning (Stripping and Waxing):
- Floor stripping solution
- A low-speed floor buffer (175 RPM) with a black stripping pad
- A wet/dry vacuum
- Multiple mop heads and buckets
- Floor wax or finish
- A clean rayon or microfiber finish mop
- Safety gear: gloves and protective eyewear
- “Wet Floor” signs
Step-by-Step Guide to Cleaning VCT Floor Tiles
Maintaining VCT flooring involves three key levels of care: daily sweeping, regular mopping, and periodic deep cleaning.
Part 1: Daily and Weekly Maintenance
This is your first line of defense against dirt and damage.
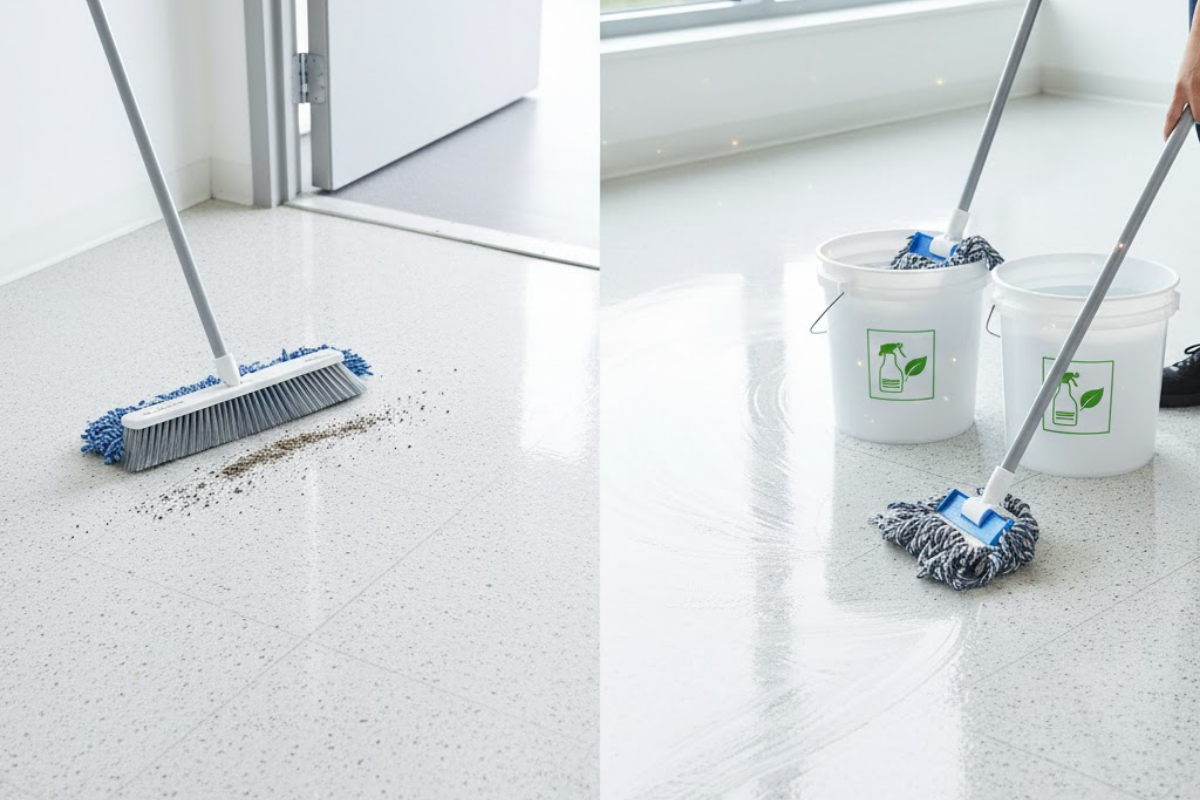
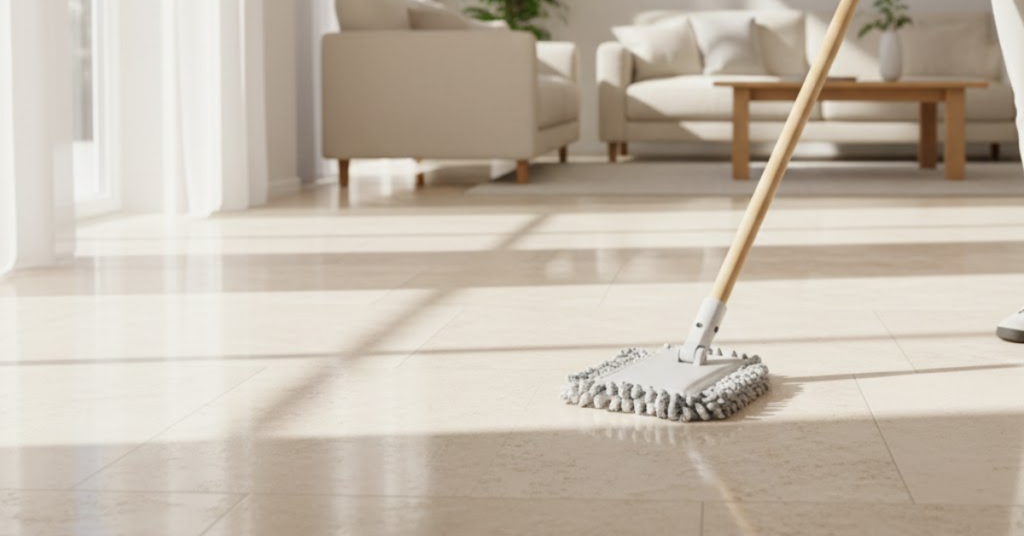
Step 1: Sweep or Dust Mop Daily
Use a soft-bristle broom or a dust mop to remove loose dirt, dust, and debris. This is the single most important step in preventing scratches on the wax finish. Pay close attention to entryways and high-traffic zones where dirt is most likely to accumulate.
Step 2: Mop with a pH-Neutral Cleaner
For weekly cleaning or to tackle spills, mopping is essential.
- Fill a bucket with cool or lukewarm water and add a pH-neutral cleaner according to the product’s directions. Avoid using harsh chemicals like ammonia or bleach, as they can damage the wax.
- Submerge your mop in the solution and wring it out thoroughly until it is damp, not soaking wet. Using too much water can cause it to seep between the tiles and loosen the adhesive.
- Mop the floor in sections, working your way toward an exit.
- After mopping with the cleaning solution, it’s a good practice to do a second pass with a clean mop and plain water. This rinse step removes any leftover cleaner residue that could leave the floor sticky and attract more dirt.
- Allow the floor to air dry completely before walking on it.
Part 2: How to Deep Clean, Strip, and Wax VCT Floors
Over time, layers of old wax can yellow and trap dirt, making the floor look dull no matter how much you mop it. Stripping and applying a fresh coat of wax, typically done once or twice a year, will restore its original shine.
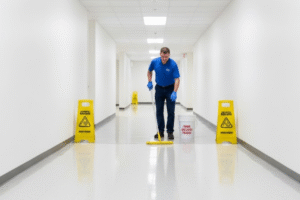
Step 1: Prepare the Area
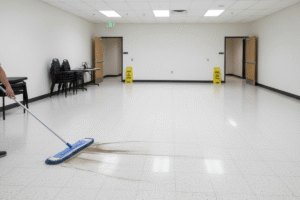
Remove all furniture, rugs, and obstacles from the room. Perform a thorough sweep or dust mopping to remove all loose debris. Place “Wet Floor” signs at all entrances.
Step 2: Apply the Floor Stripper

Following the manufacturer’s instructions, dilute the floor stripping solution with water in a mop bucket. Apply the solution generously to a manageable section of the floor using a dedicated “stripping” mop. Let it sit for the recommended time (usually 10-15 minutes) to dissolve the old layers of wax. Do not let the solution dry on the floor.
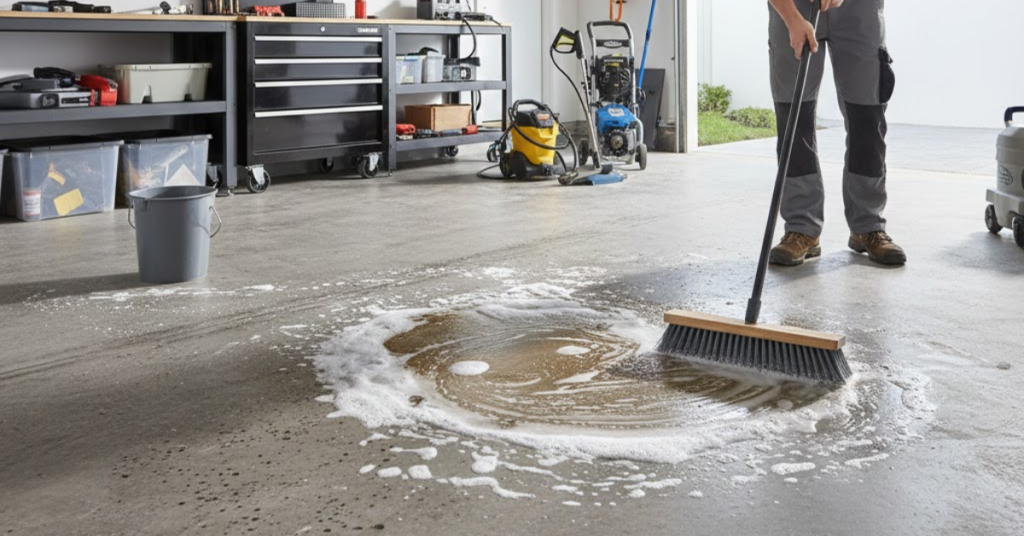
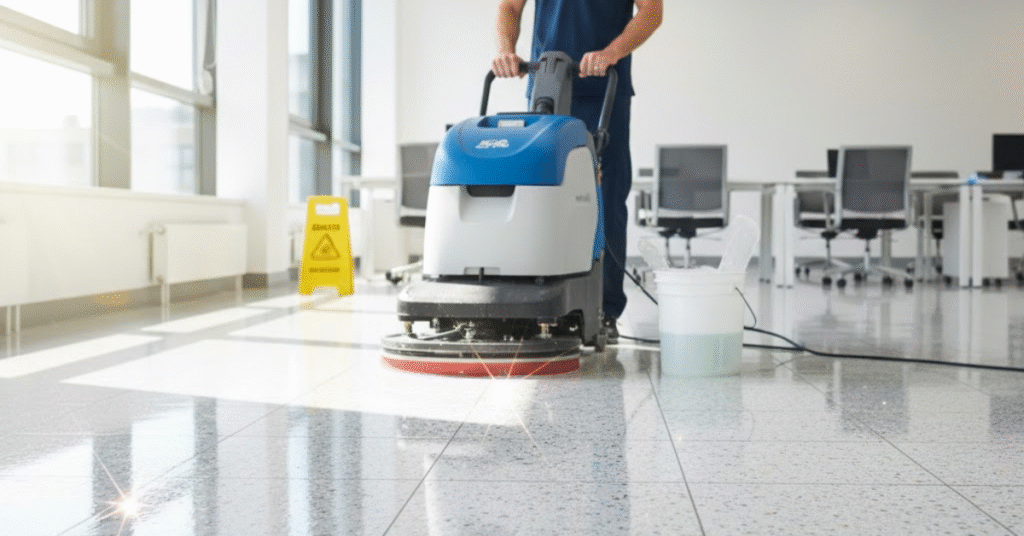
Step 3: Scrub the Floor
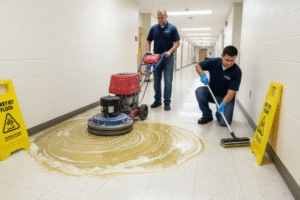
Use a low-speed floor buffer equipped with a black stripping pad to scrub the section. The machine’s friction will work with the chemical stripper to break down the old finish. For corners and edges the buffer can’t reach, use a doodlebug pad holder or a stiff-bristled brush. You should see the old, yellowed wax turn into a slurry.
Step 4: Remove the Slurry
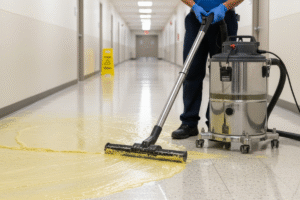
Use a wet/dry vacuum to remove all the stripping solution and dissolved wax from the floor. Work methodically to ensure you get everything up.
Step 5: Rinse and Neutralize
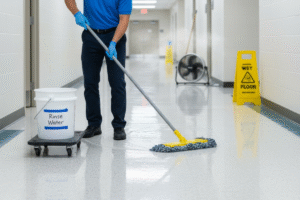
This step is critical. Mop the entire floor with clean, cold water to remove any remaining stripper residue. Some professionals add a floor neutralizer to the rinse water to ensure the pH is correct for the new wax application. Mop with clean water at least twice, changing the water between rinses. Let the floor dry completely. A fan can help speed up this process.
Step 6: Apply New Floor Finish (Wax)
- Pour the new VCT floor finish into a clean, lined mop bucket.
- Use a new, dedicated finish mop (rayon or microfiber mops work best). Dip the mop into the finish and wring it out slightly.
- Apply a thin, even coat to the floor, starting at the farthest point from the door and working your way out. Use smooth, overlapping strokes.
- Let the first coat dry completely. Drying time can vary from 30 to 60 minutes depending on humidity and airflow.
- Apply three to five thin coats in total, allowing each coat to dry fully before applying the next. Thin coats are much more effective and durable than one thick coat.
Handling Scuffs, Stains, and Spills
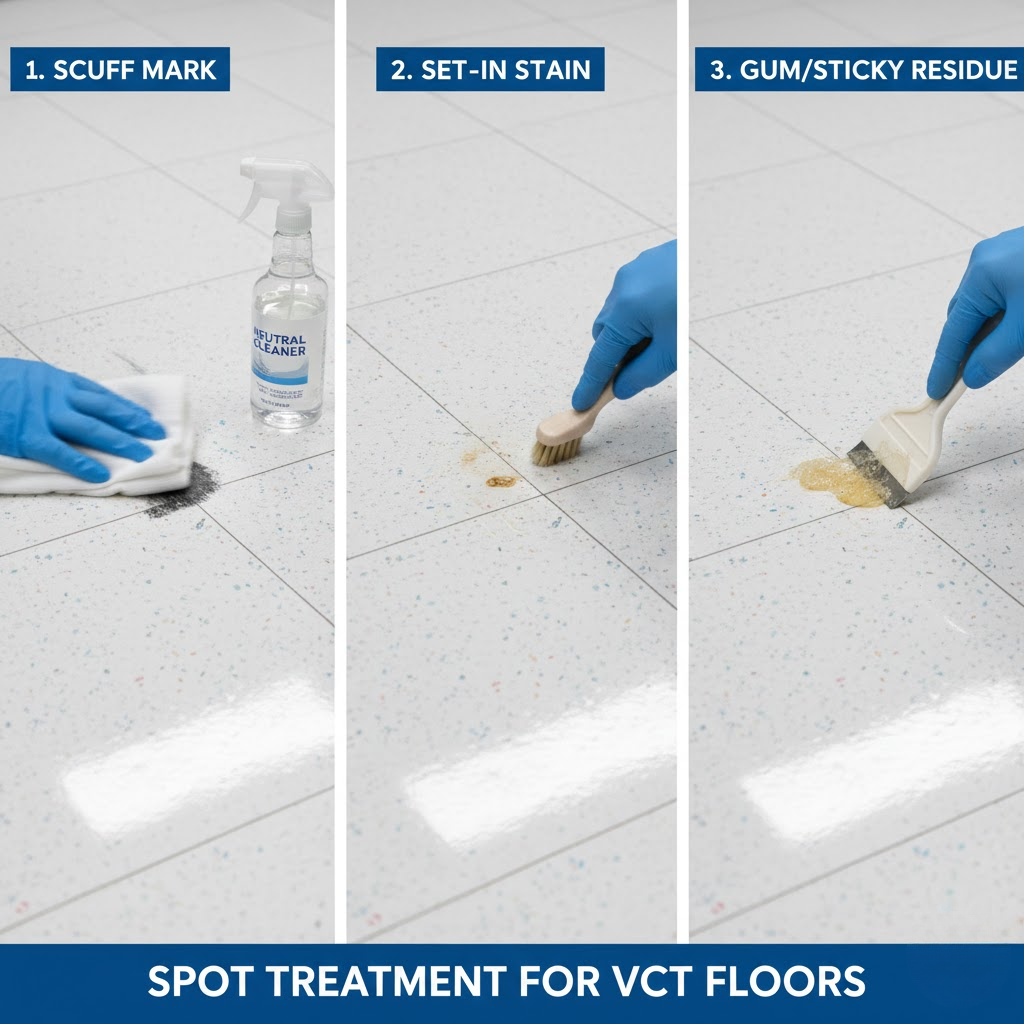
For issues that pop up between deep cleanings, you can use these spot treatments.
- Scuff Marks: Many scuff marks from shoes can be removed by rubbing them with a tennis ball. For tougher scuffs, spray a small amount of neutral cleaner onto a cloth or non-abrasive pad and gently scrub the mark away.
- Stains: Act quickly. Blot spills immediately with a clean cloth. For stains that have set, use your pH-neutral cleaner and a soft brush. For very stubborn stains like ink or dye, you may need a specialized vinyl stain remover, but test it in an inconspicuous area first.
- Gummy Residue: To remove gum or other sticky substances, apply ice in a plastic bag to harden the residue. Once it’s brittle, you can gently scrape it off with a plastic scraper.
By following a consistent cleaning schedule and using the right products, you can easily keep your VCT floors looking bright, clean, and professional for many years.