Unsealed wood floors have a beautiful, natural charm that adds warmth and character to any home. Unlike their sealed counterparts, they don’t have a protective layer like polyurethane, which means they are more vulnerable to moisture, stains, and damage. This can make cleaning them feel a bit intimidating.
The good news is that with the right approach, you can keep your unsealed wood floors looking their best. This guide will walk you through everything you need to know about how to clean unsealed wood floors safely and effectively. We’ll cover the best tools, a step-by-step process, and tips for long-term care.
Why Cleaning Unsealed Wood Floors Is Different
The key difference lies in the wood’s porosity. Sealed floors have a barrier that repels water and prevents dirt from penetrating the wood grain. Unsealed floors, however, are like a sponge. Any liquid that sits on the surface can quickly soak in, leading to dark spots, warping, or even mold growth.
Because of this vulnerability, you must avoid traditional mopping methods that use a lot of water. The goal is to clean the surface without letting moisture seep into the wood. Careful, gentle cleaning is essential to preserve the integrity and beauty of your floors.
Tools and Materials You’ll Need
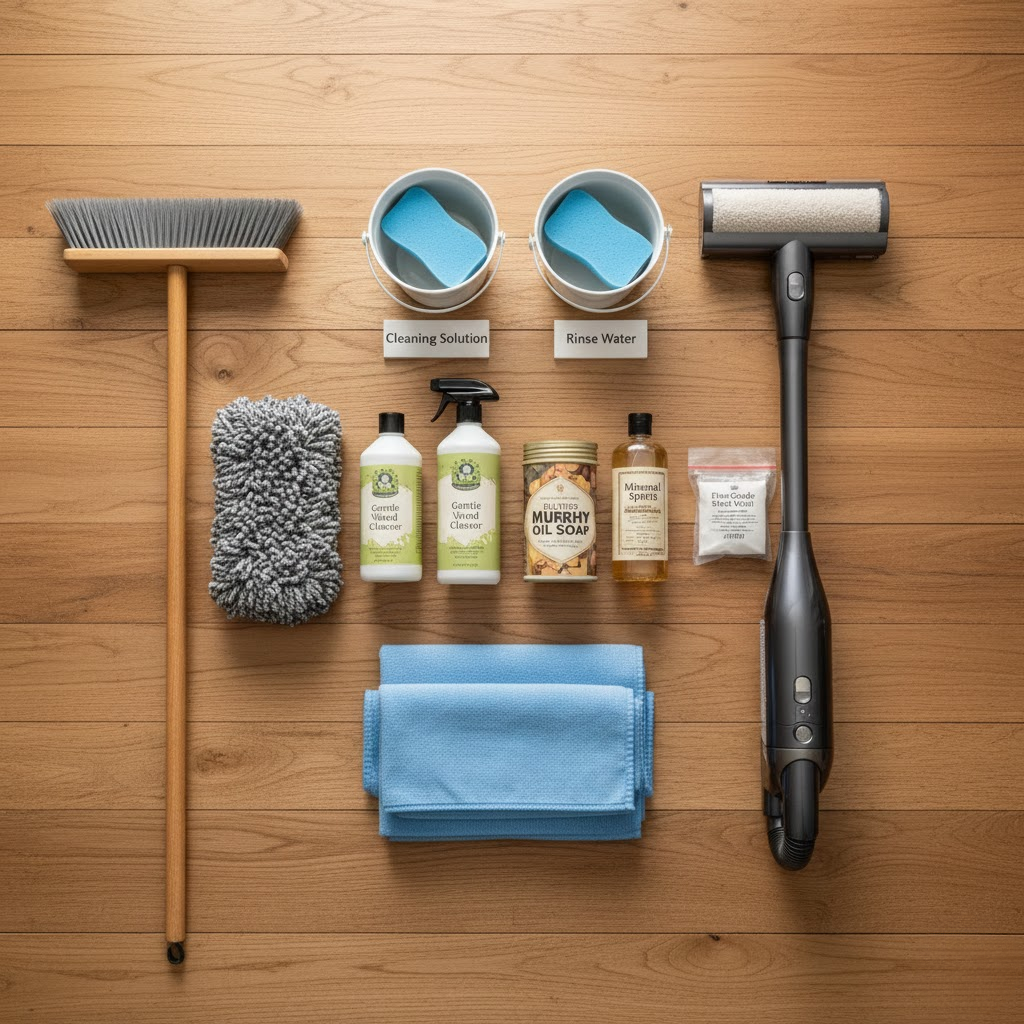
Gathering the right supplies beforehand will make the cleaning process smoother and safer for your floors. You won’t need any harsh chemicals or expensive gadgets.
For Routine Cleaning:
- A soft-bristle broom or dust mop
- A vacuum cleaner with a hardwood floor setting or a soft brush attachment (avoid beater bars)
- Microfiber cloths
For Deeper Cleaning:
- Two buckets
- A soft mop (like sponge or microfiber) or several clean cloths
- Mild or pH-neutral wood cleaner (specifically formulated for unfinished wood)
- Murphy Oil Soap (heavily diluted) or a homemade solution
- Mineral spirits for spot-treating greasy stains
- Fine-grade steel wool (#0000) for tough spots
How to Clean Unsealed Wood Floors: A Step-by-Step Guide
Follow these steps to clean your floors without causing harm. Remember, the less water you use, the better.
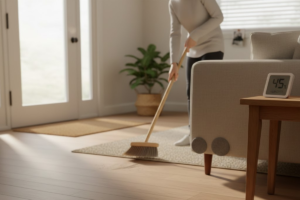
Step 1: Remove All Dust and Debris
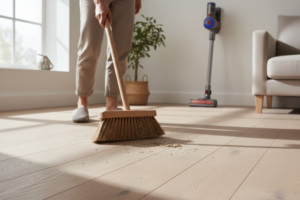
Before introducing any moisture, you must clear the floor of all loose dirt, dust, and grit. These particles can act like sandpaper during the cleaning process, scratching the wood surface.
Start by sweeping with a soft-bristle broom or using a dust mop. Pay special attention to corners and areas under furniture. For a more thorough job, use a vacuum cleaner with a soft brush attachment. This lifts fine dust from between the floorboards. Never use a vacuum with a stiff beater bar, as it can dent and scratch the soft wood.
Step 2: Prepare Your Cleaning Solution
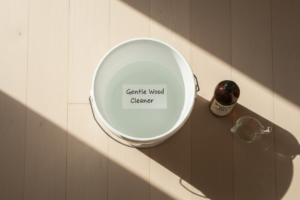
This is the most critical step. You need a very mild, minimally wet solution.
- Commercial Cleaner: If you choose a store-bought cleaner, make sure it is explicitly designed for unsealed or unfinished wood. Follow the dilution instructions on the label carefully.
- DIY Solution: For a simple and effective homemade cleaner, mix a small amount of a gentle, pH-neutral soap (like Murphy Oil Soap) with a gallon of water. Use only a few drops of soap; the water should not feel sudsy. Some experts also recommend a solution of one part white vinegar to ten parts water, but use this sparingly as acid can sometimes affect the wood.
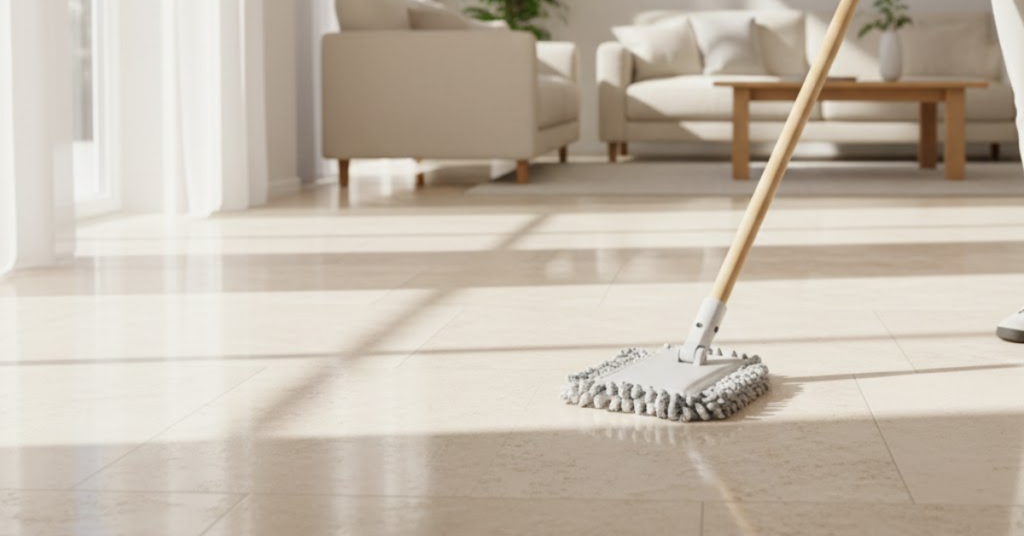
Step 3: Damp-Mop the Floor
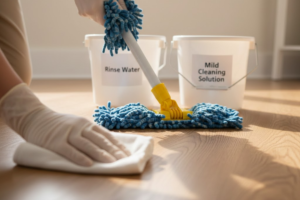
This is where the term “damp-mopping” is truly put to the test.
- Fill one bucket with your diluted cleaning solution and a second bucket with clean, plain water for rinsing.
- Dip your mop or cloth into the cleaning solution.
- Wring it out completely until it is barely damp to the touch. It should not drip any water when you hold it up.
- Mop a small section of the floor, moving with the grain of the wood.
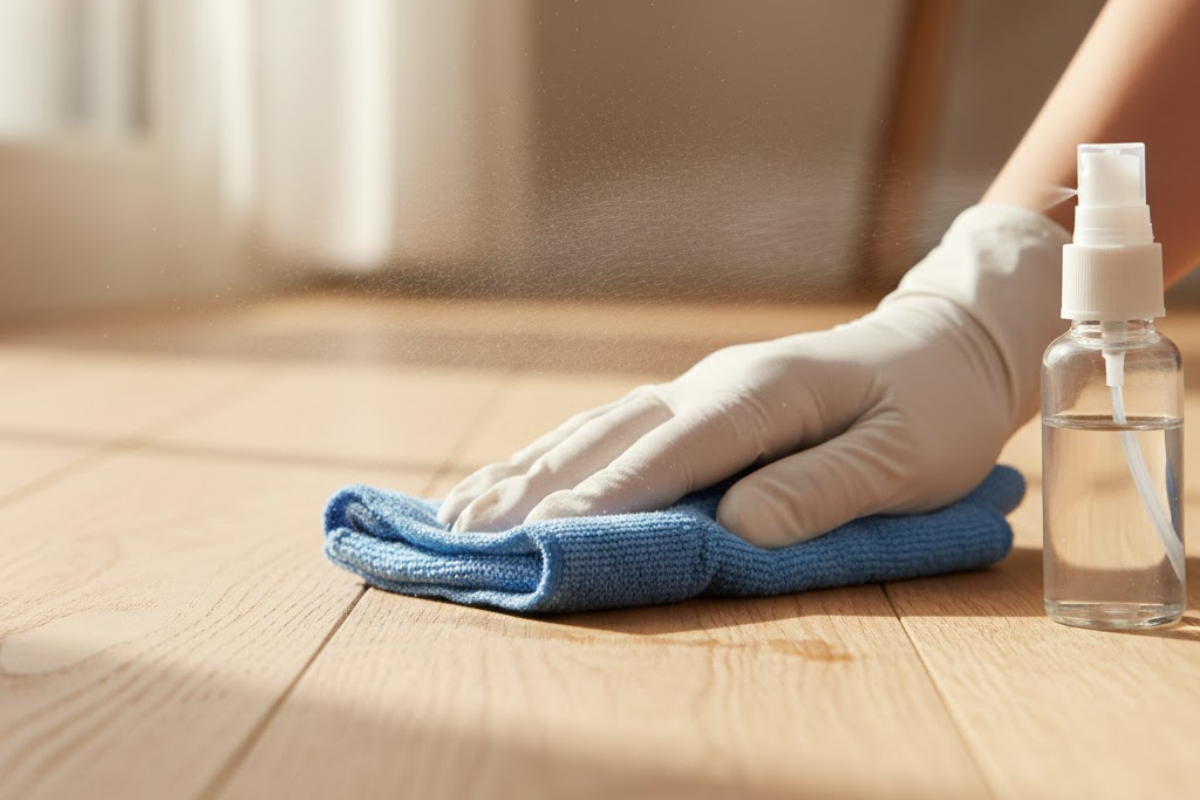
- Immediately after mopping the section, take a separate, clean microfiber cloth and dry the area thoroughly. Do not let any water stand on the floor for even a minute.
- Continue this process section by section, ensuring you dry as you go.
Step 4: Handle Stains and Tough Spots
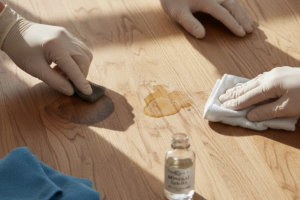
For spots that regular cleaning doesn’t lift, you can try some targeted treatments.
- Water Stains: Lightly rub the dark spot with a piece of #0000 fine-grade steel wool. Go gently and work with the grain.
- Greasy Stains: Apply a small amount of mineral spirits to a clean cloth and gently dab the spot. The mineral spirits can help break down the oil without damaging the wood.
- General Grime: For stubborn dirt, you can use your cleaning solution on a cloth and gently scrub the area by hand. Again, dry it immediately.
Maintaining Your Unsealed Wood Floors
Proper maintenance is just as important as cleaning. Consistent care will reduce how often you need to deep clean and will extend the life of your floors.
- Sweep or vacuum daily: This prevents the buildup of abrasive dirt that can scratch the wood.
- Clean spills immediately: Use a dry, absorbent cloth to blot up any liquid the moment it spills.
- Use furniture pads: Place felt pads under the legs of all furniture to prevent scratches and dents when it’s moved.
- Use rugs and mats: Place mats at all entrances to trap dirt and water from shoes. Use area rugs in high-traffic zones to protect the wood from wear.
- Control humidity: Wood expands and contracts with changes in humidity. Try to maintain a stable indoor environment to prevent boards from warping or gapping.
Common Mistakes to Avoid
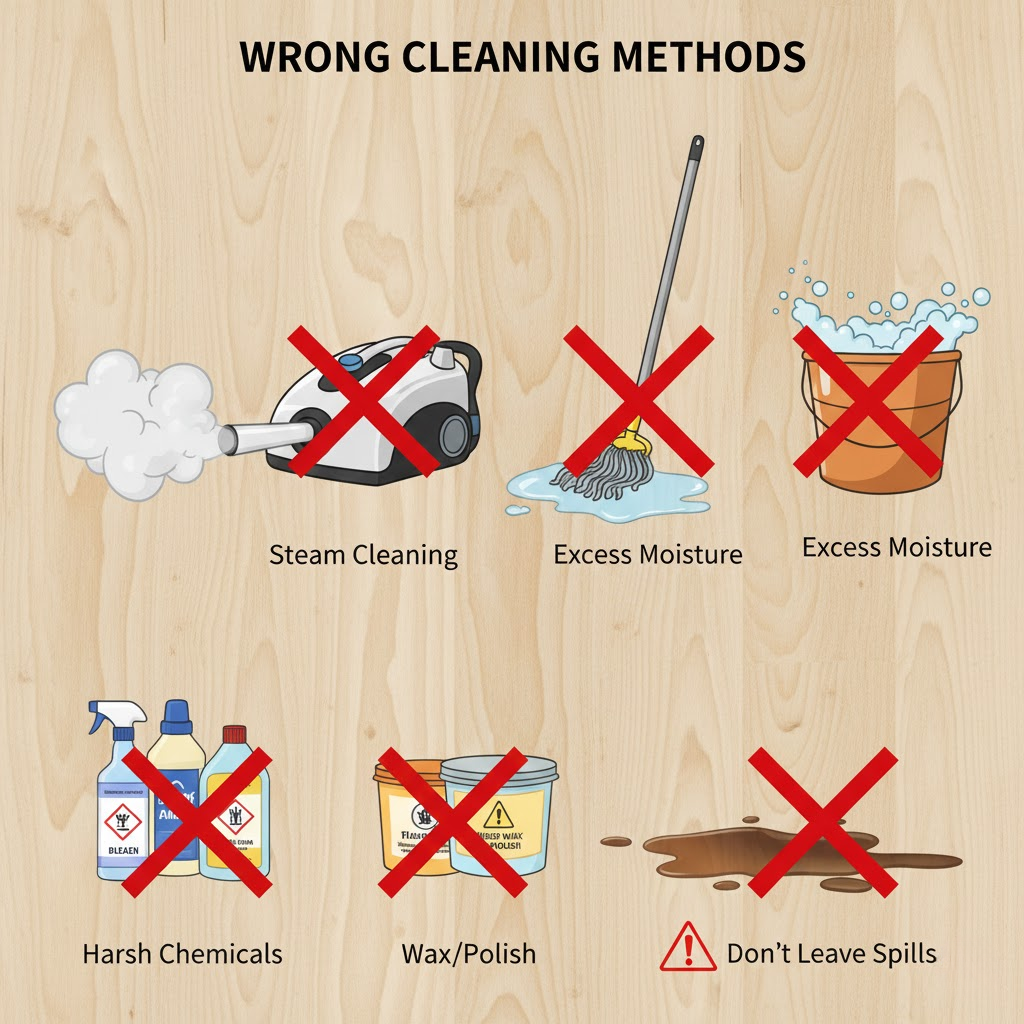
Protecting your unsealed floors often means knowing what not to do. Avoid these common errors:
- Never use a steam cleaner: The combination of high heat and moisture will cause irreversible damage, including warping and discoloration.
- Never use a wet mop: Soaking the floor with water is the fastest way to ruin unsealed wood.
- Avoid harsh chemical cleaners: All-purpose cleaners, ammonia, or abrasive powders are too aggressive and will damage the wood fibers.
- Don’t use wax or acrylic polish: These products are designed for sealed floors and will create a sticky, difficult-to-remove buildup on an unsealed surface.
- Don’t let spills sit: The longer liquid sits, the deeper it soaks in, making stains much harder to remove.
Frequently Asked Questions
Q: Can I use Murphy Oil Soap on unsealed wood floors?
A: Yes, but it must be heavily diluted. Use only a very small amount in a large volume of water. When used correctly, it’s a gentle and effective cleaner for unfinished wood.
Q: How can I tell if my wood floors are sealed or unsealed?
A: Find an inconspicuous spot on the floor and place a single drop of water on it. If the water beads up and sits on the surface, your floor is likely sealed. If the drop quickly soaks in and darkens the wood, your floor is unsealed.
Q: How often should I deep clean my unsealed wood floors?
A: It depends on the amount of foot traffic. For most homes, a thorough damp-mopping once every 1-2 months is sufficient. Routine sweeping or vacuuming should be done every few days.
Q: Is it possible to seal my unsealed wood floors?
A: Absolutely! Applying a sealant like a penetrating oil finish or a surface finish like polyurethane can protect your floors from moisture and wear. This is a bigger project that may require professional help, but it’s a great way to preserve your wood for the long term.