
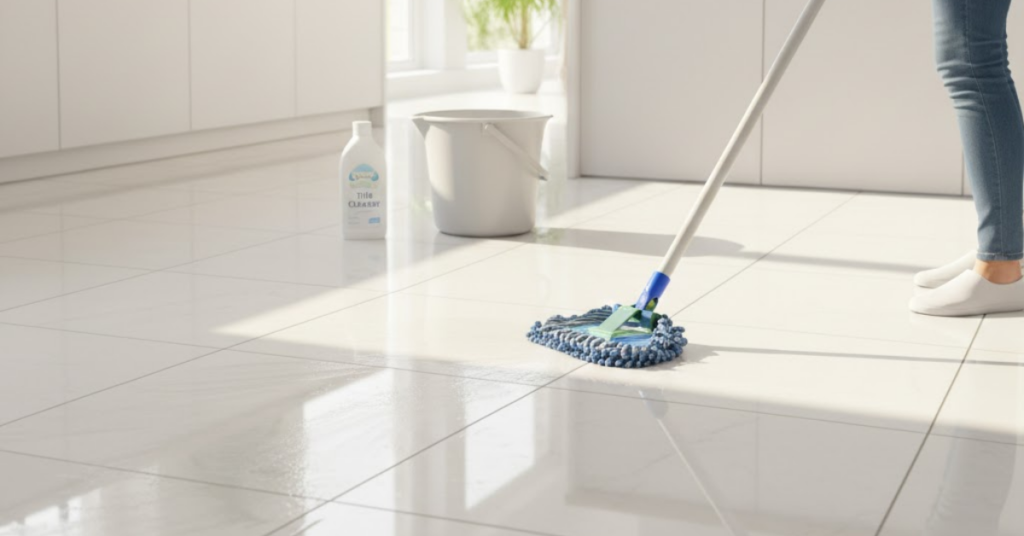
Shiny tile floors can make any room feel brighter and more luxurious. That beautiful, reflective surface adds a touch of elegance, but it also shows every speck of dust, footprint, and smudge. Keeping them pristine might seem like a constant battle, but it doesn’t have to be. With the right approach, you can easily maintain that brilliant shine.
This guide will walk you through everything you need to know about how to clean shiny tile floors. We will cover the best tools, step-by-step methods for a streak-free finish, and tips for keeping them looking their best. Get ready to enjoy that brand-new floor feeling every day.
Why Regular Cleaning is Key for Shiny Tiles
Consistent cleaning does more than just keep your floors looking good. It’s essential for preserving their quality and shine over the long term.
- Prevents Scratches: Dust, sand, and other small particles act like sandpaper. When people walk over a dirty floor, these grits get ground into the tile’s surface, creating tiny scratches that dull the finish. Regular sweeping and vacuuming remove these abrasive materials.
- Avoids Stains and Discoloration: Spills, especially acidic ones like juice or coffee, can etch the surface or stain the grout if left unattended. Prompt cleaning protects the integrity of your tiles.
- Maintains Grout Health: Dirt and grime build up in grout lines, making them look dark and dirty. This buildup can also trap moisture, leading to mildew. Clean grout is crucial for a clean-looking floor.
- Enhances Shine: A layer of dirt and residue diffuses light, making your tiles appear dull. A clean surface reflects light evenly, creating that signature sparkle.
Essential Tools and Materials
Before you start, gathering the right supplies will make the process faster and more effective. Using the wrong tools can damage your shiny tiles, so it’s important to choose wisely.
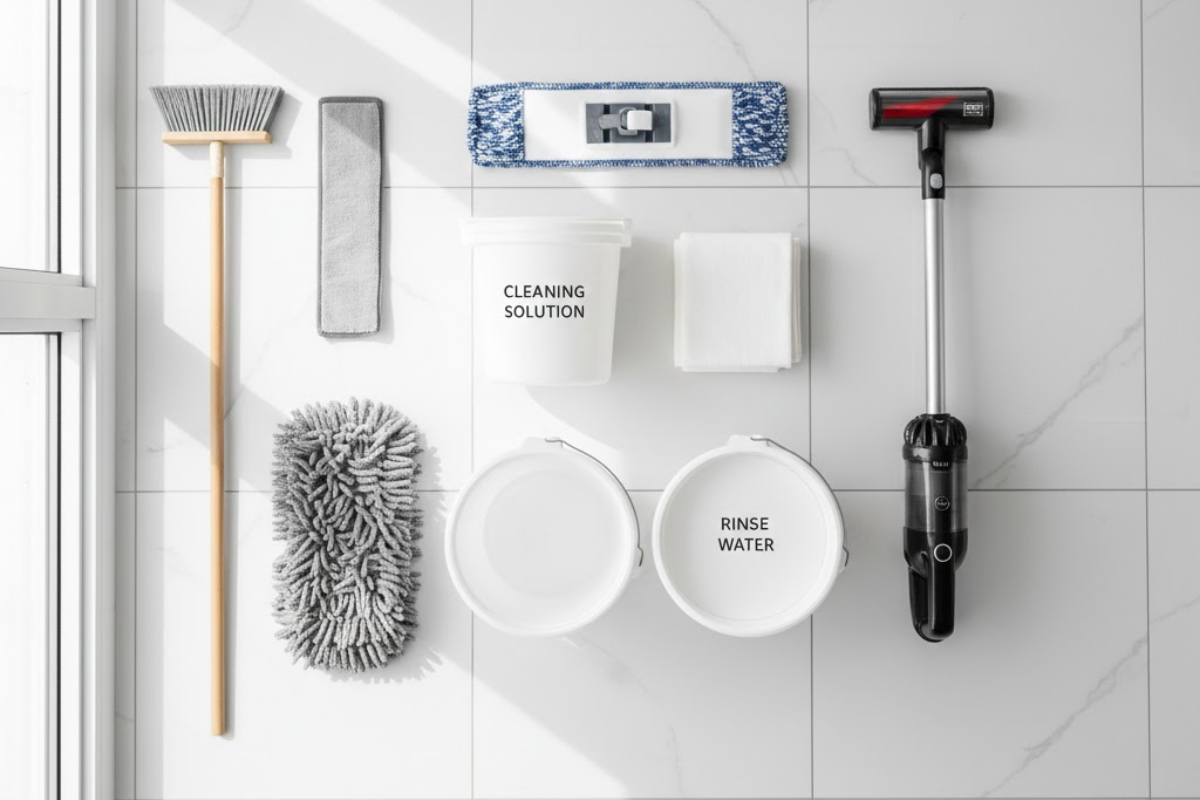
Tools:
- Soft-Bristle Broom or Dust Mop: Perfect for daily sweeping to pick up loose dirt without scratching the tiles.
- Vacuum Cleaner (with hard floor setting): Use a vacuum with the beater bar turned off or a hard floor attachment. The stiff bristles of a rotating brush can scratch high-gloss tiles.
- Two Buckets: One for your cleaning solution and one for clean rinse water. This prevents you from mopping with dirty water.
- Microfiber Mop: Microfiber is excellent for cleaning shiny floors. It cleans effectively without leaving lint behind and can be used damp for a streak-free finish. Avoid cotton or sponge mops, which tend to push dirty water into grout lines.
- Soft Cloths or Towels: For drying the floor and buffing out any remaining water spots.
Cleaning Solutions:
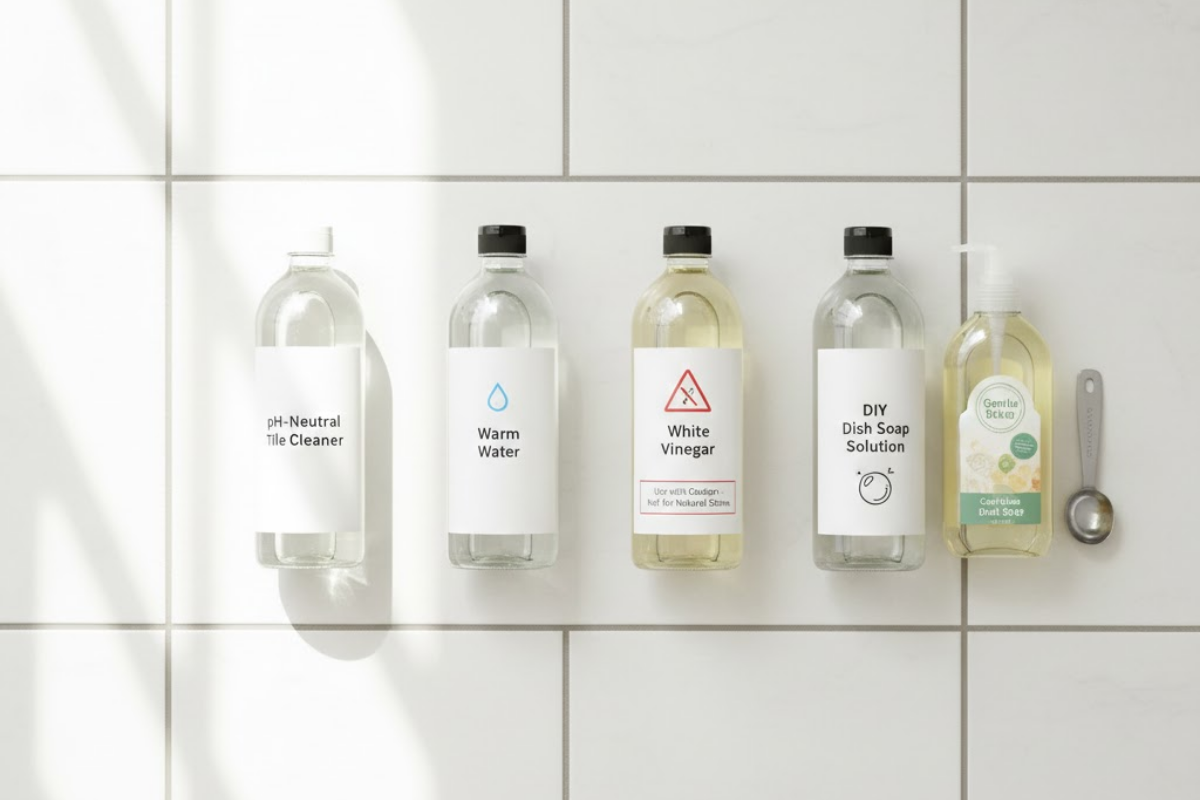
- pH-Neutral Cleaner: This is the safest option for most shiny tile floors, including ceramic and porcelain. Acidic or alkaline cleaners can damage the glaze over time.
- Warm Water: Often, warm water is all you need for a routine clean.
- White Vinegar (use with caution): A solution of vinegar and water can be effective, but it is acidic. It should be used sparingly and is not recommended for natural stone tiles like marble.
- DIY Solution: A few drops of gentle dish soap in a gallon of warm water can work well.
Step-by-Step Guide to Cleaning Shiny Tile Floors
Follow these steps for a flawless, streak-free shine every time.
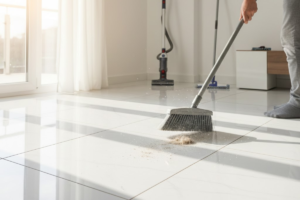
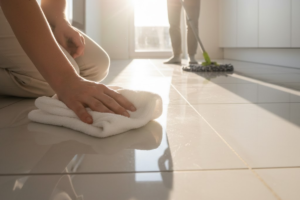
Step 1: Remove Loose Debris
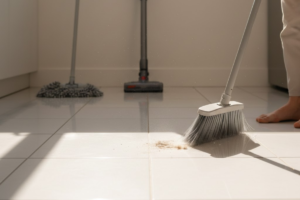
First, clear the floor of all dust, hair, and other loose particles. Use a soft-bristle broom or a microfiber dust mop. If you prefer a vacuum, ensure it’s on the hard floor setting to prevent scratching. Pay special attention to corners and edges where dust tends to gather. This step is crucial; mopping a gritty floor will only grind dirt into the tiles.
Step 2: Prepare Your Cleaning Solution
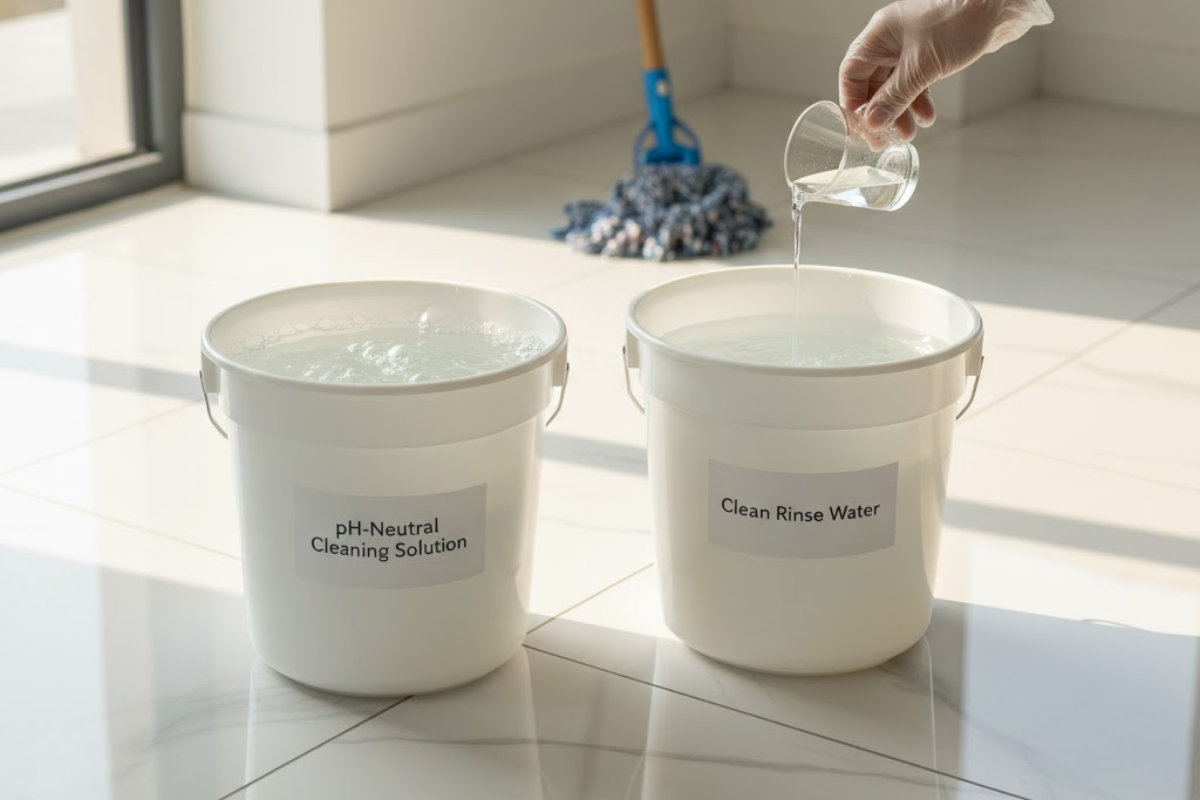
Fill one bucket with your chosen cleaning solution and another with clean, warm water. If you’re using a commercial cleaner, follow the dilution instructions on the bottle. A common mistake is using too much product, which can leave a sticky, dulling residue. For a simple DIY option, mix a gallon of warm water with about a quarter-cup of pH-neutral cleaner.
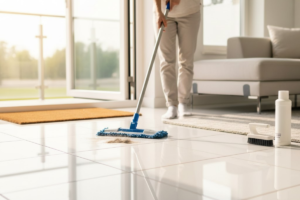
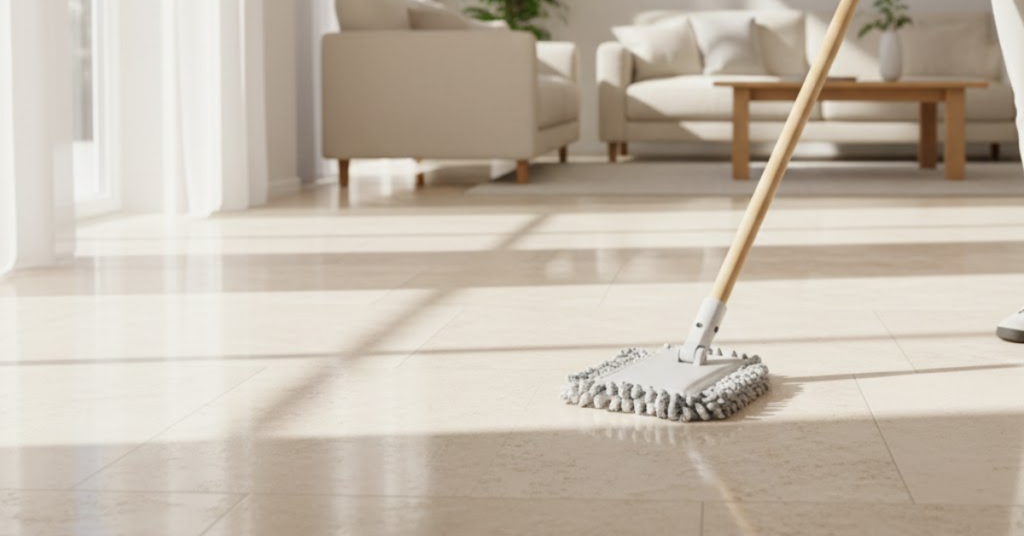
Step 3: Mop the Floor in Sections
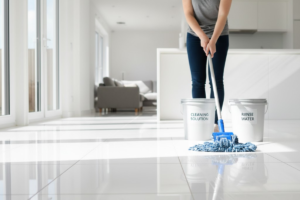
Dip your microfiber mop into the cleaning solution and wring it out thoroughly. The mop should be damp, not soaking wet. Excess water can damage grout and leave streaks.
Start mopping in a section farthest from the door and work your way back. This prevents you from walking over the freshly cleaned areas. Move the mop in straight lines rather than a classic figure-eight pattern to avoid pushing dirt around.
Step 4: Rinse the Floor
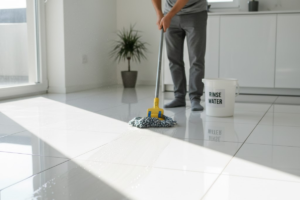
After mopping a section with the cleaning solution, it’s time to rinse. Dip a clean mop head (or rinse your current one very well) into the bucket of clean water. Wring it out and go over the section you just cleaned. This step removes any soap residue that could dull the shine. Change your rinse water as soon as it starts to look cloudy.
Step 5: Dry and Buff for Maximum Shine
This final step is the secret to a streak-free, high-gloss finish. Use a clean, dry microfiber cloth or towel to dry the floor completely. You can do this by hand or by attaching a dry cloth to your mop head. Drying the floor prevents water spots and streaks from forming as it air-dries. For an extra sparkle, buff the tiles in a circular motion.
Maintaining That Brilliant Shine
Once your floors are clean, you want to keep them that way. Here are some tips for daily and weekly maintenance.
- Sweep or Dust Mop Daily: A quick daily sweep prevents the buildup of abrasive particles.
- Use Doormats: Place mats at all entryways to trap dirt, sand, and water from shoes.
- Clean Spills Immediately: Wipe up spills as soon as they happen with a soft, absorbent cloth.
- Use Furniture Pads: Place felt pads under the legs of chairs, tables, and other furniture to prevent scratches when they are moved.
- Deep Clean Grout Periodically: Use a specialized grout cleaner and a small brush to scrub grout lines when they start to look dingy.
Common Mistakes to Avoid
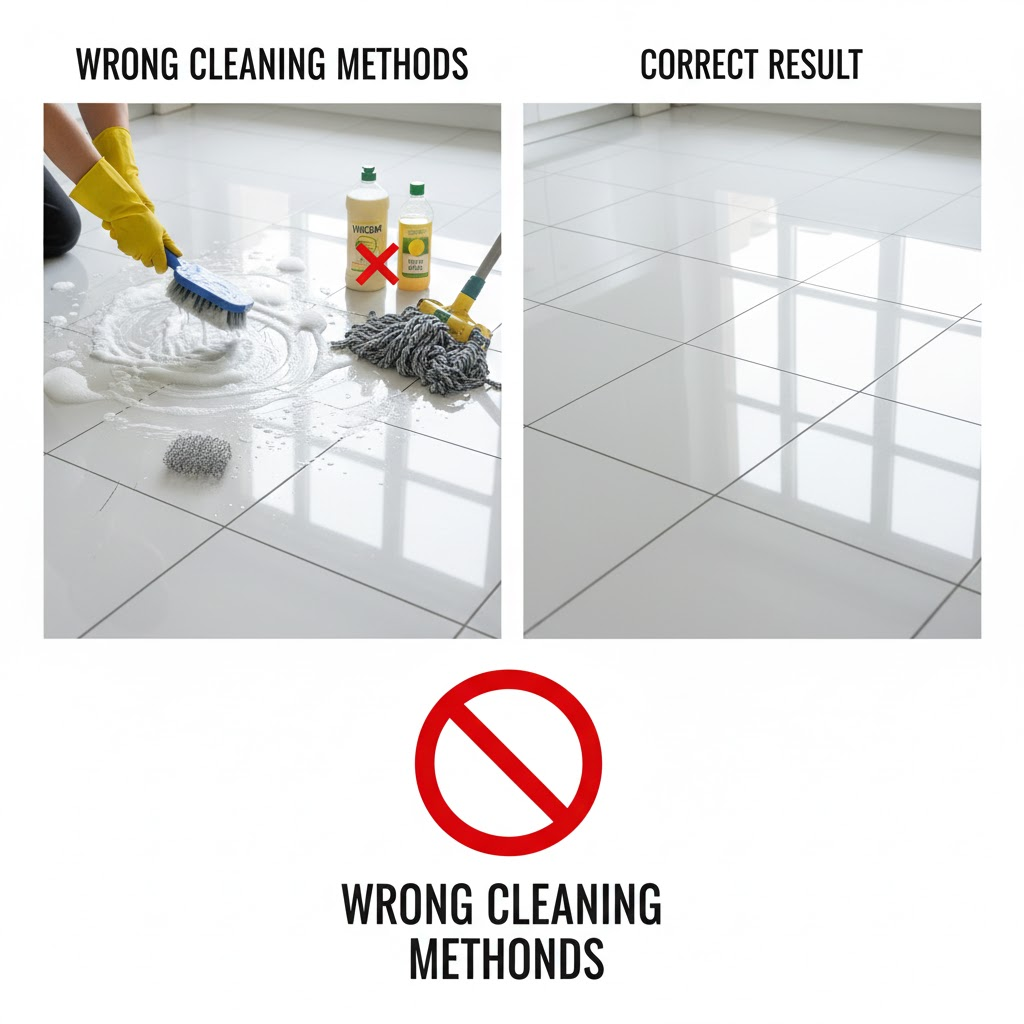
Protect your investment by avoiding these common errors that can ruin the shine of your tile floors.
- Using Abrasive Cleaners or Tools: Harsh scrubbing powders, steel wool, or hard-bristle brushes will permanently scratch the glossy finish.
- Cleaning with Acidic Solutions: Avoid cleaners containing vinegar or lemon juice on sensitive tiles like marble or limestone. They can etch the surface.
- Letting the Floor Air-Dry: This is a leading cause of streaks and water spots. Always take the extra few minutes to dry the floor manually.
- Using Too Much Cleaner: More is not better. Excess soap leaves a film that attracts more dirt and dulls the surface.
- Applying Wax or “Mop and Shine” Products: These products can build up over time, creating a cloudy, yellowed layer that is difficult to remove. Your tile’s shine comes from its glaze, not a topical polish.
Eco-Friendly Cleaning Options
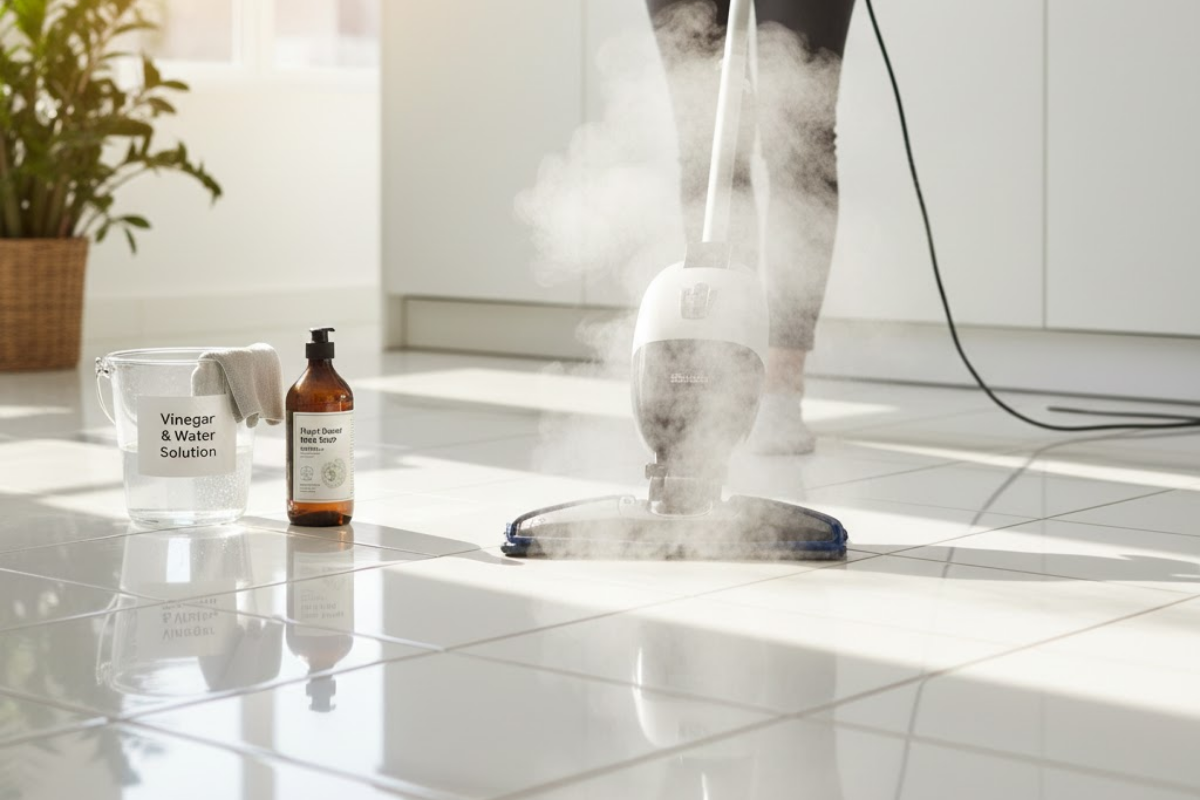
For those who prefer a greener approach, there are several effective and safe options for cleaning shiny tile floors.
- Steam Mop: A steam mop cleans and sanitizes using only hot water vapor, eliminating the need for chemical cleaners. Just be sure your grout is sealed, as steam can damage unsealed grout.
- Vinegar and Water Solution: A mix of one-half cup of white vinegar to a gallon of warm water can cut through grease and grime. Remember to rinse well and use it cautiously, avoiding natural stone.
- Dish Soap: A small amount of plant-based, pH-neutral dish soap in warm water is a gentle yet effective cleaner.
By following these guidelines, you can easily master how to clean shiny tile floors and keep them looking spectacular. A little bit of consistent care is all it takes to protect your investment and enjoy that beautiful, reflective finish for years to come.


1 thought on “How To Clean A Couch That Smells?”
Great post! It’s so important to make the switch to eco-friendly cleaning products. Thanks for sharing these recommendations; I’m definitely going to check some of them out.