There is something undeniably warm and inviting about oil-finished wood floors. Unlike the shiny, plastic-like coating of polyurethane, an oil finish penetrates deep into the wood, bringing out its natural grain and texture. It feels real under your feet. But with that natural beauty comes a little bit of mystery. How exactly do you take care of it?
If you’ve been staring at your floors wondering if you can use your regular mop, or if you’re panicked about a water spot, don’t worry. Maintaining these floors isn’t difficult; it just requires a different approach.
In this guide, we will walk you through exactly how to clean oil finished wood floors, avoid common disasters, and keep that stunning matte look alive for years to come.
Why Choose Oil Finished Floors?
Before we dive into the cleaning process, it helps to understand what makes these floors special. Knowing why your floor behaves the way it does makes caring for it much easier.
The Natural Look and Feel
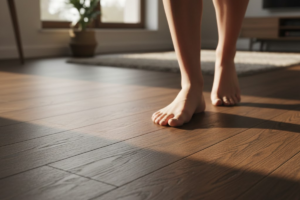
The biggest draw is aesthetics. Oil finishes don’t sit on top of the wood like a shell; they soak in. This preserves the texture of the timber. When you walk barefoot, you are touching the actual wood, not a layer of plastic. This matte, low-sheen appearance hides dust and small scratches much better than high-gloss finishes.
Reparability
This is the secret superpower of oil finishes. If you scratch a polyurethane floor, you often have to sand and refinish the entire room to fix it. With oil finishes, you can perform spot repairs. You can sand down a tiny area, re-apply oil, and blend it in seamlessly.
Common Cleaning Mistakes to Avoid
Most damage to oil-finished floors comes from well-intentioned but incorrect cleaning habits. Before you grab a bucket, let’s look at what you should never do.
1. Using Harsh Chemicals
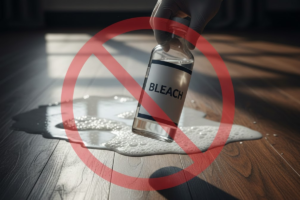
Stay away from all-purpose cleaners, bleach, ammonia, or anything acidic like vinegar. Vinegar is often touted as a natural cleaner, but its acidity will strip the oil right out of the wood, leaving it dry, grey, and vulnerable to water damage.
2. Over-Wetting the Floor
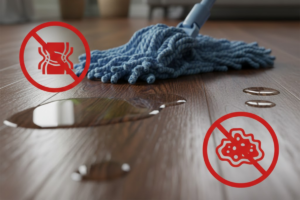
Water is wood’s enemy. While oil finishes offer good protection, they aren’t waterproof. Flooding the floor with a soaking wet mop can cause the wood to swell, cup, or warp. Always use a “damp” mop, never a “wet” one.
3. Using Steam Mops
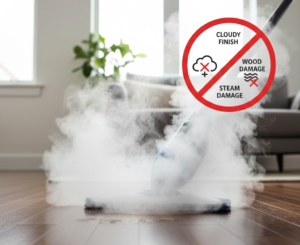
Steam mops force hot moisture deep into the pores of the wood. This can turn the oil finish cloudy and cause the wood fibers to expand and crack. Keep the steam mop for your tiles; it has no place on your wood floors.
Daily and Weekly Maintenance Routine
The key to keeping your floors looking fresh is consistency. You don’t need to do a deep clean every day, but staying on top of grit and dust will prevent scratches.
Daily: Dust and Sweep
Dirt and grit act like sandpaper. Every time you walk on a dirty floor, you grind those particles into the finish.
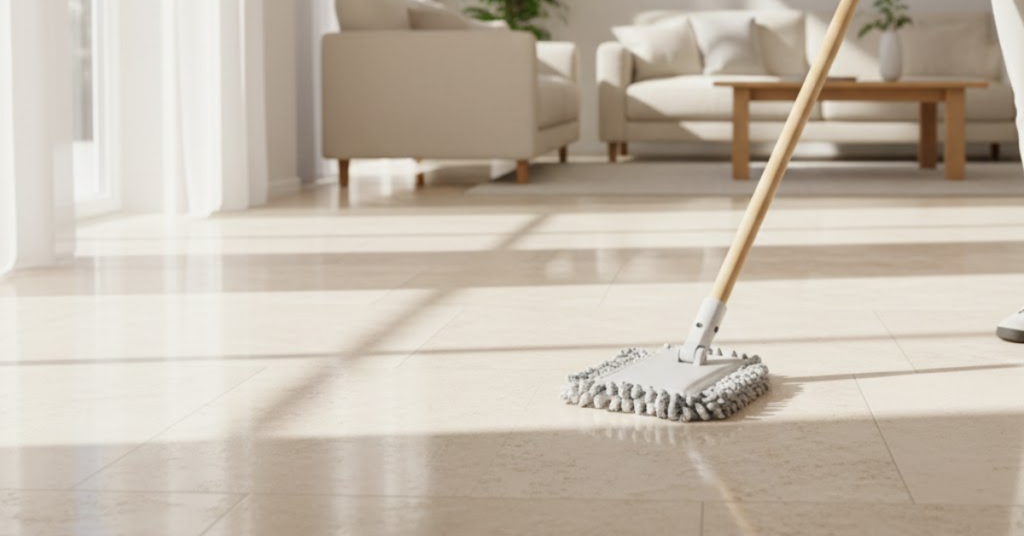
- Microfiber Dust Mop: This is your best friend. Run a dry microfiber dust mop over the high-traffic areas daily to pick up pet hair and dust.
- Soft Bristle Broom: If you prefer sweeping, use a broom with soft bristles to avoid scratching the surface.
Weekly: Vacuuming
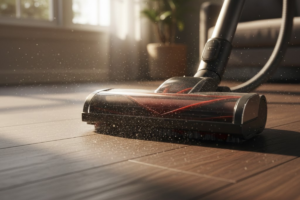
Vacuuming gets the dirt out of the bevels and cracks that a broom might miss.
- Turn the Beater Bar Off: This is crucial. The rotating brush (beater bar) on your vacuum can beat up the finish. Use the “hard floor” setting or a vacuum attachment specifically for wood.
How to Clean Oil Finished Wood Floors: The Deep Clean
Even with daily dusting, your floors will eventually need a proper wash. Depending on your household traffic (kids, dogs, shoes on or off), you might do this every two weeks or once a month.
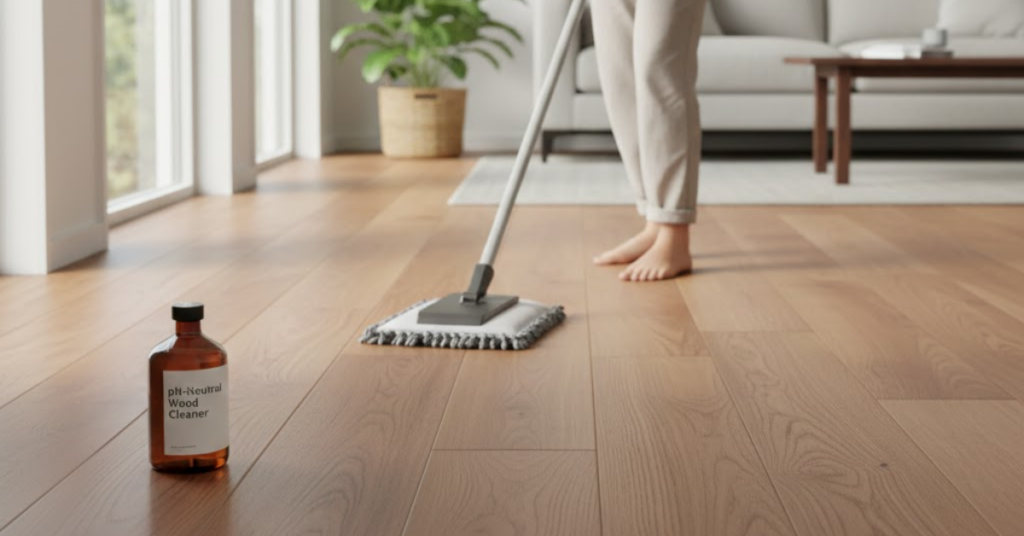
Step 1: Choose the Right Cleaner
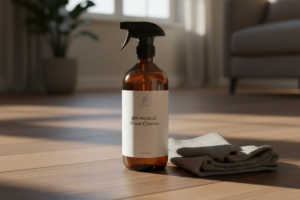
You must use a pH-neutral soap specifically designed for oil-finished floors. Often, the manufacturer of your flooring will sell a specific soap (like Woca, Rubio Monocoat, or Bona specialized oil soap). These soaps do two things: they clean the dirt and they replenish a tiny bit of oil with every wash, feeding the wood.
Step 2: The Two-Bucket Method
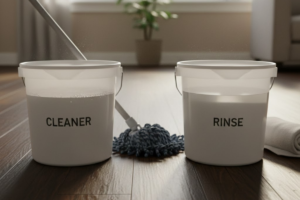
This method ensures you aren’t just pushing dirty water around.
- Fill one bucket with water and your specialized wood floor soap (follow the ratio on the bottle).
- Fill a second bucket with plain, clean water for rinsing your mop.
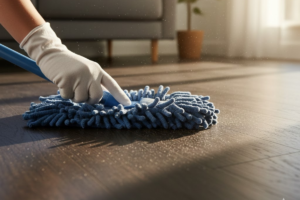
Step 3: Mop with Care
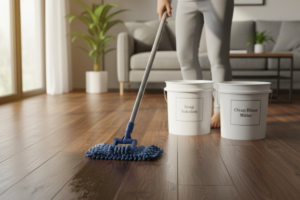
Dip your mop into the soapy water and wring it out thoroughly. It should be damp, not dripping. Mop along the grain of the wood.
- Scrub gently if there are sticky spots.
- Rinse your dirty mop in the clean water bucket, wring it out, and dip it back into the soapy mix.
- Changing the rinse water when it gets cloudy ensures a streak-free finish.
Step 4: Dry It
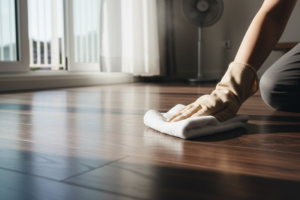
Because oil floors are sensitive to moisture, it’s good practice to dry the floor with a clean towel or a dry microfiber pad if you notice any lingering wetness. Ensure good ventilation in the room to help it dry quickly.
Dealing with Stains, Scratches, and Spills
Accidents happen. The beauty of oil finishes is that accidents aren’t permanent.
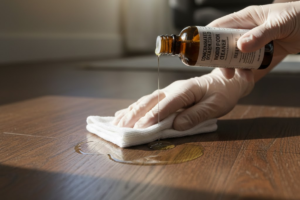
Liquid Spills (Coffee, Wine, Water)
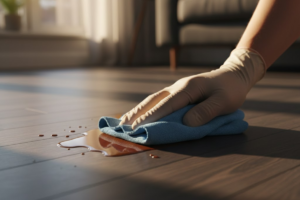
Wipe these up immediately. If a liquid sits for too long, it can create a water spot. If a spot does form, don’t panic. Often, applying a little maintenance oil to the spot can buff it out.
Greasy Stains
If you drop olive oil or a piece of pizza, blot up the excess grease. Use your concentrated wood floor cleaner directly on the spot. If that doesn’t work, there are specialized “spot removers” for tannin and grease stains available from flooring maintenance brands.
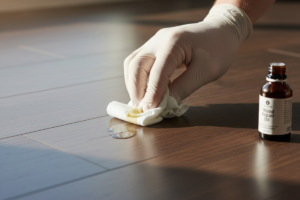
Scratches and Scuffs
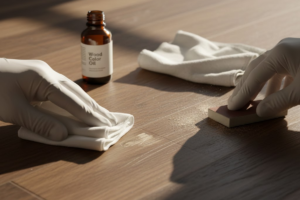
- Light Scuffs: Often, these are just in the surface oil. Rubbing a small amount of maintenance oil into the scuff with a soft cloth will usually make it disappear.
- Deep Scratches: If the scratch goes into the raw wood, you can lightly sand the specific area with fine-grit sandpaper. Clean the dust, and then apply the original color oil to that spot. Wipe away excess oil, let it dry, and it will blend in with the rest of the floor.
Maintenance Oiling: The Annual Refresh
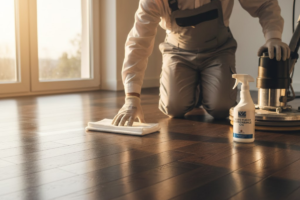
Once every year or two (or when the floor starts looking dull and “thirsty”), you will need to apply a maintenance oil or refresher oil. This isn’t a full refinish; think of it like moisturizing dry skin.
- Deep Clean: Clean the floor thoroughly as described above and let it dry completely (usually 4-8 hours).
- Apply Oil: Use a specialized maintenance oil. You can often apply this with a spray bottle and a buffing machine or a simple microfiber applicator pad.
- Buff: If you use a machine, it buffs the oil deep into the pores. If doing it by hand, wipe on a thin layer and wipe off any excess.
- Wait: Let it cure for the time specified on the bottle before walking on it.
This process rejuvenates the color and restores the water resistance of the floor.
Recommended Tools for Your Cleaning Arsenal
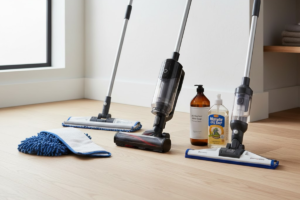
To make your life easier, keep these tools in your cleaning closet:
- High-Quality Microfiber Mop: Ideally one with washable pads.
- pH-Neutral Oil Soap: Stick to the brand recommended by your floor manufacturer if possible.
- Spray Mop (Optional): Great for quick cleanups, but ensure the cartridge is filled with the correct solution.
- Soft-Touch Vacuum: One that is lightweight and maneuverable.
Conclusion
Learning how to clean oil finished wood floors is less about scrubbing and more about nurturing. By avoiding harsh chemicals and water damage, and by “feeding” the floor with the right soaps and oils, you create a surface that actually gets better with age. A well-maintained oiled floor develops a rich patina that synthetic finishes just can’t mimic.
Ready to give your floors the love they deserve? Check your cleaning cabinet today, toss out the vinegar, and invest in a quality pH-neutral soap. Your floors will thank you!