Marble floors add a touch of elegance and luxury to any home. The smooth, polished surface is beautiful, but the grout lines that hold those gorgeous tiles together can be a real headache. Dirty grout can make even the most stunning marble look dingy and unkempt. The good news is that restoring your grout to its former glory is entirely possible.
Cleaning grout on marble floors requires a gentle touch. Marble is a porous, natural stone, which means it can be easily scratched, stained, or damaged by harsh chemicals. This guide will show you exactly how to clean grout in marble floors safely and effectively, so you can enjoy their beauty for years to come.
We’ll cover everything from the right tools to the best cleaning solutions, plus tips for keeping your grout looking fresh.
Why Cleaning Grout on Marble Floors is Different
Grout is porous, making it a magnet for dirt, grime, and mildew. On standard ceramic or porcelain tile, you might reach for a powerful, acidic cleaner like vinegar or a heavy-duty commercial product. However, using these on marble is a recipe for disaster.
Marble is a calcite-based stone, which means it reacts strongly with acids. Acidic cleaners will etch the marble, creating dull spots and permanent damage to the finish. Similarly, overly abrasive cleaning tools, like steel wool, can leave deep scratches on the delicate surface.
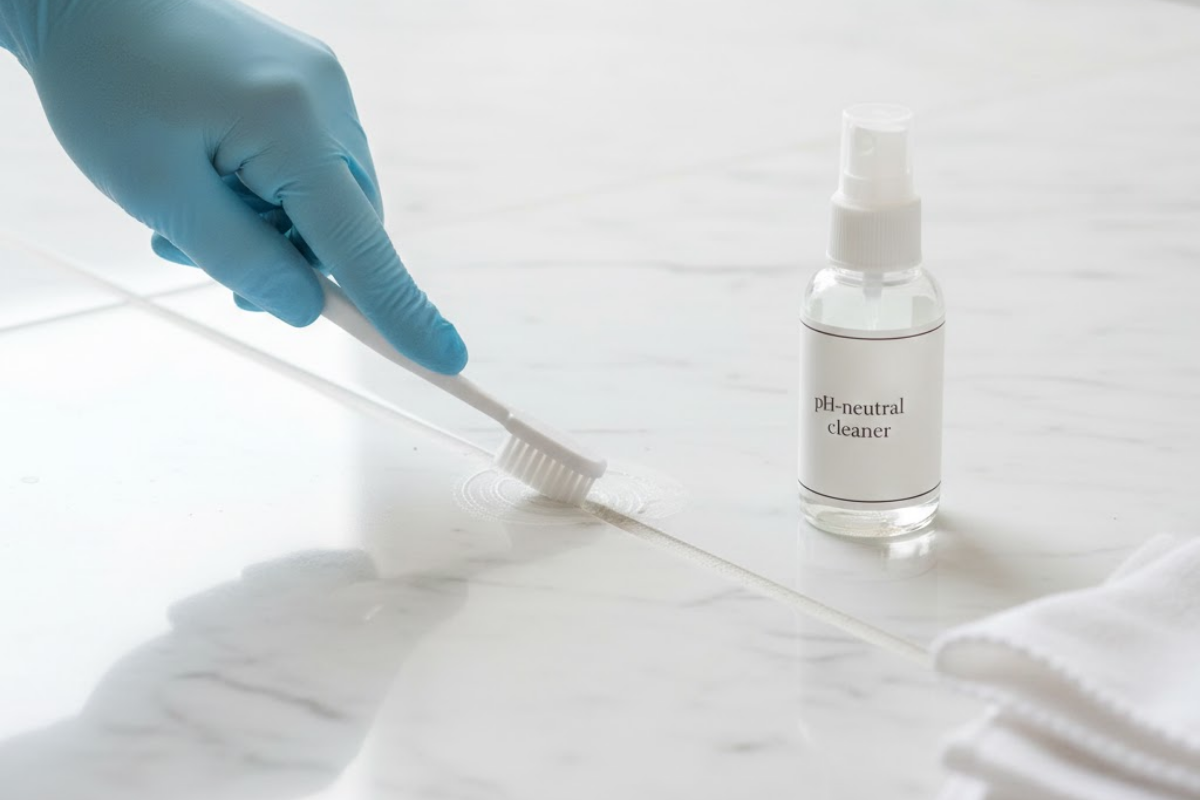
Therefore, the key to cleaning grout between marble tiles is to use pH-neutral cleaners and soft-bristled brushes. It’s all about being effective without causing harm.
Tools and Materials You’ll Need

Gathering your supplies before you start will make the process much smoother. You won’t need anything too specialized, and you likely have some of these items at home already.
Essential Supplies:
- pH-Neutral Cleaner: Look for a cleaner specifically designed for natural stone or marble. You can also create a simple DIY solution.
- Soft-Bristled Brush: A grout brush, a detail cleaning brush, or even an old toothbrush will work perfectly. Avoid stiff, hard bristles.
- Spray Bottle: For applying your cleaning solution evenly.
- Warm Water: For mixing your cleaner and for rinsing.
- Microfiber Cloths: You’ll need a few for wiping and drying the floor. Microfiber is soft and highly absorbent.
- Bucket: One for your cleaning solution and one for rinse water.
- Optional: A small wet/dry vacuum for sucking up dirty water.
Step-by-Step Guide to Cleaning Your Grout
Follow these steps to safely deep clean the grout lines on your marble floor. It’s best to work in small, manageable sections (e.g., a 3×3 foot area) to prevent the cleaning solution from drying on the marble surface.
Step 1: Prepare the Area
First, clear the floor of any rugs, furniture, or other items. Then, sweep or vacuum the entire floor to remove loose dirt, dust, and debris. This prevents you from turning dirt into mud and grinding it into the grout or scratching the marble as you clean.
Step 2: Mix Your Cleaning Solution

You have a few safe options for cleaning solutions.
- Commercial pH-Neutral Cleaner: This is often the easiest and safest choice. Follow the manufacturer’s instructions for diluting the product with warm water in your bucket.
- DIY Solution with Dish Soap: A simple and effective option is to mix a few drops of pH-neutral dish soap into a bucket of warm water. You want it slightly sudsy, but not overly bubbly.
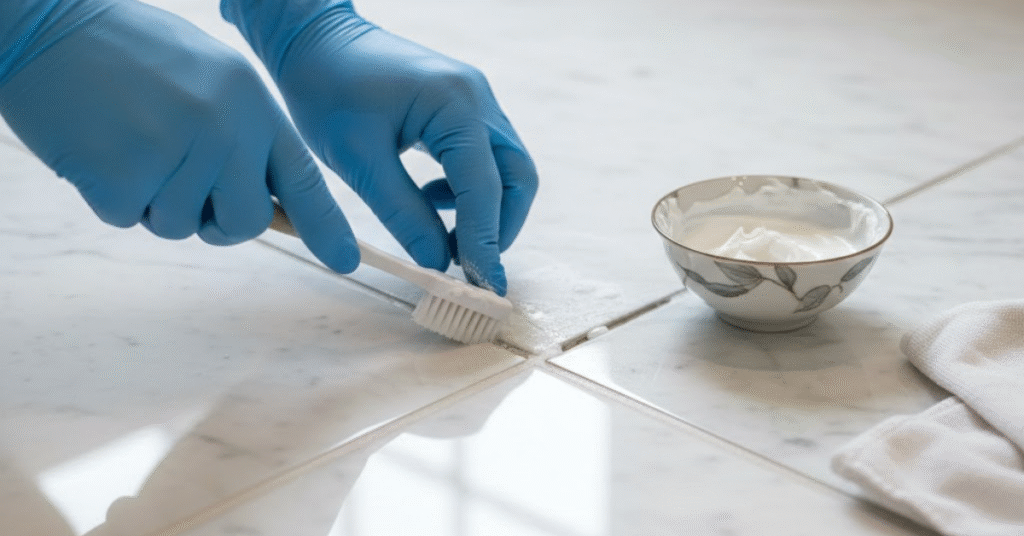
- Baking Soda Paste (for tough stains): For stubborn spots, you can create a paste of baking soda and water. Baking soda is mildly abrasive but generally safe for grout. Important: Test this paste on a hidden area first to ensure it doesn’t dull your marble. Apply it directly to the grout line, not the tile.
Pour your chosen cleaning liquid into a spray bottle for easy application.
Step 3: Apply the Cleaner and Let It Sit
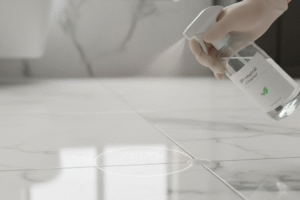
Spray the cleaning solution directly onto the grout lines in your first small section. Be generous and make sure the grout is thoroughly saturated. Let the solution sit for about 5-10 minutes. This gives it time to penetrate the grout and break down the dirt and grime. Do not let the solution dry on the marble.
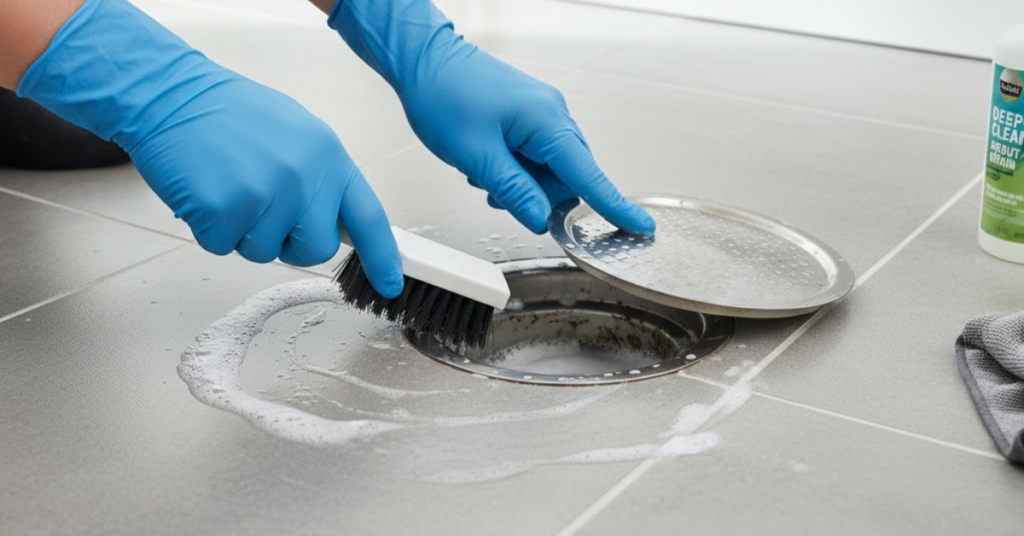
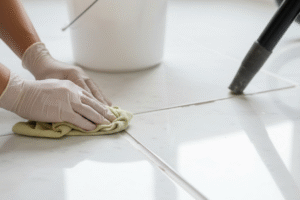
Step 4: Gently Scrub the Grout
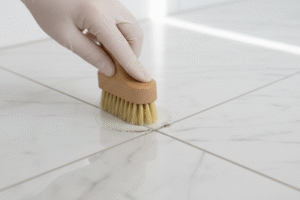
Take your soft-bristled brush and begin scrubbing the grout lines in a gentle, circular motion. You don’t need to apply excessive force; let the cleaning solution and the bristles do the work. You should see the dirt begin to lift away. For the baking soda paste, gently scrub it into the grout and then proceed to the next step.
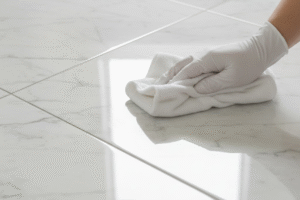
Step 5: Rinse Thoroughly
This is a critical step. Use a clean microfiber cloth dipped in plain warm water to wipe away the dirty cleaning solution from both the grout and the marble tile. Rinse your cloth frequently in a separate bucket of clean water to avoid spreading grime back onto the floor.
If you have a wet/dry vacuum, you can use it to suck the dirty water directly out of the grout lines for an even more thorough clean.
Step 6: Dry the Floor
Once the section is rinsed, use a dry microfiber cloth to buff the marble and grout dry. This prevents water spots from forming and helps restore the marble’s natural shine. Standing water can also seep into the grout and lead to mildew, so a proper drying is important.
Repeat these steps, working section by section, until you have cleaned the entire floor.
Maintaining Clean Grout: Prevention is Key
Now that your grout is clean, you’ll want to keep it that way for as long as possible. Regular maintenance is much easier than a deep cleaning session.
- Seal Your Grout: The most effective thing you can do is to apply a quality grout sealer. Sealer creates an invisible barrier that repels water, dirt, and stains, making cleanup a breeze. Make sure to use a sealer that is safe for marble and reapply it according to the product’s recommendations (usually every 1-2 years).
- Sweep or Dust Mop Daily: Removing daily grit and dust prevents it from being ground into the grout lines.
- Clean Spills Immediately: Marble and grout can stain quickly. Blot spills with a clean cloth as soon as they happen.
- Use Doormats: Place mats at all entrances to trap dirt before it gets tracked onto your beautiful floors.
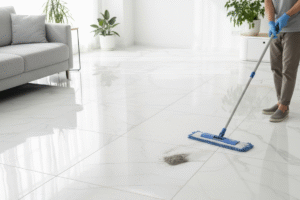
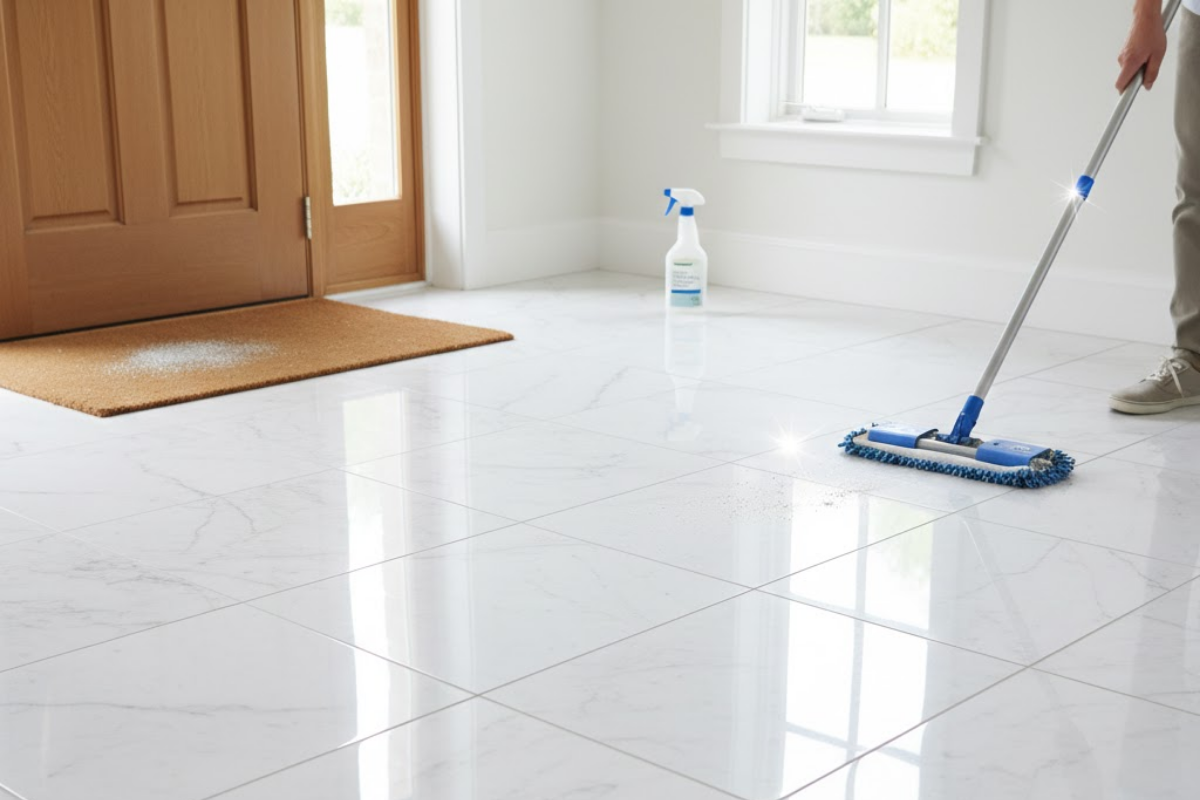
- Regular Mopping with a pH-Neutral Cleaner: Mop your floors weekly with a pH-neutral, stone-safe cleaner. This regular light cleaning will prevent significant buildup in the grout.
Common Mistakes to Avoid
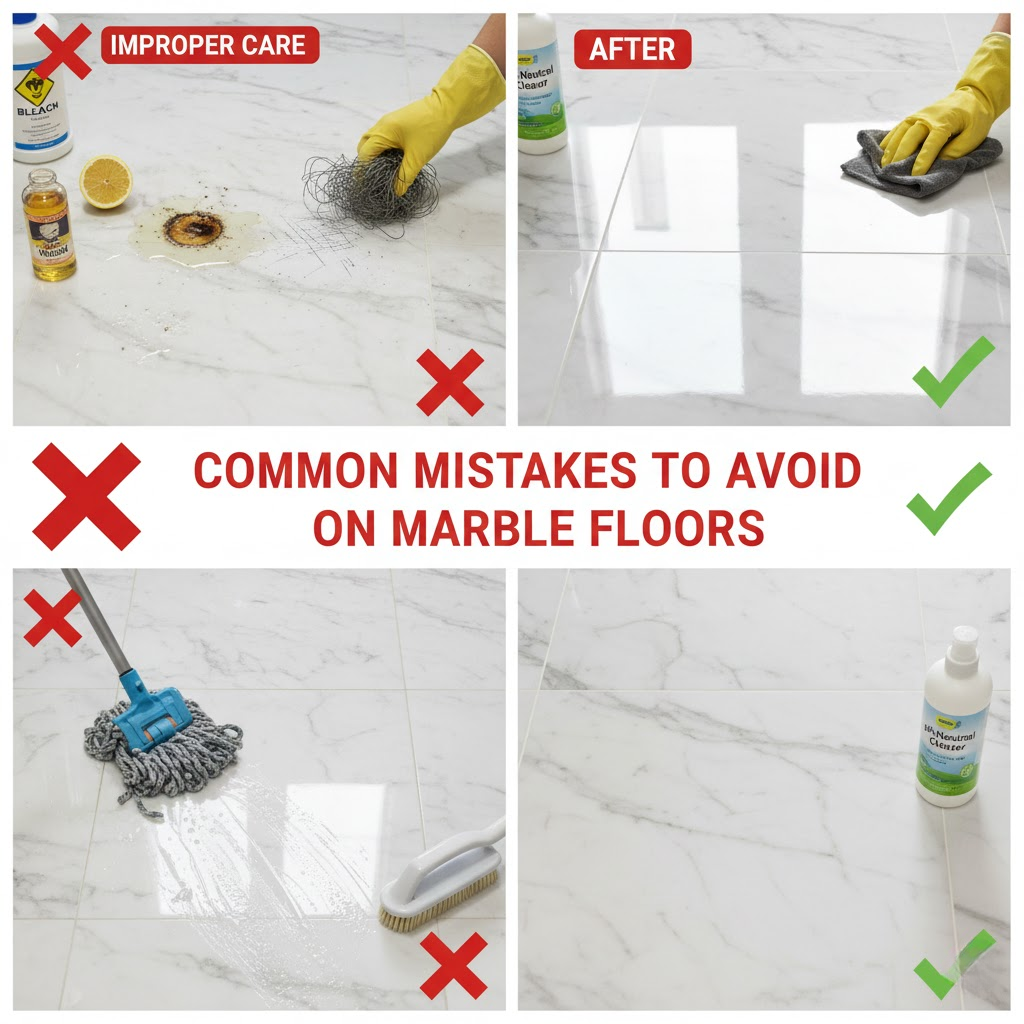
Protect your investment by avoiding these common errors when caring for your marble floors.
- Using Vinegar or Lemon Juice: Any acidic cleaner will etch and damage the surface of your marble tiles.
- Using Bleach or Ammonia-Based Cleaners: These are too harsh and can discolor grout and damage the stone over time.
- Scrubbing with Hard-Bristled Brushes or Steel Wool: These will scratch the delicate surface of the marble, creating permanent marks.
- Letting Cleaners Dry on the Surface: Always work in small sections and rinse thoroughly to prevent residue from dulling the stone.
- Using All-Purpose Bathroom Cleaners: Many of these products contain acids or harsh chemicals designed for ceramic, not natural stone. Always check the label.
By following these guidelines, you can confidently clean your grout and keep your marble floors looking pristine and beautiful. A little bit of care goes a long way in preserving the timeless elegance of natural stone.