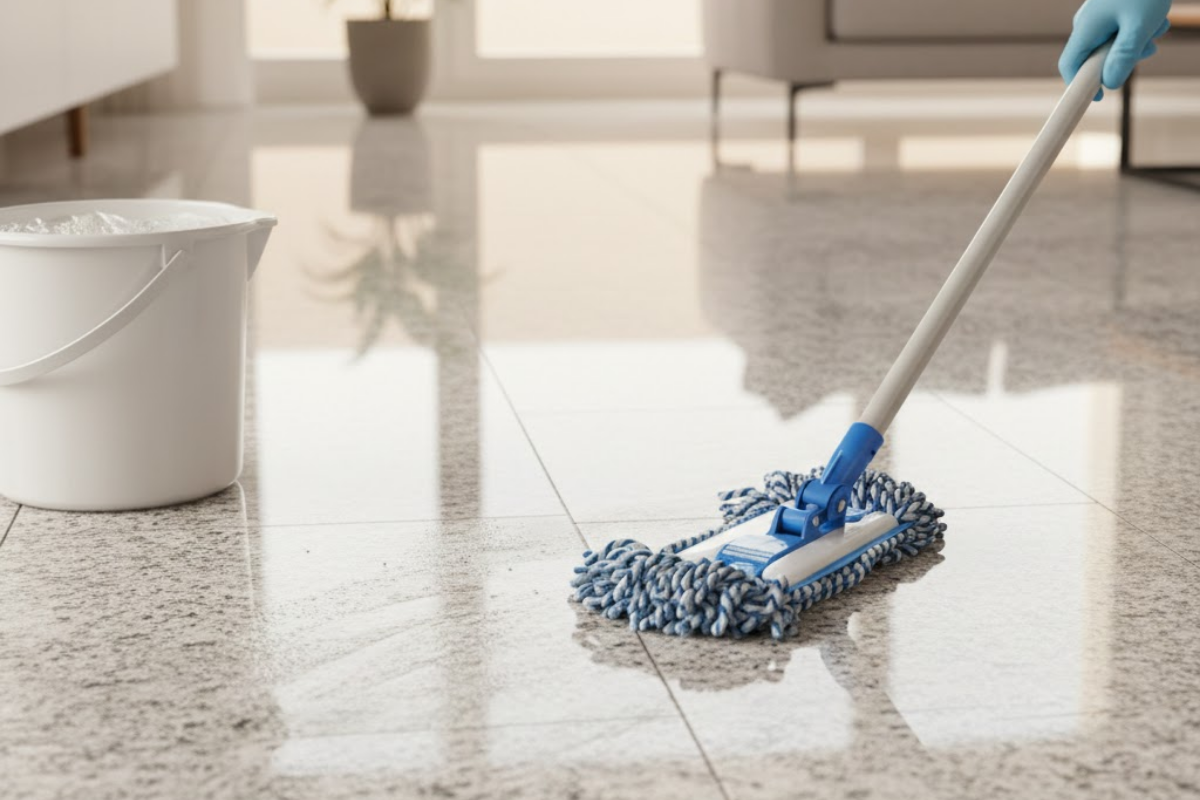
Granite floors add a touch of elegance and durability to any home. Their natural beauty can make a room feel luxurious, but keeping them looking their best requires a specific cleaning approach. Unlike other flooring types, granite is a natural stone that can be sensitive to harsh chemicals. Learning how to clean granite floors correctly will not only restore their shine but also protect your investment for years to come.
This guide will walk you through everything you need to know. We’ll cover the best tools and cleaners to use, a step-by-step cleaning process, and simple tips for long-term maintenance.
Why Proper Cleaning for Granite Floors Matters
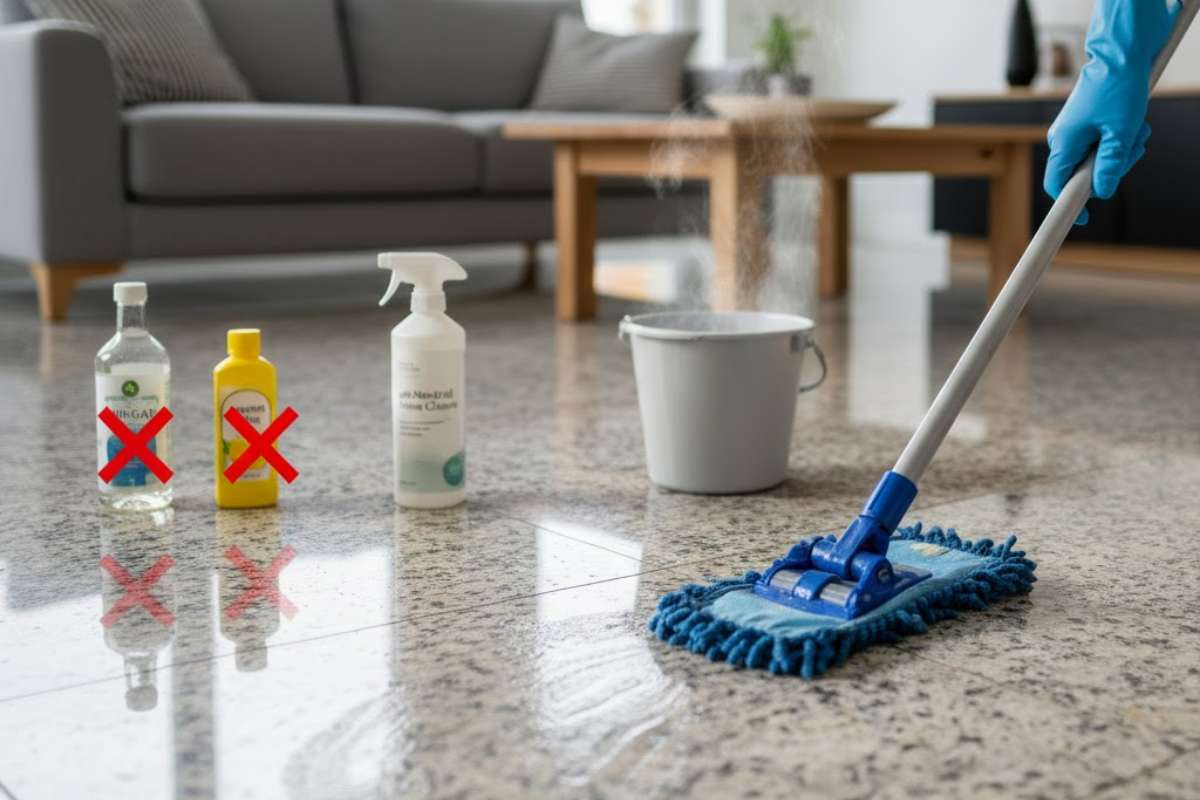
Granite is a porous stone, which means it can absorb liquids and stains if not sealed and cleaned properly. Using the wrong cleaning products, like those containing acid (vinegar, lemon juice) or ammonia, can etch the surface, dull the finish, and weaken the sealant. Over time, this damage can lead to costly repairs or even replacement.
By following a gentle and consistent cleaning routine, you can:
- Prevent Stains: Quickly cleaning up spills prevents them from seeping into the stone.
- Avoid Etching: Using pH-neutral cleaners protects the granite’s polished surface from chemical damage.
- Maintain the Sealant: Proper care extends the life of the sealant, which is the primary barrier against stains and moisture.
- Enhance Shine: Regular cleaning removes dirt and grime that can make your beautiful floors look dull and lifeless.
Tools and Materials for Cleaning Granite

Gathering the right supplies makes the job easier and safer for your floors. You likely have many of these items at home already.
Essential Cleaning Supplies:
- Dust Mop or Soft-Bristle Broom: For removing loose dirt and debris. A microfiber dust mop is an excellent choice as it traps dust effectively without scratching the surface.
- Vacuum Cleaner (Optional): If you use a vacuum, make sure it has a “hard floor” setting or that the beater bar can be turned off to prevent scratches.
- Two Buckets: One for your cleaning solution and one for rinsing.
- Microfiber Mop: This is the best tool for washing and drying granite floors. Its soft texture is gentle on the stone, and it absorbs water efficiently.
- pH-Neutral Cleaner: Look for a cleaner specifically formulated for natural stone or one that is clearly labeled as pH-neutral. You can also make a simple homemade solution.
- Soft Cloths or Towels: Microfiber cloths are perfect for spot-cleaning and drying.
DIY Granite Floor Cleaner
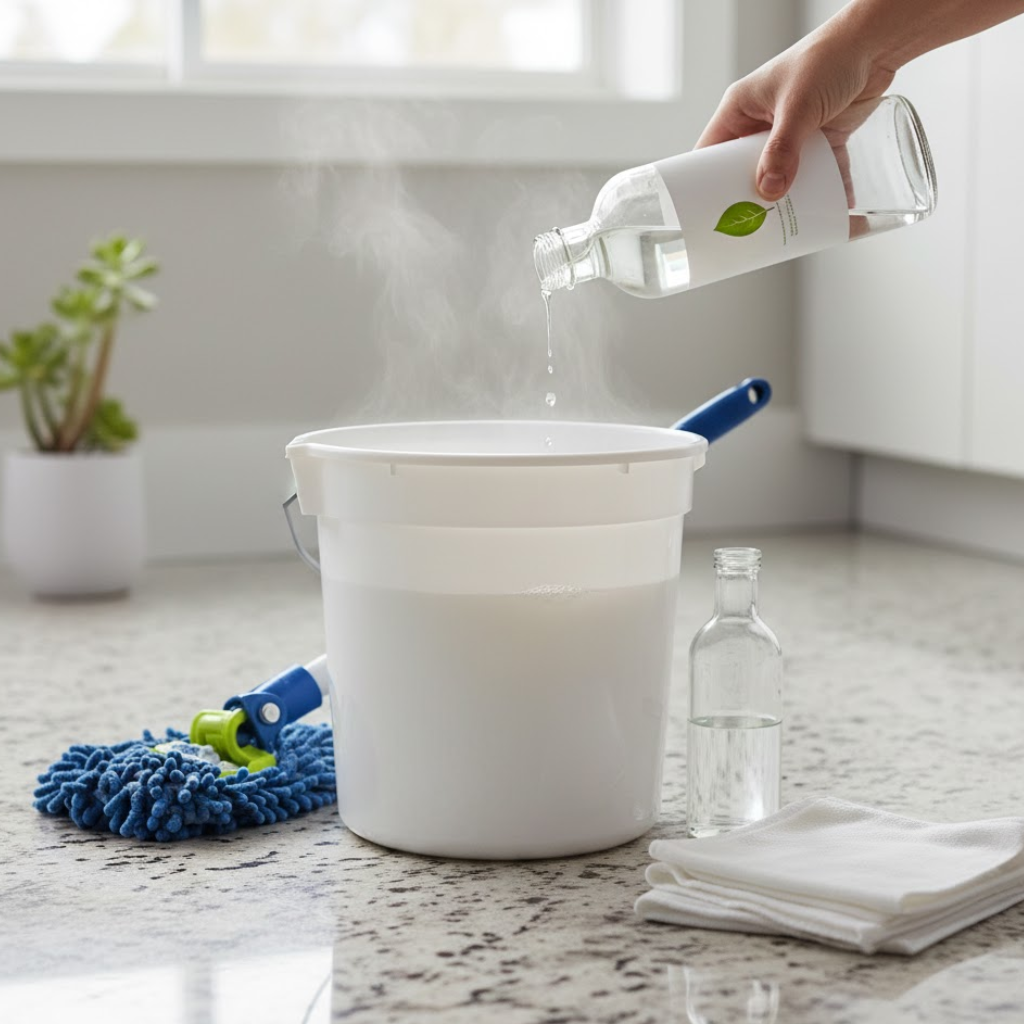
You can easily create a safe and effective cleaner at home. In a bucket, mix:
- Warm water
- A few drops of gentle dish soap
Avoid using too much soap, as it can leave a hazy film on your floors. A small amount is all you need to break down dirt and grime. For a bit of extra disinfecting power without using harsh chemicals, you can add a small amount of rubbing alcohol to the mix.
Step-by-Step Guide to Cleaning Your Granite Floors
Follow these steps for a deep clean that will leave your granite floors sparkling.
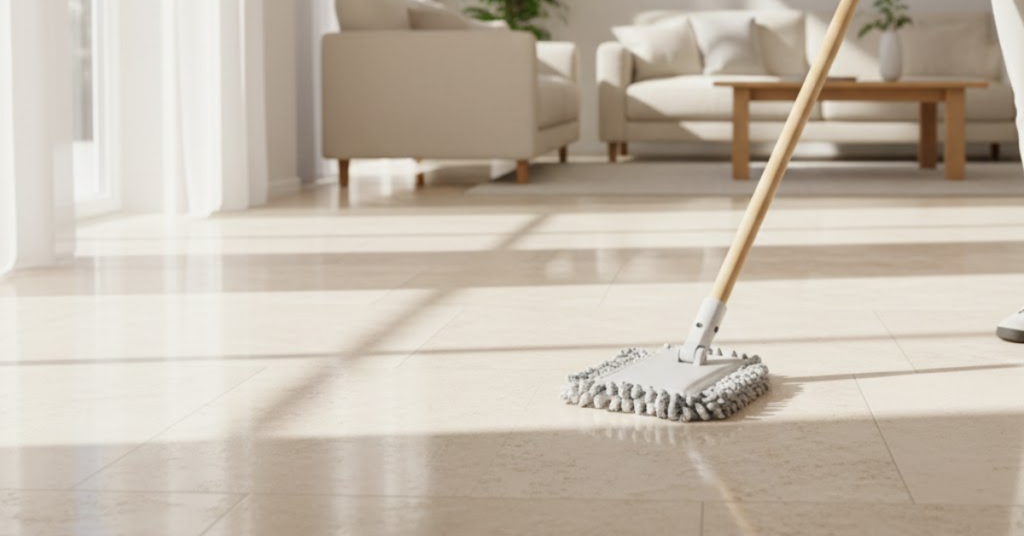
Step 1: Remove Loose Dirt and Debris
Before you introduce any water, you need to clear the floor of all loose particles. Dust, sand, and grit can act like sandpaper under a mop, causing fine scratches on your granite’s surface.
- Use a soft-bristle broom or a microfiber dust mop to sweep the entire floor.
- Pay close attention to corners and edges where dust tends to accumulate.
- Alternatively, use a vacuum on the hard floor setting.
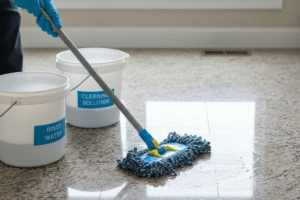
Step 2: Prepare Your Cleaning Solution
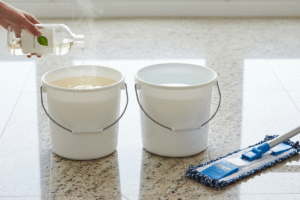
Fill one bucket with your chosen pH-neutral cleaner or your homemade soap and water solution. Fill the second bucket with clean, plain water for rinsing. Having a separate rinse bucket is key to preventing a soapy residue from building up on your floors.
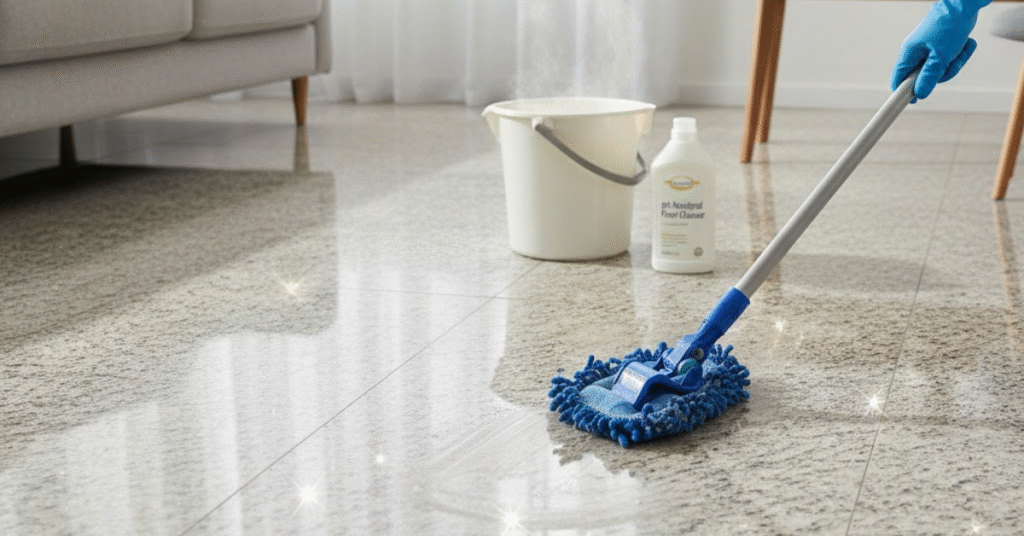
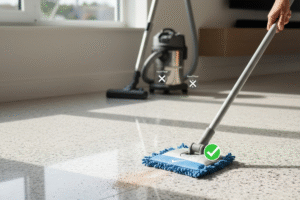
Step 3: Mop the Floor
Dip your microfiber mop into the cleaning solution and wring it out thoroughly. You want the mop to be damp, not soaking wet. Excess water can seep into the grout lines and potentially into the stone itself if the sealant is worn.
- Mop the floor in small, manageable sections.
- Work in an “S” pattern to avoid pushing dirt around.
- This method ensures you cover the entire area without missing spots.
Step 4: Rinse the Floor
After cleaning a section, rinse the mop in the bucket of clean water. Wring it out well and go over the section you just washed. This step removes any lingering soap residue, which is often the culprit behind a dull or streaky finish. Change your rinse water if it becomes cloudy or dirty.
Step 5: Dry the Floor Thoroughly
Granite is prone to showing water spots, so drying is a crucial final step. Leaving the floor to air-dry can result in a hazy appearance.
- Use a clean, dry microfiber cloth or a fresh mop head to buff the floor dry.
- Working in sections again, dry the floor immediately after rinsing. This will reveal the natural luster and shine of the stone.
Tips for Maintaining Granite Floors
Consistent care between deep cleans is the secret to keeping your granite looking brand new.
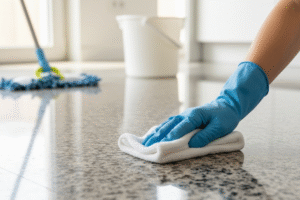
- Clean Spills Immediately: Blot spills as soon as they happen with a soft, absorbent cloth. Do not wipe, as this can spread the spill. This is especially important for acidic substances like wine, coffee, juice, or soda.
- Dust Mop Regularly: Daily or every-other-day sweeping with a microfiber dust mop prevents the buildup of abrasive particles.
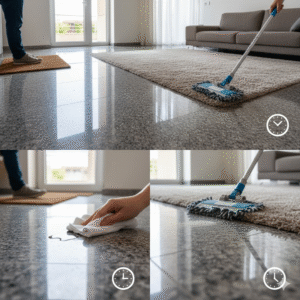
- Use Doormats and Rugs: Place mats at all entryways to trap dirt and grit before they reach your granite floors. Consider using area rugs in high-traffic zones like hallways and living rooms.
- Apply Furniture Pads: Put felt pads on the bottom of chair legs, tables, and other furniture to prevent scratches when they are moved.
Common Mistakes to Avoid When Cleaning Granite
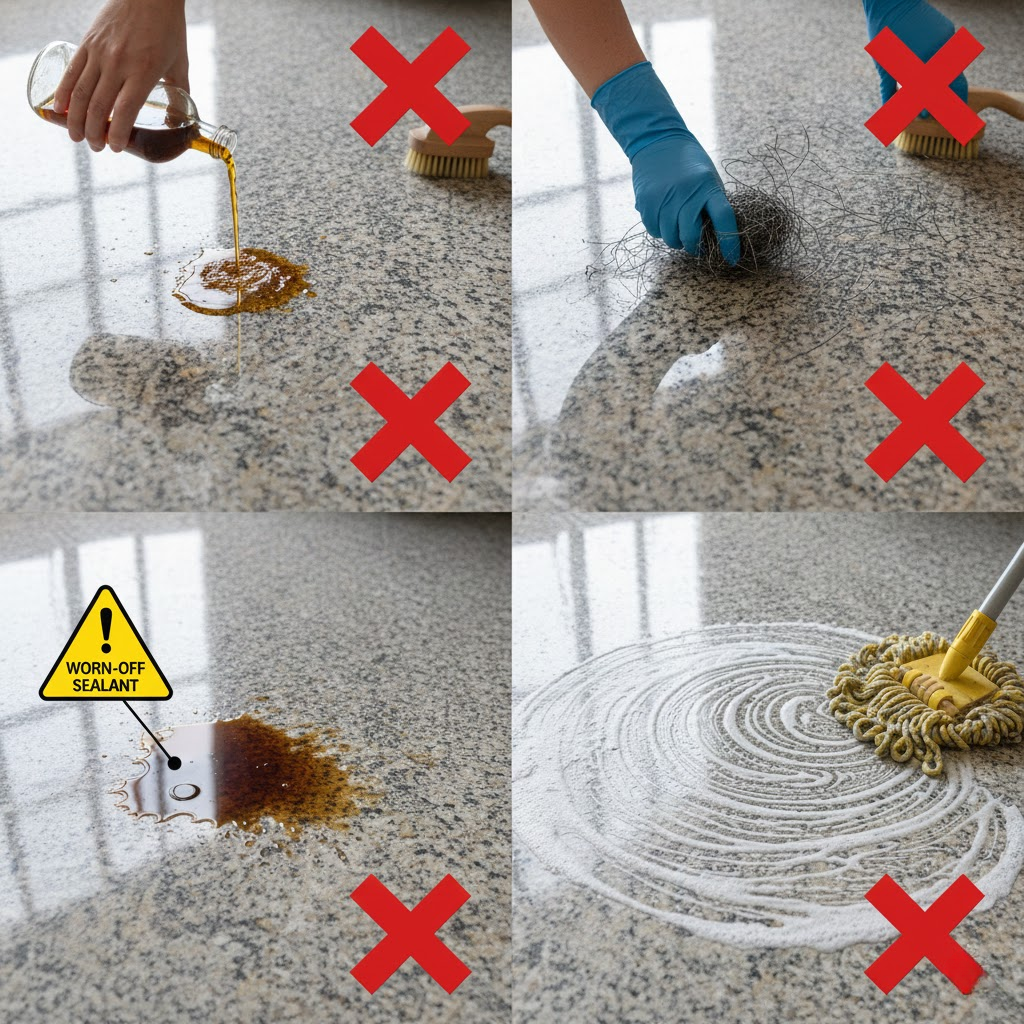
Steering clear of these common errors will protect your floors from damage.
- Using Acidic or Abrasive Cleaners: Never use vinegar, lemon juice, ammonia, bleach, or bathroom grout cleaners on granite. Avoid abrasive powders or creams as well.
- Using Rough Scrubbing Tools: Steel wool, scouring pads, and hard-bristle brushes can create permanent scratches on the surface.
- Letting Spills Sit: The longer a spill remains, the higher the chance it has to penetrate the stone and cause a permanent stain.
- Skipping the Rinse: Soap residue attracts more dirt and creates a cloudy film that dulls the floor’s shine.
- Not Resealing When Needed: Granite floors need to be resealed periodically, typically every 1-3 years, depending on traffic. To test your sealant, place a few drops of water on the surface. If the water beads up, the sealant is working. If it soaks in and darkens the stone, it’s time to reseal.
Frequently Asked Questions
Can I use a steam mop on granite floors?
It is generally not recommended to use a steam mop on granite. The high heat can weaken or damage the sealant, leaving the stone vulnerable to staining and etching. It can also cause discoloration over time.
How do I remove tough stains from my granite floor?
For organic stains (like coffee or food), you can create a poultice by mixing baking soda and water into a thick paste. Apply the paste to the stain, cover it with plastic wrap, and let it sit for 24 hours. Gently remove the paste and rinse the area. For oil-based stains, use a similar poultice but with baking soda and a small amount of hydrogen peroxide. Always test any stain-removal method on a small, inconspicuous area first.
How often should I deep clean my granite floors?
The frequency of deep cleaning depends on the amount of foot traffic. For high-traffic areas, a weekly deep clean is a good idea. For less-used rooms, cleaning every two weeks or monthly may be sufficient. Regular dust mopping will reduce the need for frequent wet mopping.