We have all been there. You look down at your beautiful vinyl flooring and notice that normal sweeping just isn’t cutting it anymore. Somewhere along the way, dirt has settled into the tiny grooves and texture of the floor, turning your bright surface into a dull, dingy mess.
It is frustrating, but don’t worry. Vinyl is resilient, and restoring its shine is easier than you might think. You don’t need expensive machines or harsh chemicals that make your eyes water. With the right technique and a little elbow grease, you can lift that stubborn grime and make your floors look brand new.
In this guide, we will walk you through exactly how to clean ground-in dirt from vinyl floor surfaces effectively and safely. We will cover the best cleaning solutions, the tools you need, and the maintenance tricks that prevent dirt from coming back.
Why Vinyl Floors Trap Dirt
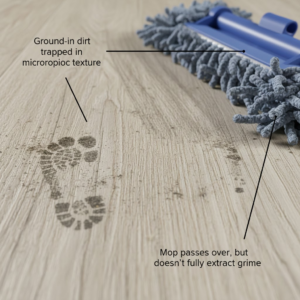
Before we jump into the cleaning process, it helps to understand why this happens. Vinyl flooring, especially luxury vinyl plank (LVP) or textured sheets, often has a microscopic texture designed to mimic real wood or stone.
While this texture looks fantastic, it acts like a magnet for dirt. Shoes, pets, and daily foot traffic grind dust and soil into these tiny crevices. Over time, regular mopping just glides over the top, leaving the deep-seated dirt behind. This creates that “hazy” or “dirty” look that won’t go away with a simple wipe.
Tools You Will Need
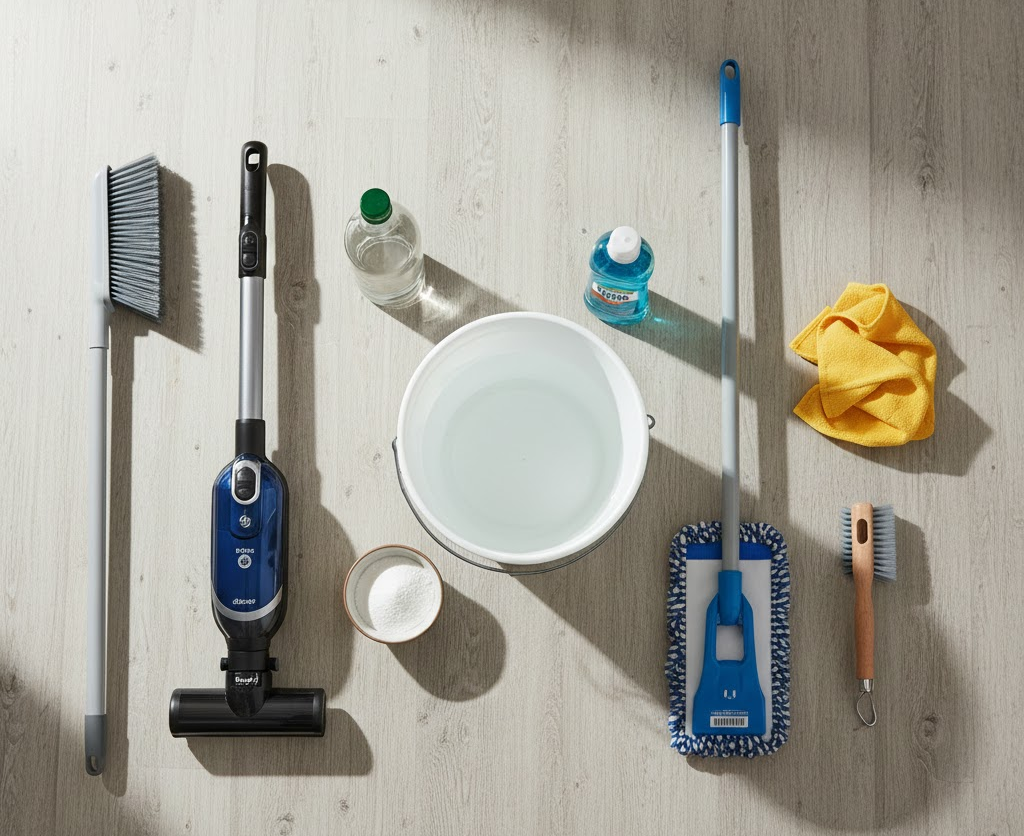
Gathering the right supplies is half the battle. You likely have most of these items in your pantry already.
- Soft-bristle broom or vacuum: Essential for removing loose debris.
- Microfiber mop or cloth: Gentle on vinyl but tough on dirt.
- Soft-bristle scrub brush: A toothbrush works for corners; a larger deck brush works for open areas. Avoid stiff bristles or steel wool, which can scratch the finish.
- Bucket: For mixing your solution.
- White vinegar or Apple Cider Vinegar: A natural, acidity-mild cleaner.
- Dish soap: Cuts through grease.
- Baking soda: Adds gentle abrasion for tough spots.
- Warm water: Helps dissolve grime.
Step-by-Step: How to Clean Ground-In Dirt From Vinyl Floor
Ready to tackle the mess? Follow these steps to lift that stubborn dirt removal effectively.
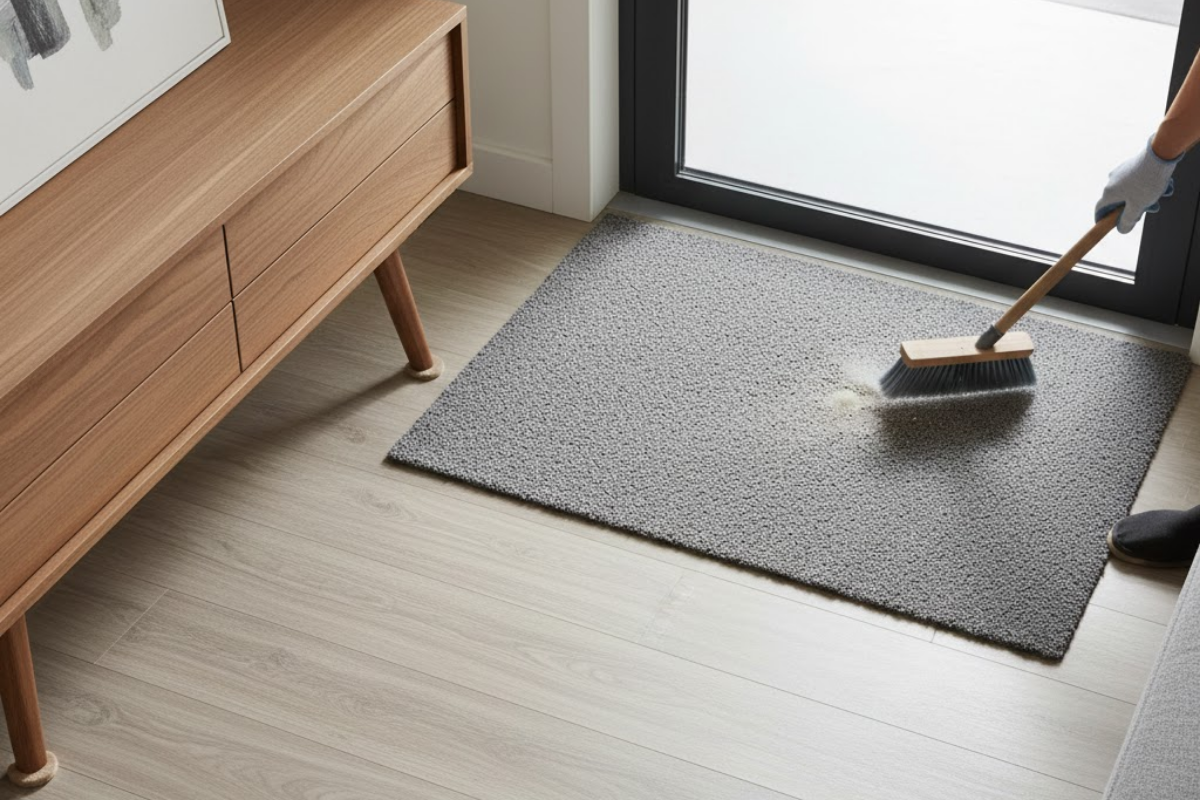
Step 1: Remove Surface Debris
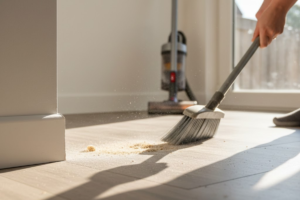
Never start scrubbing wet floors without sweeping first. If you add water to dust, you just create mud. Use a vacuum (without the beater bar) or a soft broom to remove all loose dust, pet hair, and crumbs. Get into the corners and along the baseboards where dust bunnies hide.
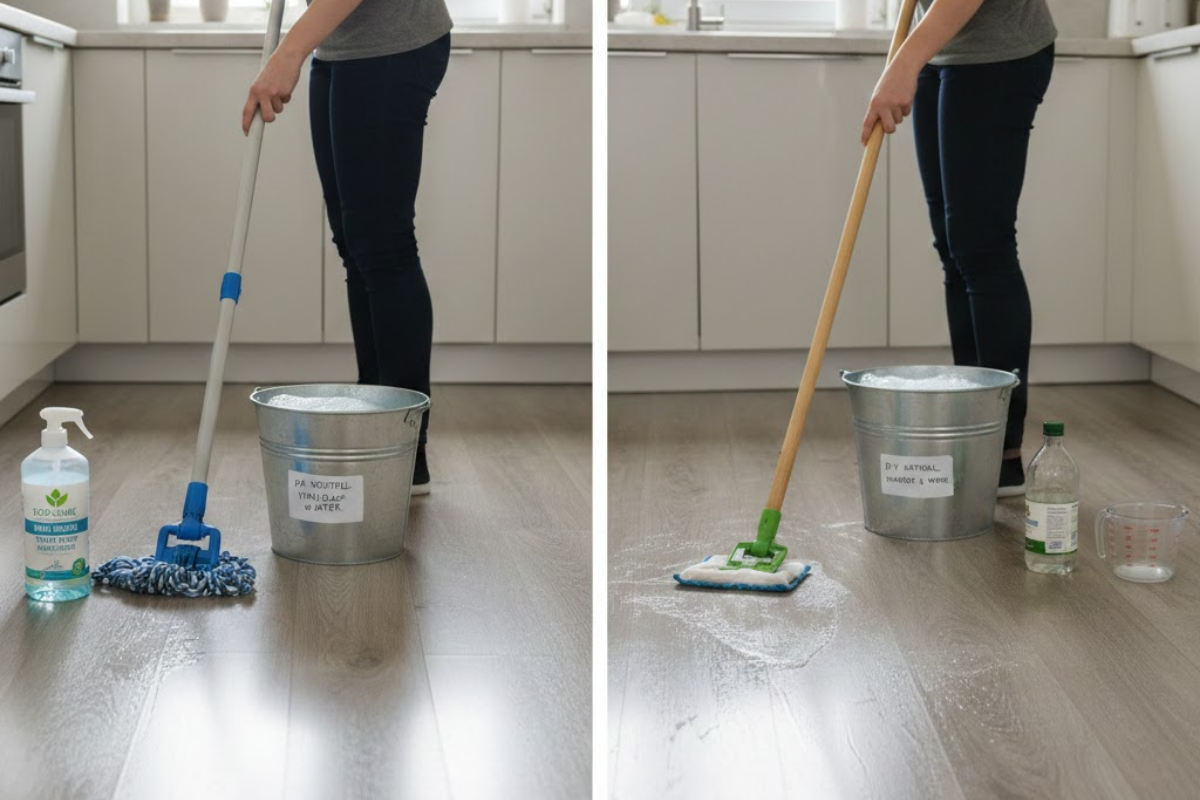
Step 2: Prepare Your Cleaning Solution
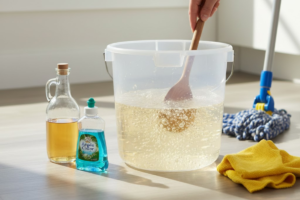
You have two main options here: a DIY natural cleaner or a commercial vinyl cleaner. For most homes, the DIY route is safer, cheaper, and highly effective.
The Magic DIY Recipe:
Mix one cup of apple cider vinegar (or white vinegar) with a gallon of warm water. The acidity in the vinegar helps break down the dirt without damaging the floor’s finish. For extra cleaning power, add a few drops of liquid dish soap to the mixture.
Step 3: The Soaking Method
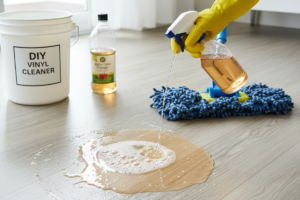
This is the secret weapon for deep cleaning. Dip your microfiber mop into the solution and wring it out until it is damp, not dripping. Mop a small section of the floor.
Here is the trick: Let it sit.
Allow the solution to sit on the floor for 2 to 3 minutes. This dwell time allows the vinegar and soap to break the bond between the dirt and the vinyl. Do not let it dry completely, but give it time to work.
Step 4: Scrub the Grooves
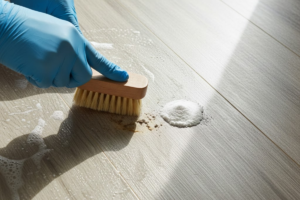
This is where you target the ground-in dirt specifically. Take your soft-bristle brush and gently scrub the area where the solution has been sitting. You don’t need to scrub hard; let the bristles reach into the texture of the vinyl to lift the loosened dirt.
For extremely stubborn spots, make a paste of baking soda and water. Apply it to the spot and scrub gently. Baking soda is a mild abrasive that is safe for vinyl but tough on grime.
Step 5: Rinse Thoroughly
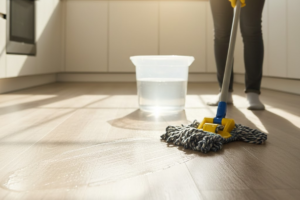
Once you have scrubbed the dirt loose, mop it up immediately. Rinse your mop in clean water often to ensure you aren’t just spreading dirty water around. If you used baking soda, you might need to rinse the area twice to avoid a white powdery residue.
Step 6: Dry the Floor
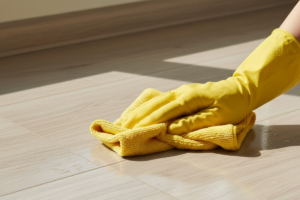
Vinyl is water-resistant, not waterproof. Standing water can seep into seams and cause edges to curl or glue to loosen. Use a clean, dry towel or microfiber cloth to dry the floor completely after cleaning. This also buffs the surface, bringing back a nice shine.
Tackling Specific Stains
Sometimes, you are dealing with more than just dirt. Here are quick fixes for common vinyl enemies:
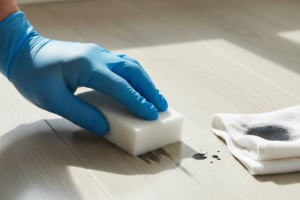
- Scuff Marks: Rub the mark with a tennis ball or a melamine sponge (Magic Eraser). Be gentle with abrasive sponges to avoid dulling the finish.
- Grease/Oil: Use a little rubbing alcohol on a cloth to cut through the grease, then rinse well.
- Makeup or Ink: Rubbing alcohol or plain nail polish remover (acetone-free) usually does the trick.
Vinyl Floor Maintenance: Keeping it Clean
Now that your floors are spotless, let’s keep them that way. Proper vinyl floor maintenance extends the life of your flooring and reduces the need for deep cleaning sessions.
- Use Doormats: Place mats at every entrance. This traps dirt before it ever reaches your vinyl.
- Sweep Daily: It sounds tedious, but removing grit daily prevents it from getting ground into the surface in the first place.
- Avoid Wax: Most modern vinyl floors are “no-wax.” Adding wax can actually trap dirt and cause a yellow buildup that is very hard to remove.
- Use Furniture Pads: Heavy furniture can scratch vinyl, creating deep grooves where dirt loves to hide. Felt pads are a cheap and effective solution.
Commercial Cleaners vs. Natural Solutions
You might wonder if you should just buy a bottle of cleaner from the store. While many commercial vinyl floor cleaners work well, they often leave a residue. This residue builds up over time and actually attracts more dirt, creating a sticky cycle.
If you choose a commercial product, ensure it is specifically labeled “pH neutral” and designed for luxury vinyl. Avoid products that promise to “shine” or “polish” unless you are prepared to strip that polish off later when it gets dingy.
Frequently Asked Questions (FAQs)
Can I use a steam mop on vinyl floors?
Generally, no. While some manufacturers say it is okay, the high heat from steam mops can warp the vinyl and damage the adhesive underneath. It is safer to stick to damp mopping.
Does vinegar damage vinyl floors?
Pure vinegar is acidic, but when diluted with water, it is safe for vinyl. It is an excellent cleaner because it cleans without leaving a soapy residue. Just avoid using it full strength.
How often should I deep clean my vinyl floors?
For high-traffic areas like kitchens and entryways, a deep scrub once a month is usually sufficient. Low-traffic rooms might only need it every few months.
Why is my vinyl floor sticky after mopping?
This usually means you used too much soap or didn’t rinse the floor well enough. Try mopping again with plain warm water and a cup of vinegar to cut through the soap scum.
Conclusion
Knowing how to clean ground-in dirt from vinyl floor surfaces can save you frustration and keep your home looking fresh. It doesn’t require harsh chemicals or expensive equipment—just a bit of patience and the right technique.
Remember to let your cleaning solution sit for a few minutes to loosen the grime, use a soft brush to get into the texture, and always dry your floors thoroughly. With these simple vinyl floor cleaning tips, you can enjoy the durability and beauty of your floors for years to come.
Take a look at your floors today. If they look a little tired, grab that vinegar and a scrub brush. You will be amazed at the difference a good deep clean can make.