So, you’ve invested in a beautiful Marley floor for your dance studio or home practice space. It’s sleek, it provides the perfect amount of grip, and it looks professional. But then, after a few weeks of heavy footwork, pirouettes, and perhaps a spilled water bottle or two, you notice it’s lost a bit of its luster. You might be wondering, “how do I keep this thing in top shape without ruining the surface?”
If you are asking yourself how to clean Marley floor surfaces effectively, you are in the right place. Maintaining vinyl dance flooring isn’t just about aesthetics; it’s a critical safety issue for dancers. A slippery or sticky floor can lead to injuries, while a dirty floor wears out faster.
Let’s dive into everything you need to know about caring for your dance floor, from daily maintenance to deep cleaning hacks.
What Exactly is a Marley Floor?
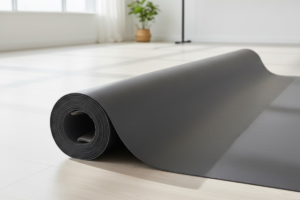
Before we start scrubbing, it helps to know what we are working with. The term “Marley” has become a generic trademark in the dance world, much like Kleenex or Xerox. It refers to roll-out vinyl dance flooring. Originally manufactured by a company called Marley (which actually stopped making floors decades ago), the name stuck.
Today, Marley floors are specialized vinyl surfaces designed to provide controlled slip and grip (coefficient of friction) for dancers. They are softer and more flexible than standard vinyl tile you might find in a kitchen. Because they are specialized, you can’t just throw any old household cleaner on them. Using the wrong products can dissolve the plasticizers that keep the floor flexible, leading to cracking or a surface that is dangerously slippery.
Why Proper Cleaning is Essential
Cleaning isn’t just a chore; it’s an investment in your art. Here is why you shouldn’t skip floor maintenance:
- Dancer Safety: Sweat, body oils, hairspray, and dust create a film on the floor. This film changes the traction. Too much grip can cause twisted knees; too little can cause dangerous falls.
- Longevity of Investment: Marley floors are expensive. Dirt and grit act like sandpaper under dance shoes, slowly scratching and wearing down the surface.
- Aesthetics: A clean studio looks professional and inviting. Scuff marks and dust bunnies don’t exactly scream “elite dance academy.”
Essential Tools and Products
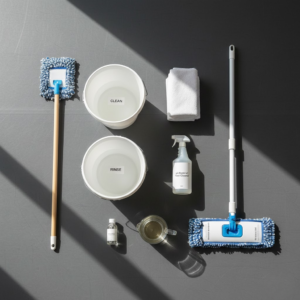
You don’t need a closet full of chemicals. In fact, simpler is often better. Here is your cleaning toolkit:
- A dry mop or soft broom: Avoid treated dust mops found in janitorial supplies, as they often contain oils that make floors slippery.
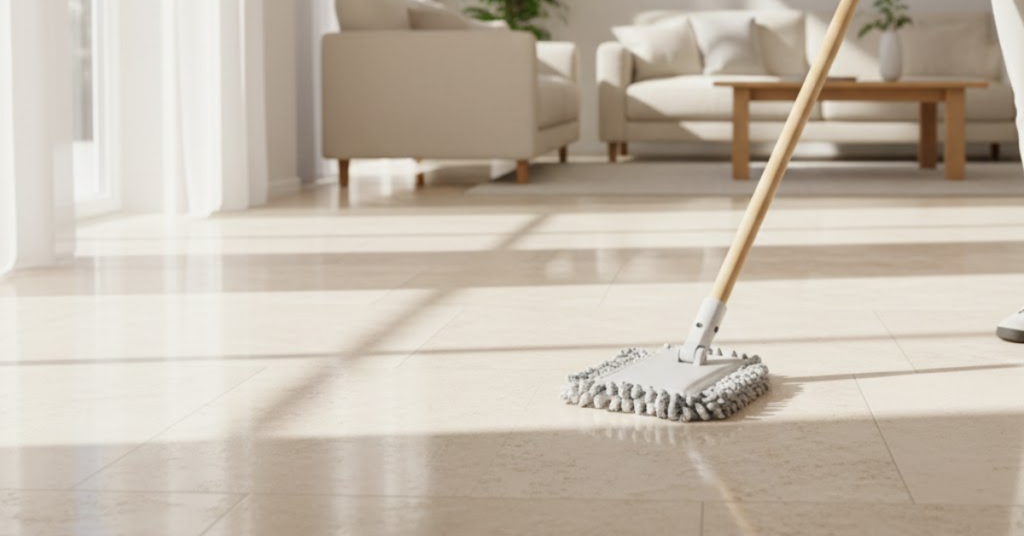
- A microfiber mop: These are excellent for trapping dirt without scratching.
- pH-neutral cleaner: This is non-negotiable. Specialized dance floor cleaners (like ProClean) are best. If you must use a generic cleaner, ensure it is strictly pH-neutral.
- Warm water: Not boiling, just warm.
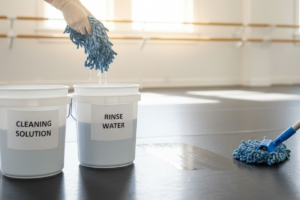
- Two buckets: One for the cleaning solution, one for rinsing.
- Clean towels: For drying if necessary.
Pro Tip: Never use bleach, ammonia, alcohol, solvents, or abrasive powders. These will permanently damage the vinyl.
Step-by-Step: How to Clean Marley Floor
Ready to get to work? Follow this routine to ensure your floor stays pristine.
1. The Daily Sweep
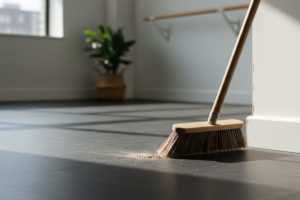
Every single day the floor is used, it needs to be swept. Dust and hair are the enemies of vinyl. Use a soft-bristled broom or a dry microfiber mop. Pay special attention to the corners and edges where dust bunnies like to hide.
Avoid oil-impregnated dust mops. They are great for school hallways but terrible for dance floors because they leave a slick residue.
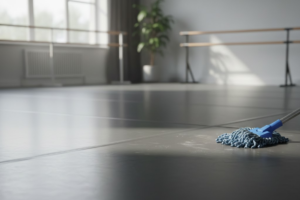
2. The Weekly Wet Mop
Depending on how much traffic your studio sees, you should wet mop at least once a week.
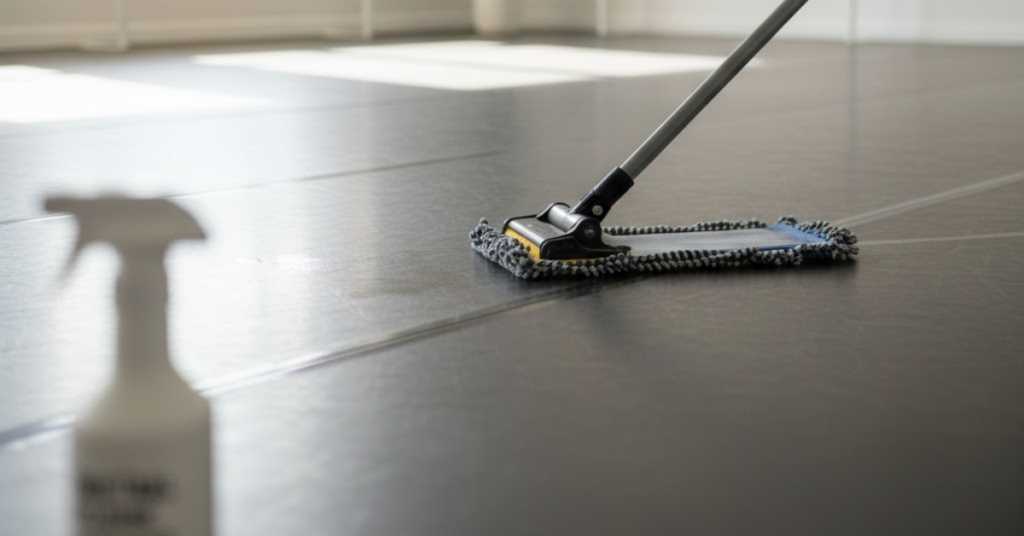
- Prepare the Solution: Mix your pH-neutral dance floor cleaner with warm water according to the manufacturer’s instructions. Do not guess the ratio! Too much detergent leaves a sticky residue.
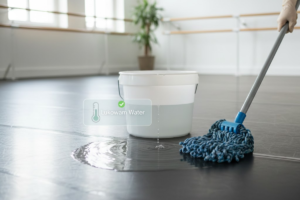
- Mop Sections: Dip your mop and wring it out well. The mop should be damp, not soaking wet. You don’t want water seeping into the seams or under the subfloor.
- The Two-Bucket Method: Keep a second bucket with plain water. After mopping a section, rinse your mop in the plain water bucket before dipping it back into the cleaning solution. This prevents you from spreading dirty water back onto the floor.
- Let it Dry: Allow the floor to air dry completely before anyone walks on it.
3. Dealing with Scuff Marks
Those black streaks from rubber soles or tap shoes are inevitable. Do not use steel wool or harsh scrubbers.
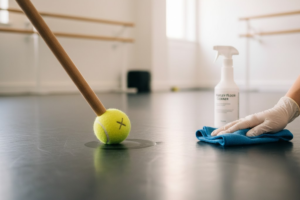
- The Tennis Ball Trick: Take a plain tennis ball, cut a small “X” in it, and stick it on the end of a broom handle. Rub the ball over the scuff mark. The felt texture usually erases the mark instantly.
- Microfiber Rub: For stubborn marks, apply a tiny bit of concentrated cleaner to a microfiber cloth and rub gently by hand.
Deep Cleaning: The Heavy Duty Cycle
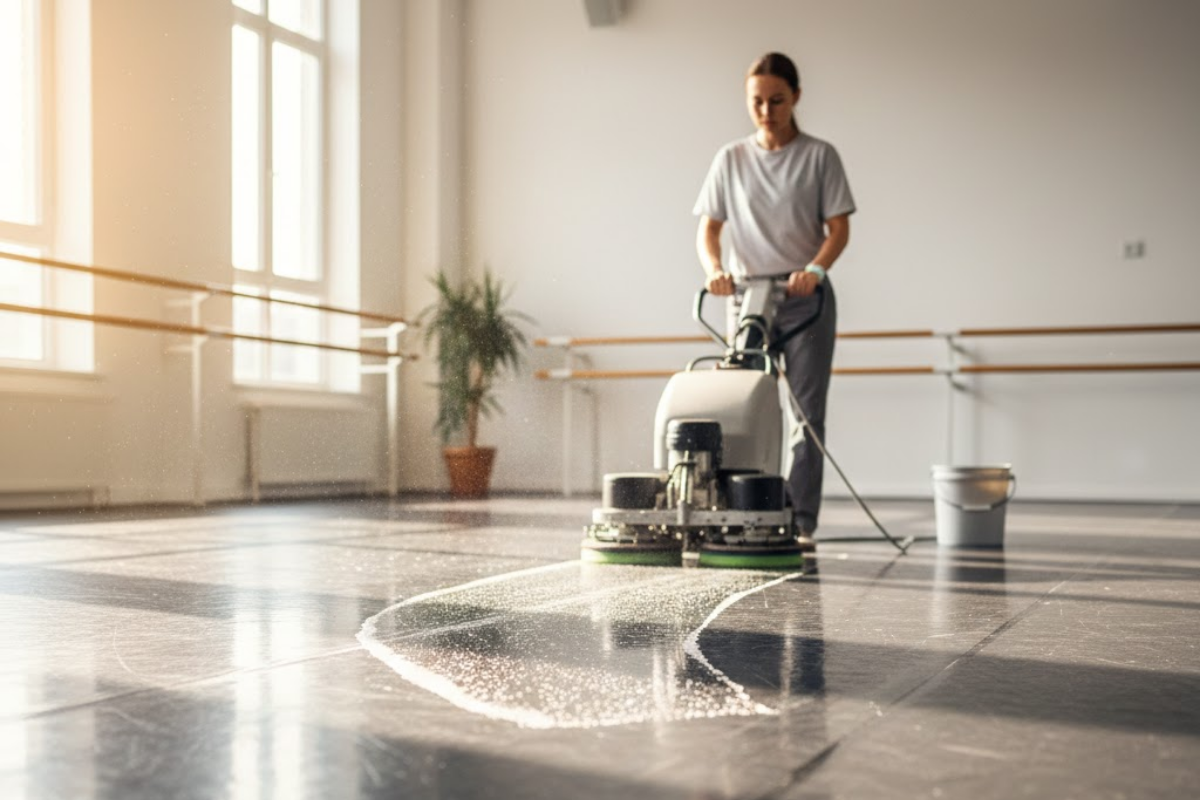
Sometimes, a weekly mop isn’t enough. Every 3 to 6 months, you might need a deeper clean to remove built-up residue, body oils, and lotions that regular mopping misses.
For this, you may need a floor scrubbing machine. However, you must use a machine with a green or red pad (check with your floor manufacturer). Never use black or brown stripping pads, as they will rip the top layer off your Marley floor.
If you don’t have a machine, a little elbow grease with a soft scrub brush and a slightly stronger dilution of your specialized cleaner will work. Always rinse twice after deep cleaning to ensure no chemical residue remains.
Common Mistakes to Avoid
Even well-meaning studio owners make mistakes when learning how to clean Marley floor surfaces. Steer clear of these pitfalls:
Using Household Cleaners
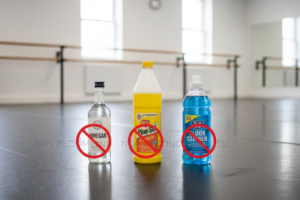
We mentioned this before, but it bears repeating. Vinegar, Pine-Sol, and standard grocery store floor cleaners are often too acidic or too alkaline. Vinegar, specifically, is a popular DIY cleaner, but over time it can dry out the vinyl, making it brittle and prone to cracking.
Ignoring Temperature
Marley floors react to temperature. If your studio gets very cold at night and you wash the floor with hot water in the morning, the thermal shock isn’t great for the material. Try to keep the cleaning water lukewarm.
Soaking the Floor
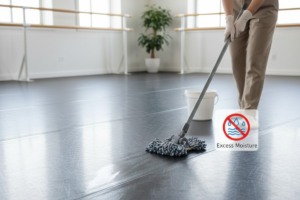
Vinyl rolls are laid out with seams. If you flood the floor with water, moisture can seep between the seams. This can warp the subfloor (especially if it is wood) or cause mold to grow underneath your expensive Marley. Always wring out your mop.
Allowing Street Shoes
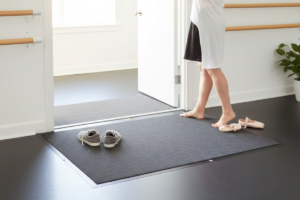
The best way to clean the floor is to stop it from getting dirty in the first place. Enforce a strict “No Street Shoes” policy. Street shoes bring in small rocks, asphalt, and dirt that act like blades against the vinyl. Place high-quality walk-off mats at every entrance to catch debris before it enters the studio.
Tips for Maintaining Floor Longevity
Beyond cleaning, how you treat the floor matters.
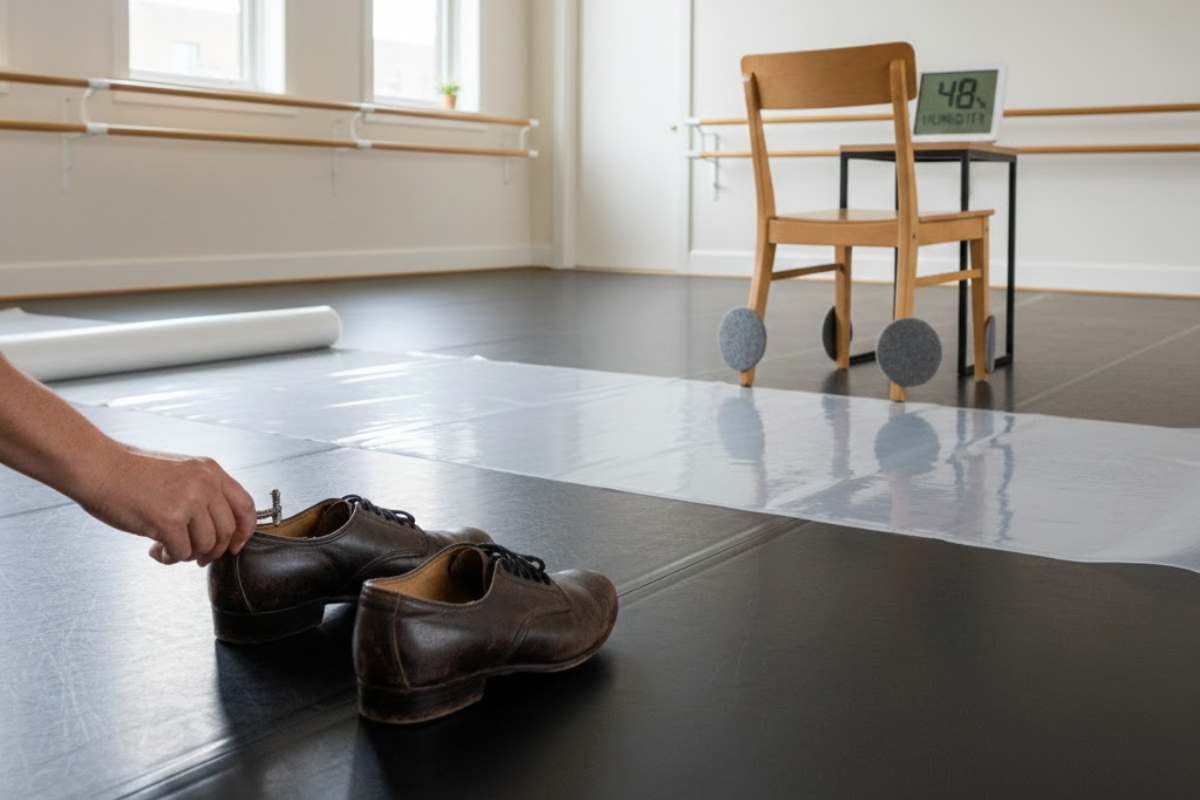
- Control Humidity: Vinyl expands and contracts with humidity and temperature. Try to keep your studio between 60-80°F and humidity around 50%.
- Tap Shoe Check: Regularly inspect tap shoes for loose screws. A single loose screw can gouge a deep scratch into the floor in seconds.
- Furniture Pads: If you have chairs, pianos, or sound equipment on the floor, ensure they have soft felt pads on the legs.
- Cover it up: If you are hosting an event that isn’t dance (like a reception or a meeting), cover the floor with protective runners or carpets.
Conclusion
Learning how to clean Marley floor correctly is a blend of using the right products and sticking to a consistent schedule. It doesn’t have to be complicated. A daily sweep and a careful weekly mop with a pH-neutral cleaner will solve 90% of your problems.
By treating your dance floor with care, you are protecting your dancers’ bodies and preserving the professional look of your studio for years to come. Treat the floor well, and it will support every leap, turn, and landing you throw at it.
Now, go grab that microfiber mop and give your floor the love it deserves