Sandstone floor tiles bring a natural, earthy elegance to any space. With their unique colors and textures, they create a warm and inviting atmosphere. However, as a porous natural stone, sandstone requires specific care to keep it looking its best. Unlike ceramic or porcelain, it can be susceptible to stains and damage if not cleaned correctly.
This guide will provide everything you need to know about how to clean sandstone floor tiles effectively and safely. We will explore the best tools and cleaning solutions, offer a step-by-step process for both routine and deep cleaning, and share essential tips for long-term maintenance. With the right approach, your beautiful sandstone floors will remain a stunning feature in your home for years to come.
Why Proper Cleaning Matters for Sandstone
Understanding why sandstone needs special attention is the first step toward preserving its beauty. Regular and correct cleaning offers several key benefits.
- Prevents Staining: Sandstone is like a sponge. Its porous nature means it can easily absorb spills like wine, oil, or juice. Prompt and proper cleaning prevents these spills from seeping deep into the stone and becoming permanent stains.
- Maintains Natural Color: A layer of dust and grime can make your sandstone’s vibrant colors appear dull and faded. Regular cleaning lifts this film, restoring the stone’s natural beauty and character.
- Avoids Damage: Harsh chemicals and abrasive tools can scratch, etch, or wear away the surface of sandstone tiles. Using the correct methods protects the integrity of the stone and its sealant.
- Improves Home Hygiene: The texture and grout lines of sandstone floors can trap dust, dirt, and allergens. Keeping them clean helps improve the overall air quality in your home.
Essential Tools and Materials for Cleaning Sandstone
Before you begin, gather the right supplies. Using the correct tools is just as important as using the right cleaning solutions.
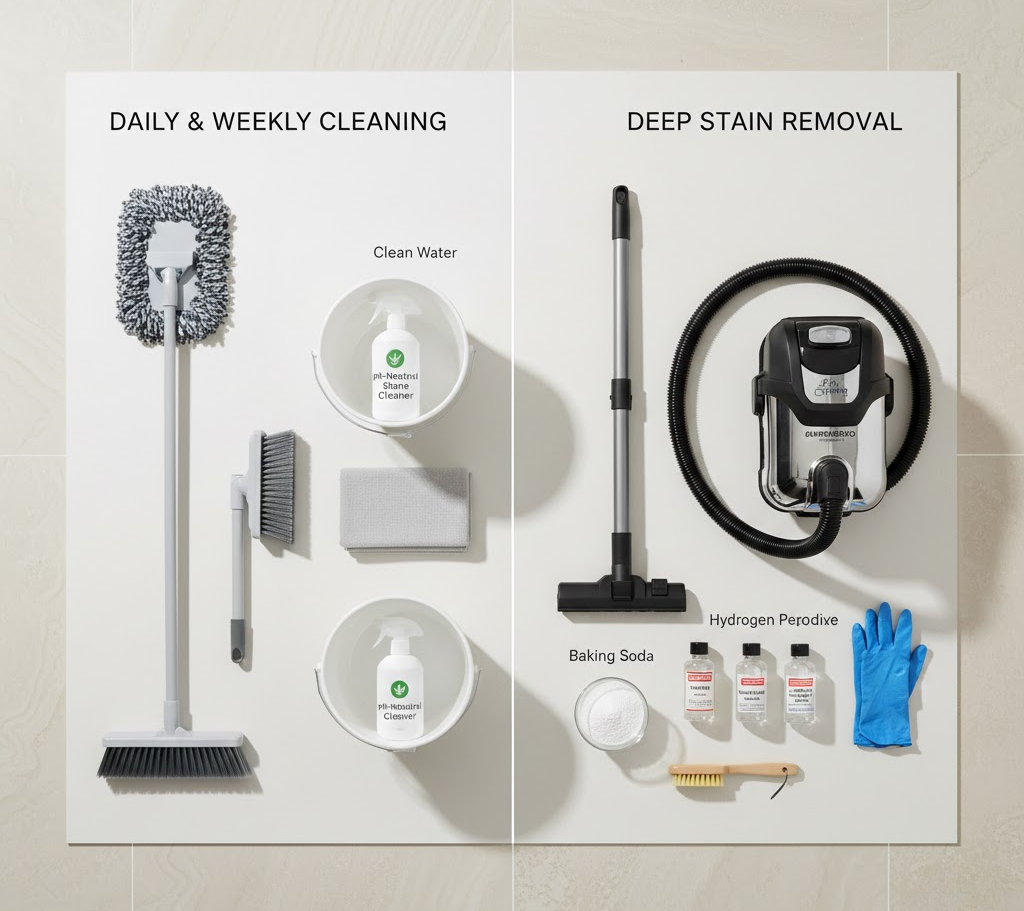
For Everyday Cleaning:
- Soft-bristled broom or a dust mop
- Vacuum cleaner with a hard floor attachment (no beater bar)
- Two buckets
- Microfiber mop
- pH-neutral stone cleaner
- Warm water
For Deep Cleaning and Stain Removal:
- Soft-bristled scrub brush
- Baking soda or poultice powder (e.g., diatomaceous earth)
- Hydrogen peroxide (for organic stains)
- Acetone (for oil-based stains)
- Clean cloths or rags
- Protective gloves
Step-by-Step Instructions: How to Clean Sandstone Floor Tiles
Follow these instructions for a weekly clean that will keep your sandstone floors in excellent condition. This routine is gentle enough to protect the stone while effectively removing daily dirt.
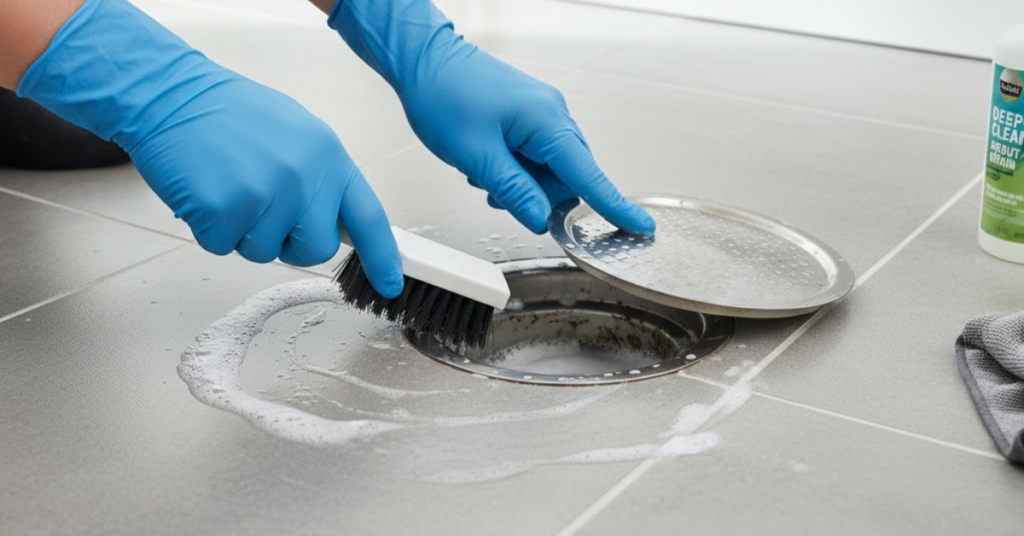
Step 1: Remove Loose Dirt and Dust
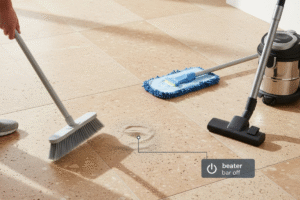
The first and most crucial step is to clear away all loose debris. Use a soft-bristled broom or a dust mop to sweep the floor. A vacuum cleaner with a hard floor attachment is also a great option. Make sure the beater bar is turned off, as its stiff, rotating bristles can scratch the sandstone. This step prevents you from grinding abrasive dirt into the stone during the mopping process.
Step 2: Choose the Right Cleaning Solution
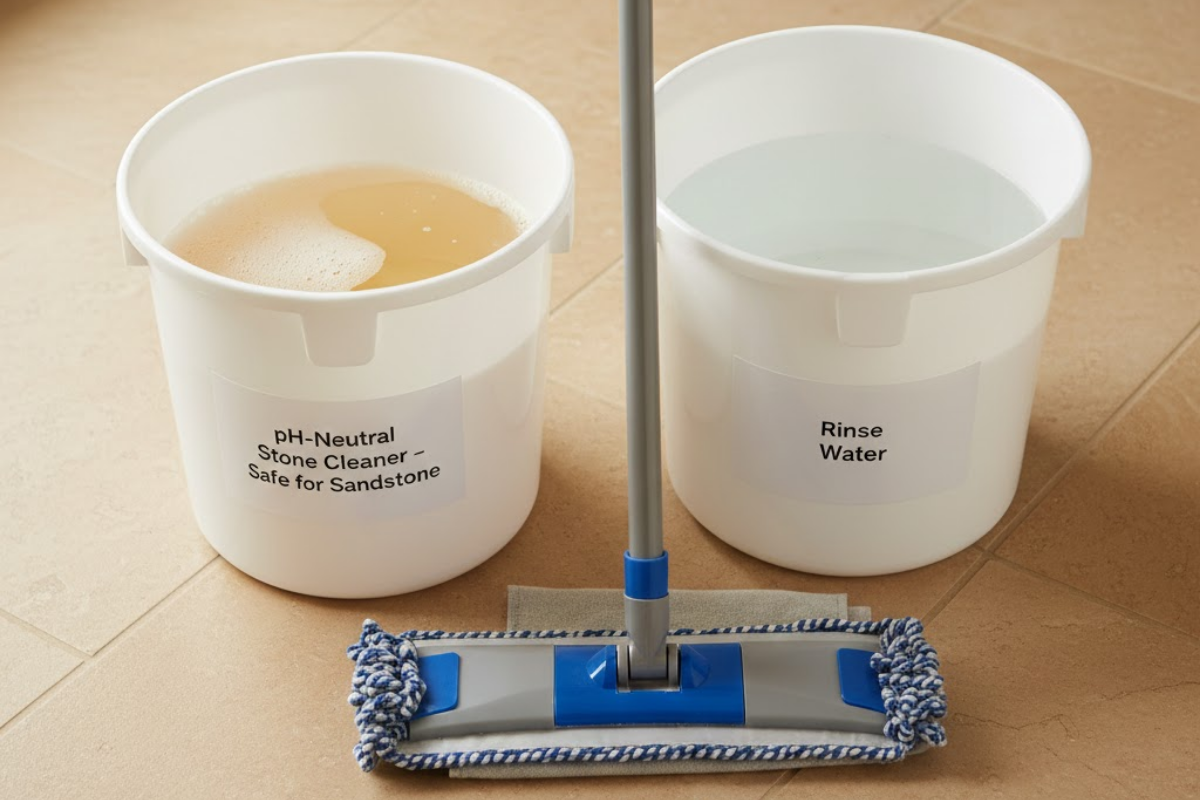
Sandstone is sensitive to acids and alkalis. Cleaners like vinegar, lemon juice, ammonia, or bleach can cause permanent damage. The safest choice is a cleaner specifically formulated for natural stone with a neutral pH level. Mix the cleaner with warm water in a bucket, following the product’s instructions. For your second bucket, fill it with clean, cool water for rinsing.
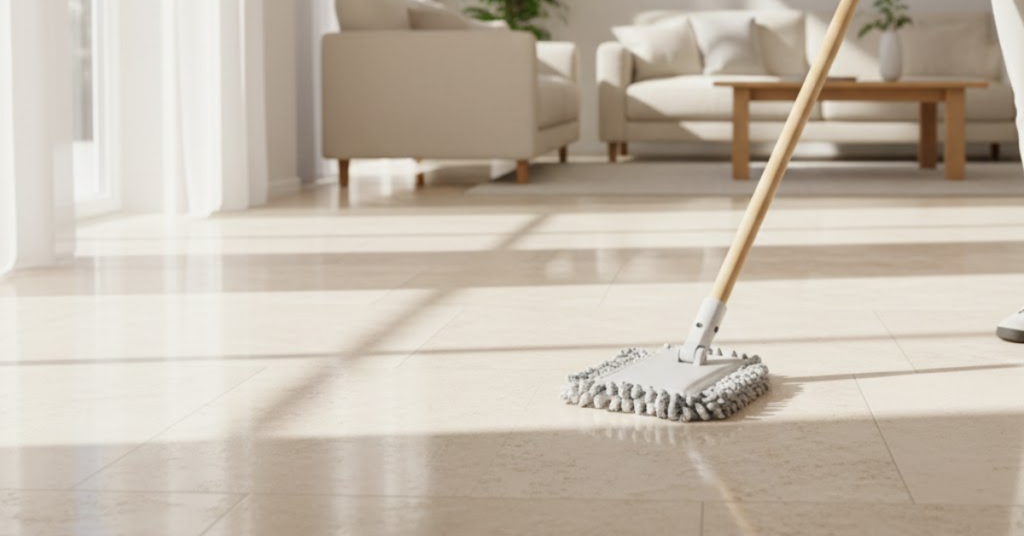
Step 3: Mop the Floor in Sections
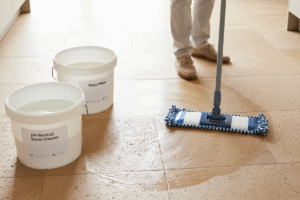
Dip your microfiber mop into the cleaning solution and wring it out until it is just damp. An overly wet mop can introduce too much moisture into the porous sandstone, which can lead to discoloration or issues with the subfloor over time. Mop the floor in small, manageable sections to ensure you can rinse before the cleaning solution dries.
Step 4: Rinse Thoroughly

After mopping a section, submerge your mop in the bucket of clean rinse water. Wring it out well and mop over the same area again. This step is vital for removing any soapy residue, which can leave a dull film and attract more dirt. Remember to change the rinse water as soon as it looks dirty.
Step 5: Allow the Floor to Dry Completely
Let the floor air dry. To speed things up, you can open windows or use fans. Avoid walking on the floor until it is completely dry to prevent leaving footprints on the clean surface. You can also gently dry the floor with a clean, dry microfiber cloth or towel.
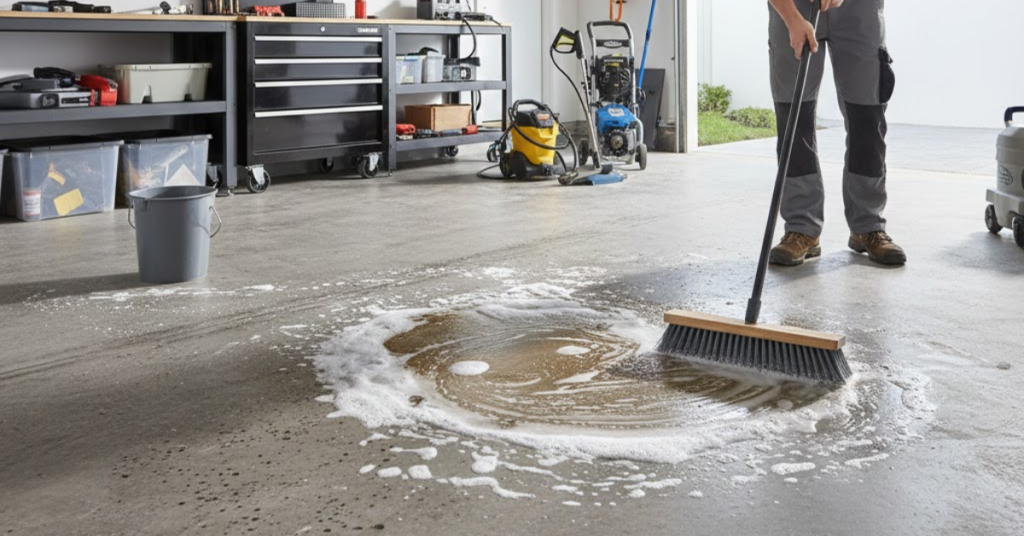
How to Deep Clean Sandstone and Remove Stains
For stubborn dirt or stains, a more intensive approach is needed. This deep clean should be performed as needed, not as part of your weekly routine.
1. Identify the Stain
The right treatment depends on the type of stain.
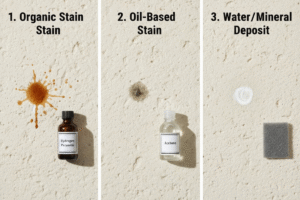
- Organic Stains (e.g., coffee, tea, food): These can often be treated with a solution of 12% hydrogen peroxide mixed with a few drops of ammonia.
- Oil-Based Stains (e.g., grease, cooking oil): These require a chemical solvent to break them down. Acetone or mineral spirits are effective options.
- Water Spots and Mineral Deposits: These can sometimes be buffed out with a dry, very fine #0000 steel wool pad. Use extreme caution and test in a hidden spot first.
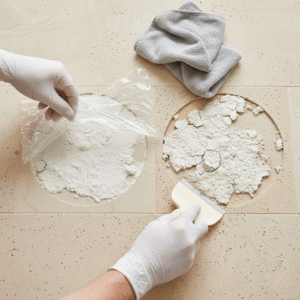
2. Create a Poultice
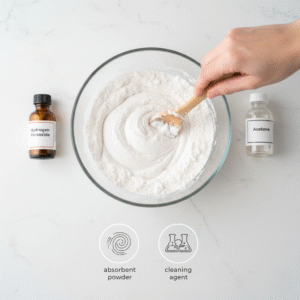
A poultice is a paste that pulls stains out of porous stone. To make one, mix your chosen cleaning agent (like hydrogen peroxide for an organic stain or acetone for an oil stain) with an absorbent material like baking soda, talcum powder, or diatomaceous earth. Mix until you have a paste with the consistency of peanut butter.
3. Apply the Poultice
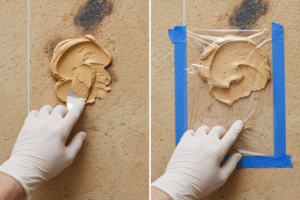
Apply the poultice directly onto the stain, making sure it’s about a quarter-inch thick and extends slightly beyond the edges of the stain. Cover the area with plastic wrap and tape down the edges. Let it sit for 24 to 48 hours. The poultice works by reabsorbing the cleaning agent along with the dissolved stain from the stone.
4. Remove and Rinse
After the time has passed, remove the plastic wrap and allow the poultice to dry completely. Once dry, gently scrape it off with a soft plastic or wooden scraper. Wipe the area with a clean, damp cloth and let it dry. The stain should be gone or significantly lighter. For very deep stains, you may need to repeat the process.
Common Mistakes to Avoid When Cleaning Sandstone
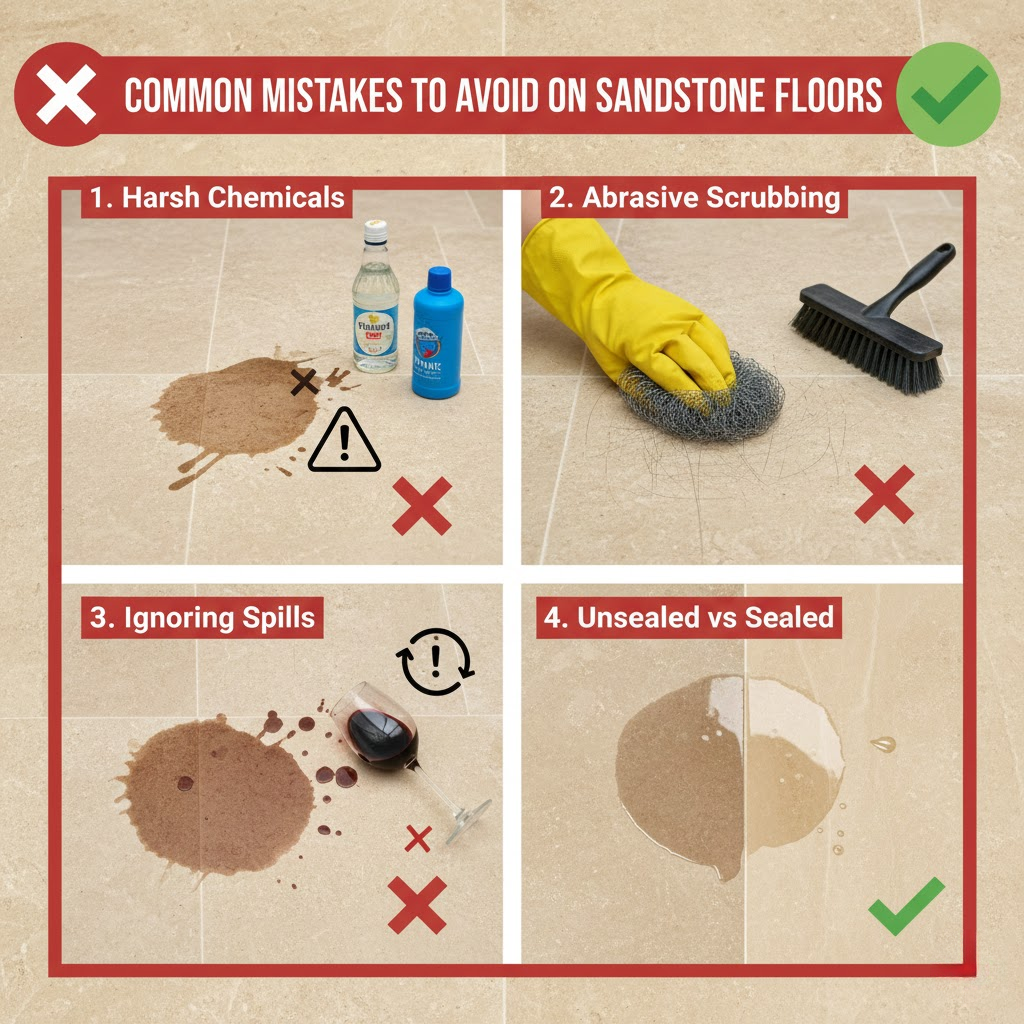
- Using Acidic or Alkaline Cleaners: Never use vinegar, lemon juice, bleach, or ammonia. These will etch the stone and dull the finish.
- Using Abrasive Tools: Avoid stiff-bristled brushes, beater-bar vacuums, and abrasive scouring pads, which can cause scratches.
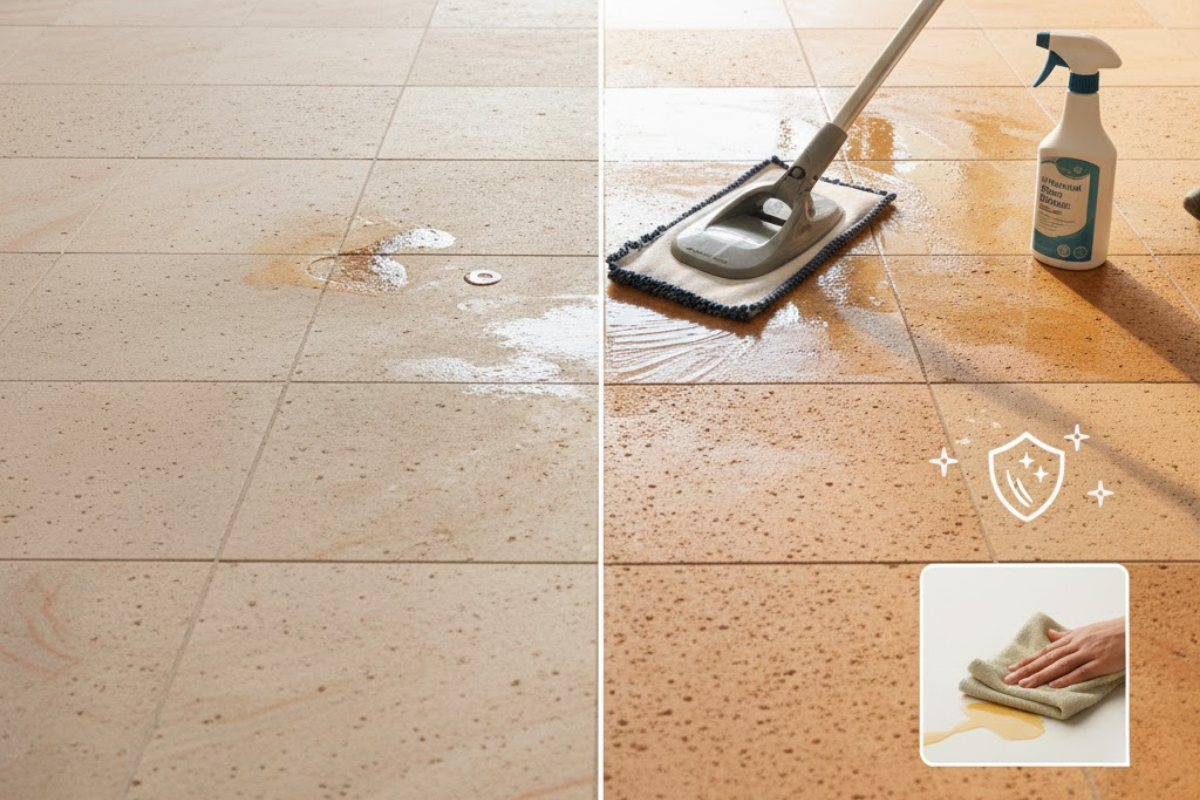
- Letting Spills Sit: Clean up spills immediately to prevent them from absorbing into the stone. Blot spills with a cloth; do not wipe, as this can spread the liquid.
- Forgetting to Seal the Floor: Sealing is the most important step in protecting sandstone. A quality impregnating sealer will penetrate the stone and repel water and oil. Reapply the sealer every 1-3 years, or as recommended by the product manufacturer.
By following these cleaning and maintenance tips, you can ensure your sandstone floors remain a source of natural beauty and pride in your home.